21
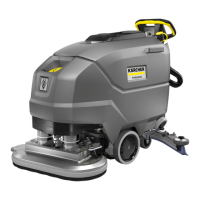
Draining Waste Water
ATTENTION
Comply with local wastewater
treatment rules.
→ Remove the water drain hose from
the support and lower to a suitable
collection device.
→ Compress or bend the dosing device.
→ Open the dosing device cover.
→ Empty the water by pressing or bending.
→ Wash the waste water tank with
clean water.
Height
Transport
Stopping and Shutting Down
Draining Clean Water
With the height adjustment, the bending
of the vacuum blades is inuenced during
contact with the oor.
→ Adjust the height adjustment
rotary handles until you get the best
vacuuming result.
Cleaning
WARNING
Risk of damage to the oor. Do not operate
the device on the same spot for extended
periods.
→ Activate the program selection switch
according to the desired cleaning program.
→ Activate the brush drive switch with both
hands.
Lower the Suction Bars
→ Pull the lever out and press it down; the
vacuum bar is lowered.
Warning:
- For cleaning tiled oors, set
the straight suction bar in such a way that
cleaning is not performed at an angle of 90
degrees to the joints.
- The suction bar oblique
position and tilting can be adjusted to
achieve better vacuuming results (see
“Setting the Vacuum Bar”).
- When the waste water tank
is full, the float closes the vacuum opening
and the vacuum turbine runs at an increased
rotation speed. If this is the case, shut the
vacuum off and empty the waste water tank.
→ Close the water dosing knob.
→ Release the brush drive switch.
→ Put the program selection switch in the
vacuuming position.
→ Slightly move the device forward and
vacuum waste water.
→ Lift the suction bar.
→ Put the program selection switch in the
OFF position.
→ If necessary, charge the battery.
→ Unscrew the clean water tank cover.
DANGER
Risk of injuries! The device may
only be operated for loading and
unloading on gradients up to the maximum
value (see “Technical Data”). Walk slowly.
CAUTION
Risk of personal injury or damage!
Pay attention to the device weight
during transport.
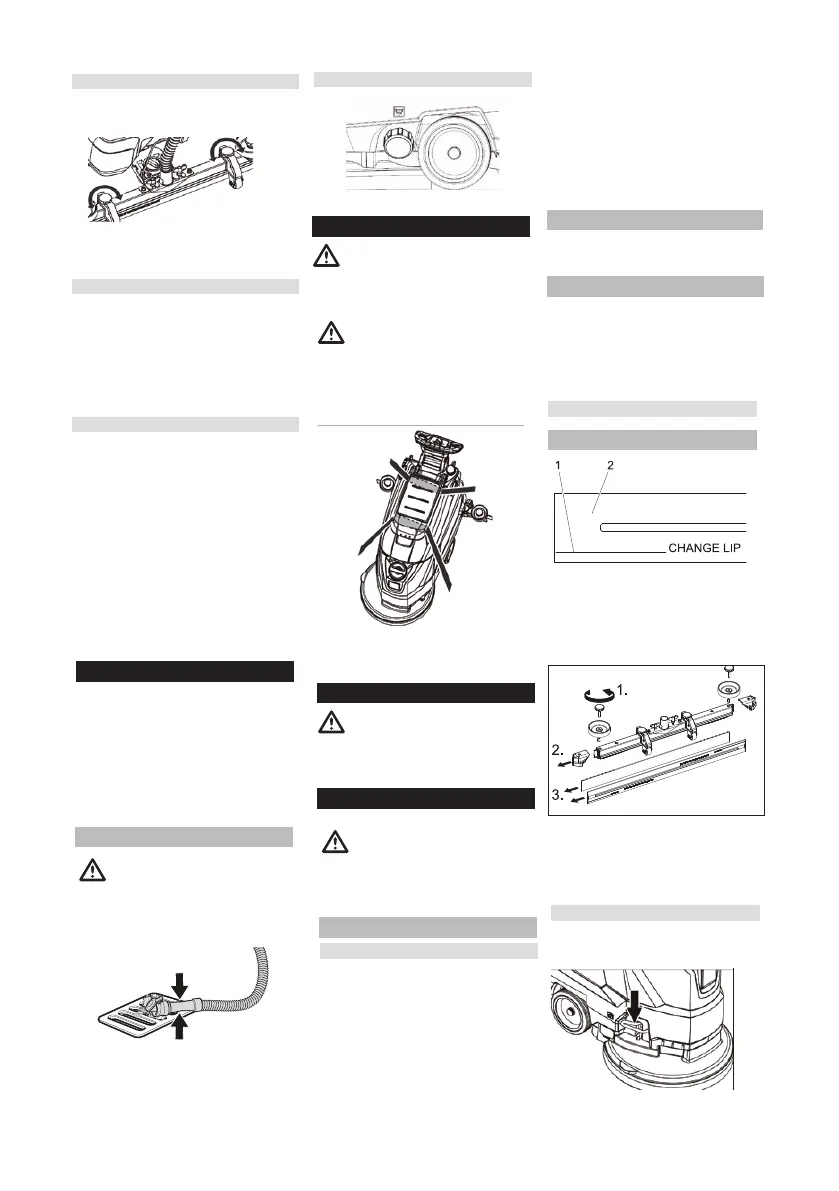
→ Activate the transport caster, if
equipped, — located on the right side of
the device — by pressing the pedal.
Care and Maintenance
→ When transporting in vehicles, secure
the device from slipping and tipping
over, according to the current guidelines.
Storage
CAUTION
Risk of personal injury or damage!
Pay attention to the device weight
during storage.
This device may only be stored in closed,
indoor spaces.
DANGER
Risk of injuries! Set the program selection
switch to the OFF position and
pull the mains or charger plug
prior to performing any work on
the device.
→ Drain and recycle waste water, as well
as any remaining clean water.
WARNING
Damage risk. Do not wash the
device with water and do not use any
aggressive detergent.
→ Empty the waste water.
→ Wash the waste water tank with
clean water.
→ Clean the outside of the device with a
damp cloth.
→ Check the turbine filter and, if necessary,
clean it.
→ Clean the suction lips and the wiping
lips, check their wear level and, if
necessary, replace them.
→ Check the brush for wear and replace
it if necessary (see “Maintenance Work”).
→ If the battery charge is under 50%,
charge it fully and without interruption. If
the charge is above 50%, charge only if
it is necessary to use the full range of the
machine the next time.
Always after using the device
Maintenance Schudele
When used regularly, charge the battery
fully and without interruption at least once
a week.
→ Have the recommended inspection
performed by the Technical Services.
→ For long stoppage periods, only
disconnect the battery from the device
when the battery is fully charged. Fully
recharge the battery at least once a
month.
Weekly
Yearly
Replacing or Turning the Suction Lips
Maintenance Work
1 - Wear marking
2 - Suction lips
The suction lips must be replaced or
turned if worn to the wear marking.
→ Dismount the suction bar.
→ Unscrew the star handles.
→ Move plastic parts away.
→ Remove the suction lips.
→ Insert the new or turned
suction lips.
→ Mount the plastic parts.
→ Screw and tighten the handles well.
→ Press the brush replacement pedal
down until the brush is extracted.
Replacing the Disc Brushes