Do you have a question about the KaVo ORTHOPANTOMOGRAPH OP300 Maxio and is the answer not in the manual?
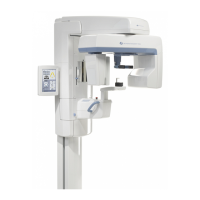
Switch on the unit, start software, and select the 3D imaging modality.
Select the 13x15 FOV and define the region of interest using the GUI.
Perform scout imaging, adjust positioning, and press the exposure button for the 3D image.
Set image resolution and exposure values, or utilize Automatic Dose control.
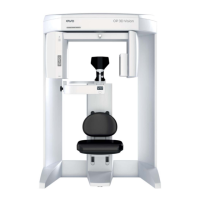
Guide patient through head support removal, alignment, height adjustment, and scan sequence.
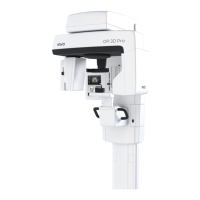
| Imaging Modalities | Panoramic, Cephalometric |
|---|---|
| kV Range | 60-90 kV |
| Focal Spot Size | 0.5 mm |
| DICOM Compatibility | DICOM 3.0 compliant |
| Imaging Technology | Digital |
| Imaging Modes | Standard Panoramic, Pediatric, TMJ, Cephalometric |
| Power Supply | 220-240 VAC, 50/60 Hz |
| mA Range | 4-16 mA |
| Patient Positioning | Laser positioning guides |
| Program Selection | Multiple pre-set programs, customizable protocols |