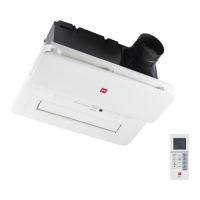
2. Preparation before installation
安裝前準備
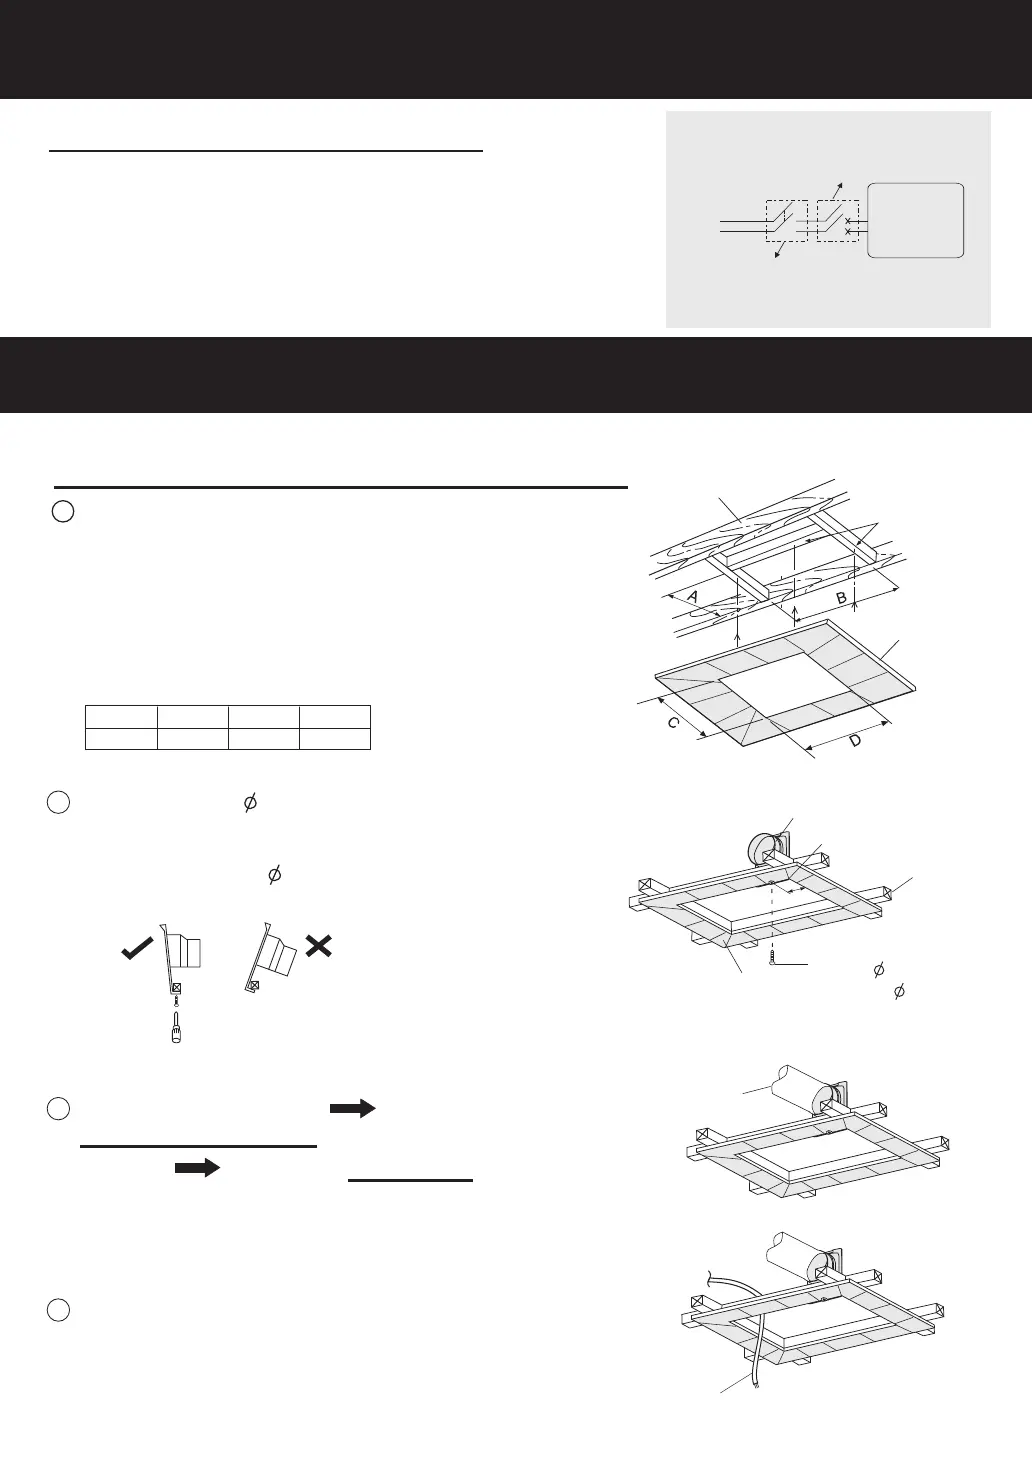
請於固 定佈線與本產品主機間安裝觸點 開距不小於3 mm的
“電源全 極開關”(規格必須不低於250 V 16 A)及
~
漏電保 護開關(洩漏電流在30 mA以下)。
Install an all-pole switch with the contact separation not less
than 3 mm and specifications not lower than 250 V 16 A
~
and a leakage protection switch (with the leakage current
lower than 30 mA) between the fixed wring and the main
body of this product.
安裝前事項
WORK BEFORE INSTALLATION
電源 全極 開關(另 購)
固定 佈線
All-pole switch
(Need to be purchased)
Leakage protection switch
(Need to be purchased)
Fixed wiring
Main body
of this
product
漏電 保護 開關(另 購)
本產 品主 機
安裝方法
HOW TO INSTALL
8
1-1 Main body installation
Method 1 ordinary ceiling board
1
Make a wooden frame and install it onto the ceiling
joist. Ensure that the total thickness of the wooden
frame and ceiling board should be mm 30 mm. 25
~
Meanwhile, open a mounting hole in the ceiling
board with dimensions as shown in the table below:
(unit: mm)
Ceiling
board
Wooden
frame
A B
C
D
280 280
400 400
築造木 框以及將木框(注意:木 框與天花板 的厚度應在
25 mm 30 mm之 間)安裝到天花 板擱柵上, 同時在天
~
花板上 開安裝孔, 具體尺寸 如下表:(單位 :mm)
木框
天花板
機體的安裝
方法一 普通天花板
Ceiling joist
天花板 擱柵
3
Connecting the duct pipe Refer to Section
3.Duct Pipe Connection on P.16.
連接管 道。
參考第16頁 3.管道的連接
Duct pipe
管道
4
將電源 線穿過天花板
電源線
Power cord
Pass the power cord through the ceiling .board
2
Ceiling board
Wooden
frame
Adapter
Self-tapping
screw 4 x30
出風口 接頭
木框
天花板
自攻螺 絲
4x30
天花板 邊緣
用附件 包所提供的1顆 4×30自攻螺 絲,將出風 口接頭固定
於天花 板上。(接頭必須緊 貼天花板邊 緣)
Use the supplied 4×30 self-tapping screw to fix the
adapter to the ceiling board.(The adapter must cling
to the ceiling edge.)
Ceiling edge
5
2 mm