3.1 Set Up 3.1
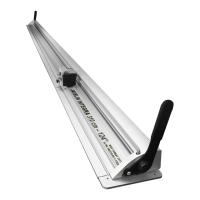
FIT THE LIFTING HANDLES
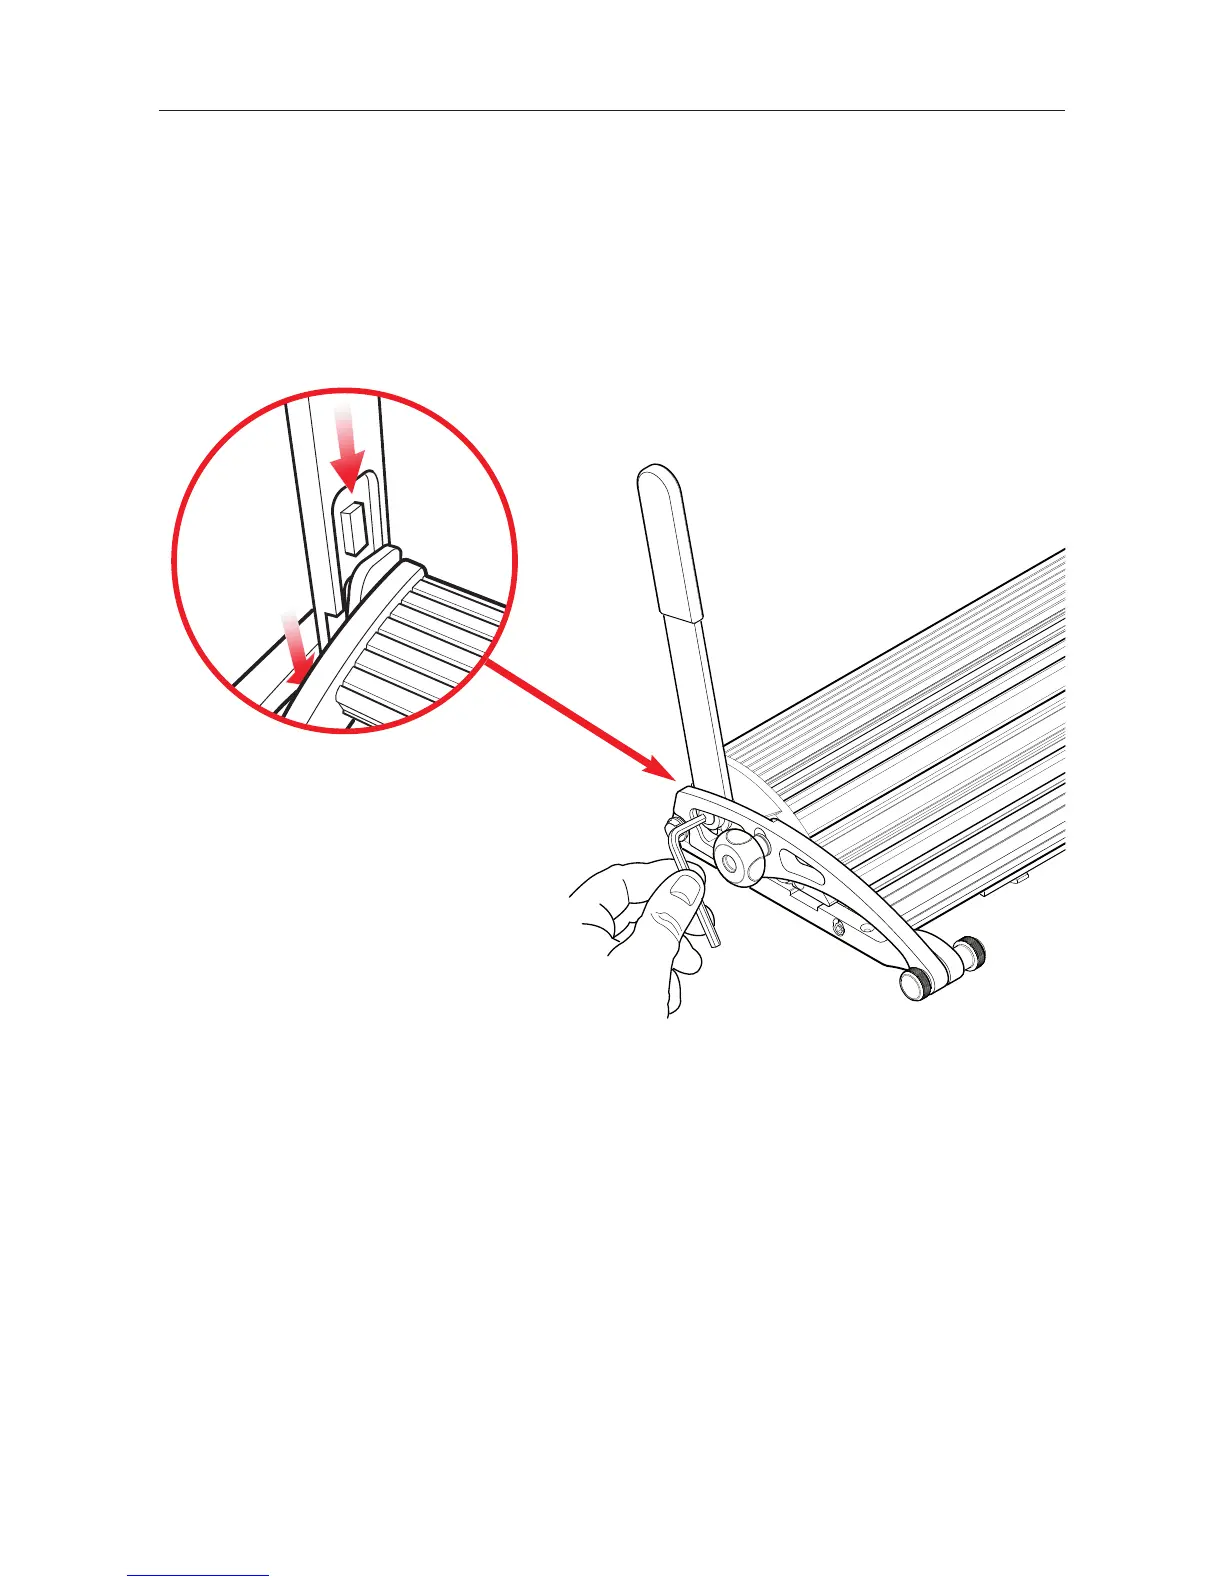
Fit the Lift & Hold Handles at each end of the cutter bar. Position the machined section
of the handle towards the centre of the Evolution E2 and insert it into place at the angle
shown (Fig
1
). Once in position straighten so that the rectangular feature on the handle
fits into its mating hole in the adjacent black steel component attached to the machine.
Fully tighten the fixing screw (Fig
2
) using the 5mm Allen key provided.
1
2
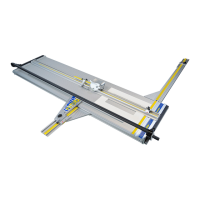
CHECK & ADJUST THE CUTTING GROOVE ALIGNMENT
The Evolution E2 cutter bar has been adjusted to a straightness of 1:15000 along its full
length using a laser beam controlled instrument. It is desirable to adjust the cutting
groove in the aluminium base to match the straightness of the cutter bar and the base
brackets provide the means to do so.
The back of the cutting groove in the Evolution E2 Base should be in line with the edge
of the cutter bar to allow the blade in the cutting head to run the full length of the
machine without touching either side of the groove, if it does not....