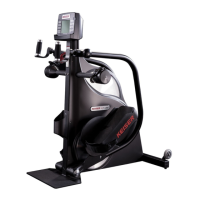
16
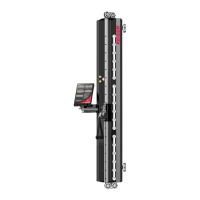
3. Pull the rod out 2/3 to ¾ of the way. Squeeze the snap ring with snap ring pliers and
pull on the rod to “tap” the end housing out of the cylinder (see illustration).
4. Wipe out the bore of the cylinder with a lint-free rag and inspect for scratches or
uneven wear. If found, contact KEISER for a replacement.
5. Clean the piston and inspect for wear or damage. If any metal particles are found on
the piston or inside the cylinder contact KEISER for a replacement.
6. Clean wear the strip grooves and apply a moderate coat of “Hydrotex MT-55” light
grease (available from KEISER) to hold wear strips in place during assembly.
Lightly coat the bore, cup seal, piston and wear strips with MT-55 light grease.
NOTICE: OPEN END OF CUP SEAL MUST FACE AWAY FROM THE
CYLINDER ROD. Carefully re-assemble the cylinder.
7. Apply a very light coat of lube to the muffler threads and reinstall snug, but not tight.
8. Operate piston by hand through its stroke. There should be no stickiness or metal-to-
metal contact.
9. Wipe the cylinder rods clean and coat them lightly with clean, SAE 30 wt. Motor oil.
ADJUSTMENT
Cylinders are factory adjusted and need not be readjusted unless the cylinder or clevis
becomes loose or is replaced. While each machine is checked differently, cylinder
adjustments are basically the same. TOOLS REQUIRED: 2 large adjustable wrenches