Interactive SourceMeter® Instrument User's Manual Section 4: Making basic front-
2460-900-01 Rev. A / September 2014 4-3
How to make front-panel measurements
To make a measurement from the front panel:
1. Press the POWER switch on the front panel to turn on the instrument or cycle power if the
instrument is already on.
2. Verify the source and measure function. On the front panel, press the FUNCTION key.
3. Under Source Voltage and Measure, select Current.
4. Select the source range. On the Home screen, under SOURCE VOLTAGE, select the button next
to Range.
5. Select 20 V.
6. Select the source voltage. Under SOURCE VOLTAGE, select the button next to Source.
7. Enter 10 V and select OK.
8. Set the limits for the source. Under SOURCE VOLTAGE, select the button next to Limit.
9. Enter 10 mA and select OK.
10. Select the measurement range. In the MEASURE area of the Home screen, select the button
next to Range.
11. Select Auto.
12. Turn on the output by pressing the OUTPUT ON/OFF switch. The OUTPUT indicator light turns
on.
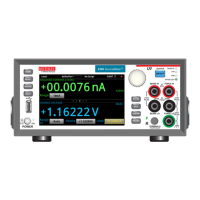
13. Observe the readings on the display. For the 10 kΩ resistor, typical display values are:
1.00000 mA
+9.99700 V
14. When measurements are complete, turn the output off by pressing the OUTPUT ON/OFF switch.
The OUTPUT indicator light turns off.
 Loading...
