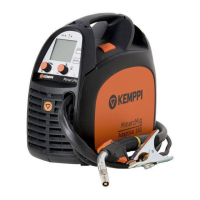
EN
Cleaning the wire guide
Pressure of the feed rolls remove metal dust from the ller wire’s surface
which then nds its way to the wire guide. If the wire guide is not cleaned, it
gradually clogs up and causes wire feed malfunctions. Clean the wire guide
in the following manner:
1. Remove the welding gun’s gas nozzle, contact tip and contact tip’s
adapter.
2. With a pneumatic pistol, blow compressed air through the wire guide.
3. Blow the wire feed mechanism and reel housing clean with compressed
air.
4. Reattach the welding gun’s parts. Tighten the contact tip and contact
tip’s adapter to spanner tightness.
Changing the wire guide
If the wire guide is too worn or totally clogged, change it to a new one
according to the following instructions. The wire guide should also be
replaced with a plastic one, if you mainly use stailess steel or aluminium wire.
1. Disconnect the welding gun from the machine.
A. Disconnect the cable clamp of the gun’s power cable by opening the
screws.
B. Disconnect the gun’s power cable from the machine’s pole.
C. Disconnect the connector of the trigger conductors from the
machine.
D. Open the gun’s mounting nut.
E. Extract the gun gently from the machine whereupon all parts come
through the front part’s cable hole.
2. Open the mounting nut of the wire guide which exposes the end of the
wire guide.
3. Straighten the welding gun’s cable and withdraw the wire guide from
the gun.
4. Push a new wire guide in to the gun. Make sure that the wire guide
enters all the way into the contact tip’s adapter and that there is an
o-ring at the machine-end of the guide.
5. Tighten the wire guide in place with the mounting nut.
6. Cut the wire guide 2 mm from the mounting nut and le the sharp
edges of the cut round.
7. Reattach the gun in place and tighten the parts to spanner tightness.
18
MinarcMig 180 / © Kemppi Oy / 1117
 Loading...