EN
4. CONTROL PANEL X 37
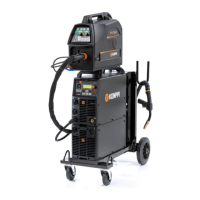
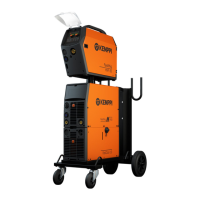
FastMig X 450 power source features X 37 control panel with a clear and logical LCD menu
display. The menu allows the operator to rene, adapt and manage the arc process and system
function before, during and after welding.
The following information details control panel layout, button functions, operation and set-
up. The menu options and their descriptions are listed for each menu command.
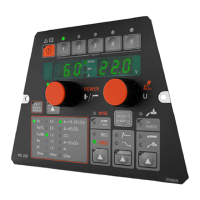
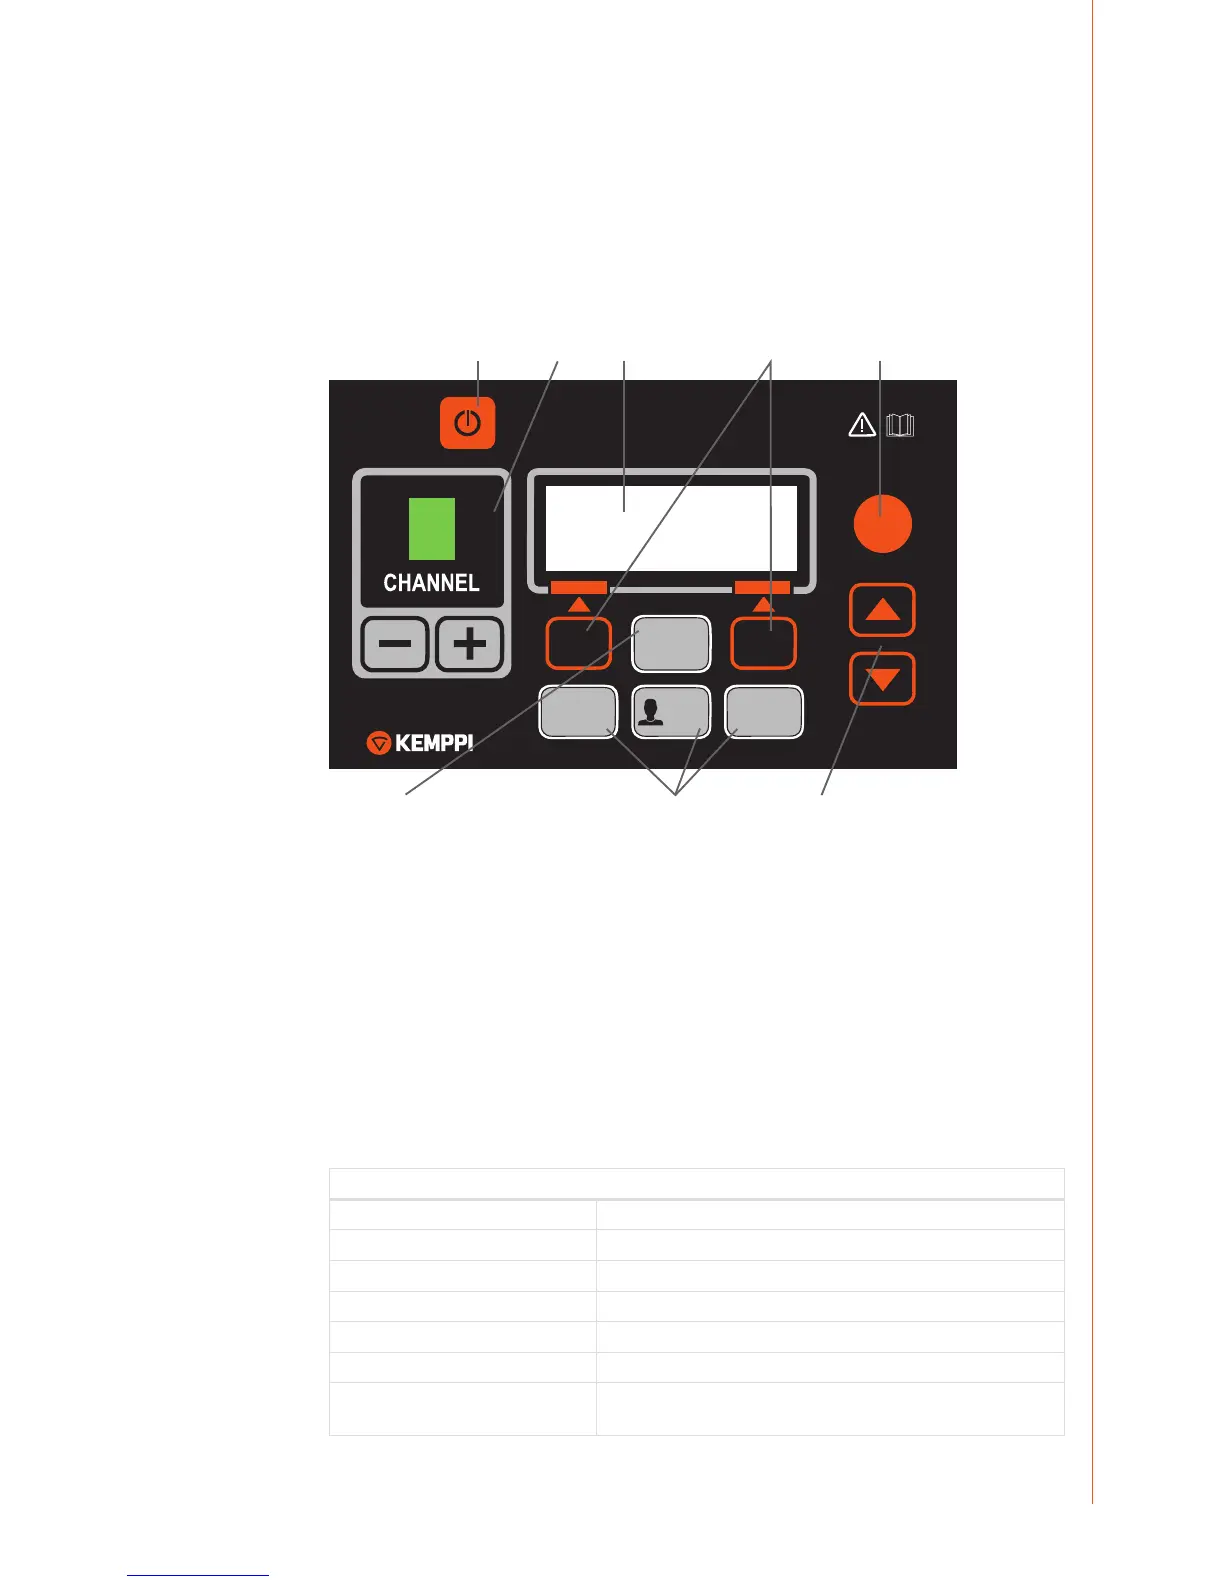
4.1 Layout and button functions
MENU
CHANNEL
INFO
USER
WF#
F1 F2 F3
X 37
W007238
1. 4.
5.6.
2. 7.
3.
8.
1. Power on button
• Long press (5 sec) switches the panel on or o.
• Short press returns the panel to default initial view (channel information).
NOTE! This button connects power to the control panel. Use the main switch on the front of the
power source to switch the power source on or o.
2. Welding channel selection buttons
FastMig X 450 oers 100 memory channels for you to store your frequently used welding jobs.
• To browse memory channels, press + and – buttons.
• To store a new welding job to an empty channel, press the soft key under the display
text NEW.
3. MENU button
This button takes you to the main menu list. Proceed following the instructions on screen.
X 37 main menu list
Edit Channel Make changes to existing welding channel
User Identification Selecti one user out of ten
Weld Data Check out the values of the last weld
System Config Menu Show device conguration and information
Language Select your menu language
Select Feeder (WF#) Select another parallel wire feeder as a setup target
MMA/CC/CV Mode Activate MMA welding, or use CC or CV mode for ArcFeed or MasterTig
LT 250
11
© Kemppi Oy / 1312
 Loading...