Do you have a question about the Kemppi Kempomat 4200 and is the answer not in the manual?
Introduction to the manual and general information about Kemppi products.
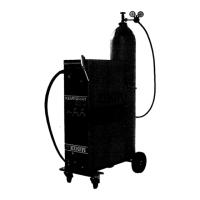
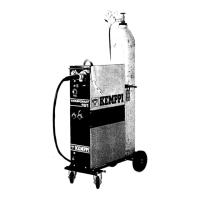
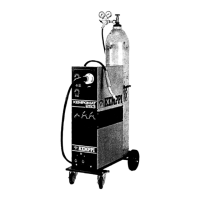
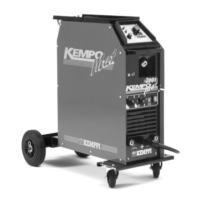
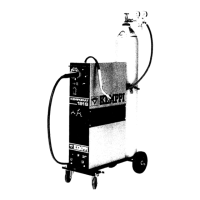
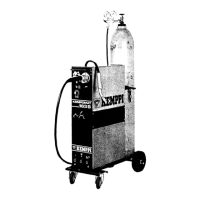
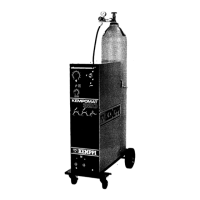
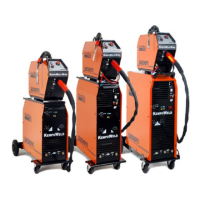
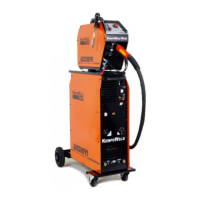
Overview of Kempomat 2500, 3200, and 4200 power sources and wire feeder units.
Guidelines for placing the machine on a firm, dry, level surface with adequate cooling air circulation.
Instructions for connecting the machine to the mains supply by a qualified electrician.
Details on routing and connecting the mains cable, including phase and earth conductors.
Table of cable cross-sections and their loading capacities for welding and return current.
Details components of the 2-roll wire feed mechanism, including guide tubes and feed rolls.
Details components of the 4-roll wire feed mechanism, including guide tubes and feed rolls.
Steps for mounting the wire feeder unit and connecting cables, including max wire feed speed adjustment.
Details wire feed rolls and guide tubes for different wire types and purposes.
Instructions for attaching the MIG welding gun, ensuring compatibility and proper connection.
Steps for securely mounting and locking the wire reel onto the wire feeder unit.
Procedure for automatic wire feeding, including groove selection and pressure adjustment.
Guidance on adjusting the wire reel brake force for optimal wire feeding.
Information on shielding gas types, flow rate, and instructions for connecting a gas flow regulator.
Identification and description of controls and indicators on the Kempomat front and rear panels.
Details the adjustment potentiometer and KMW timer functions on the wire feed panel.
Explanation of the burn back time setting and wire inch switch on the wire feeder unit.
Description of main switches, pilot lamps, and voltage adjustment procedures for Kempomat models.
How to adjust arc roughness by connecting the return current cable to different connectors.
Details the automatic operation of the cooling fan based on welding activity and overheating.
Explanation of the stepless adjustment of wire feed speed using the front panel potentiometer.
How to set burn back time based on filler material and shielding gas for proper welding end.
Description of 2/4-sequence, spot, cycle arc, and continuous welding modes using the KMW timer.
Details the MSD 1 unit for displaying voltage and current, including mounting and switch positions.
Information about the KMW sync unit for push-pull guns and connection to potentiometers.
Step-by-step guide for installing the KMW timer electronics card and potentiometer knob.
Daily checks for welding and mains connection cables, ensuring safety and proper condition.
Maintenance tasks for the power source, including cleaning internal parts and checking electric connections.
Instructions for environmentally responsible disposal of the equipment according to EU directives.
| Brand | Kemppi |
|---|---|
| Model | Kempomat 4200 |
| Category | Welding System |
| Language | English |