2.7. WELDING CABLE CONNECTIONS
2.7.1. Choosing welding polarity in MMA welding
You can change the welding polarity by choosing (+) or (-) cable connector.
2.7.2. Earthing
If possible, always fasten the earth clamp of return current cable directly onto work piece.
1. Clean contact surface of earth clamp from paint and rust.
2. Fasten clamp properly, so that contact surface is as large as possible.
3. Check that clamp is fastened rmly.
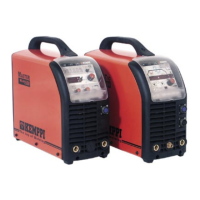
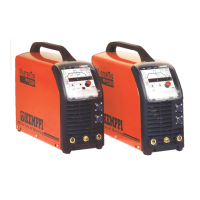
2.8. COOLING UNIT (MASTERCOOL 10, MASTERCOOL 12)
Cooling liquid is injurious! Avoid also contact with skin or eyes. In case of injury,
seek for medical advice.
Cooling unit Mastercool 10 and Mastercool 12 together with TIG torch of Kemppi’s TTC-W
range enables TIG welding with water-cooled torch.
The cooling unit is installed beneath the power source with screws. Electrical connections are
on the bottom of power source. Fill the reservoir with a 20 - 40 % mixture of glycol and water,
or with any other suitable antifreeze. The capacity of the reservoir is 3 litres.
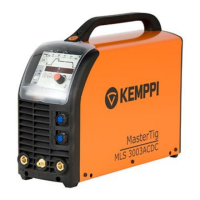
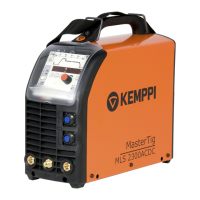
Mastercool 10: Mastercool 12:
Mastertig 2500 MLS™ Mastertig 2503 MLS™
Mastertig 3500 MLS™ Mastertig 3503 MLS™
Installation of cooling unit
 Loading...