EN
14
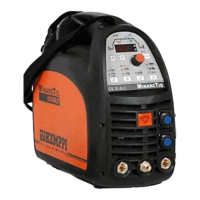
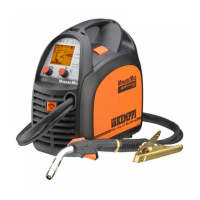
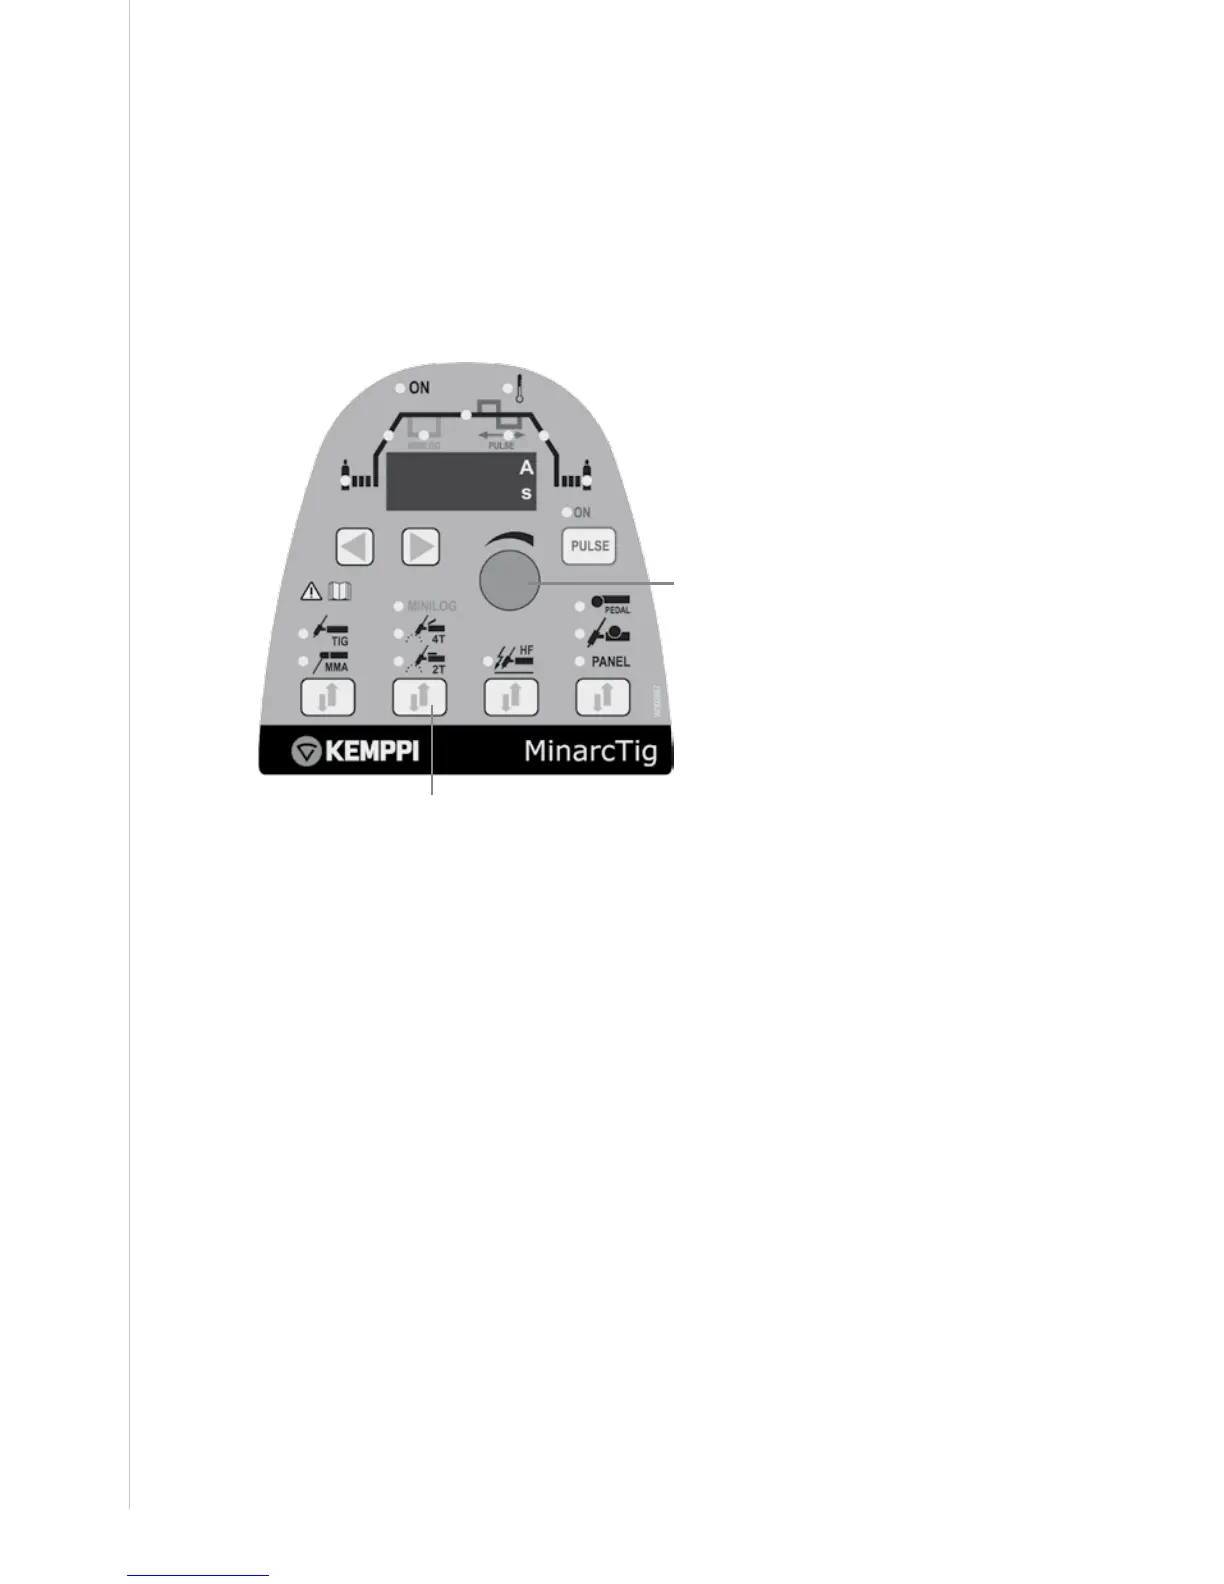
Setting parameters
Select the welding parameters with the arrow keys (3) and adjust the
parameter values with the control knob (8). When setting the parameters,
the display (2) will show the parameter being adjusted as well as the
numeric value that will be set for it. After three seconds, the display returns
to normal state and shows the welding current value.
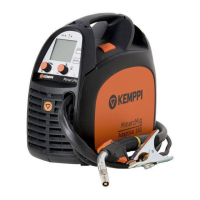
2.6.4 Additional features for MLP models
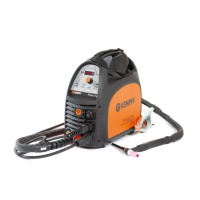
5.
8.
Minilog
With the Minilog feature, you can switch between two current levels by
pressing the switch briey. The levels are the welding current and the
Minilog current.
To use the Minilog feature, press the button (5) so that the MINILOG
indicator is lit. Use the arrow buttons to move the selector to Minilog current
and then set the desired Minilog current level with the control knob (8).
The shielding gas starts to ow when the torch switch is pressed. When you
release the switch, the current starts to rise (if an upslope time is established)
to the set welding current level.
Press the torch swich shortly (<1 sec) you can then easily switch up and
down between the two levels: welding current and Minilog current.
When you press the switch for 1 second and then release it, the current
starts to decrease. After a predetermined downslope time, the arc is
disconnected.
14 MinarcTig 180, 180MLP, 250, 250 MLP
 Loading...