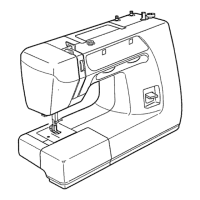
Fig.1
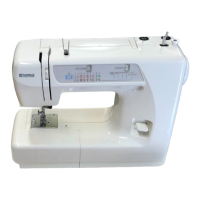
Fig. 2
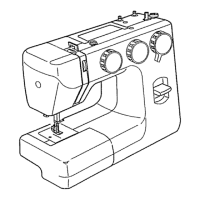
Fig. 3
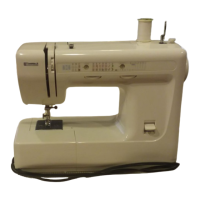
Fig. 4
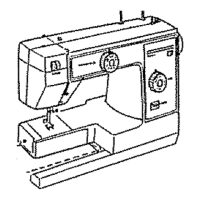
1. To install the machine in a Sears cabinet,
position machine head on cabinet plat-
form so that holes on bottom of machine
match those on board. Insert washers
and screws and tighten into place. (Fig. 1)
(Follow instructions provided with Sears
cabinet. Screws and washers are supplied
with cabinet.)
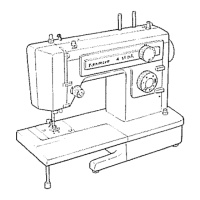
2. A separate base and cover ts available to
carry the machine when needed. The
base must be removed when machine is
used.
To install machine in carrying case, set
machine into base, with word FRONT in
base facing you. (Fig, 2)
3,
4,
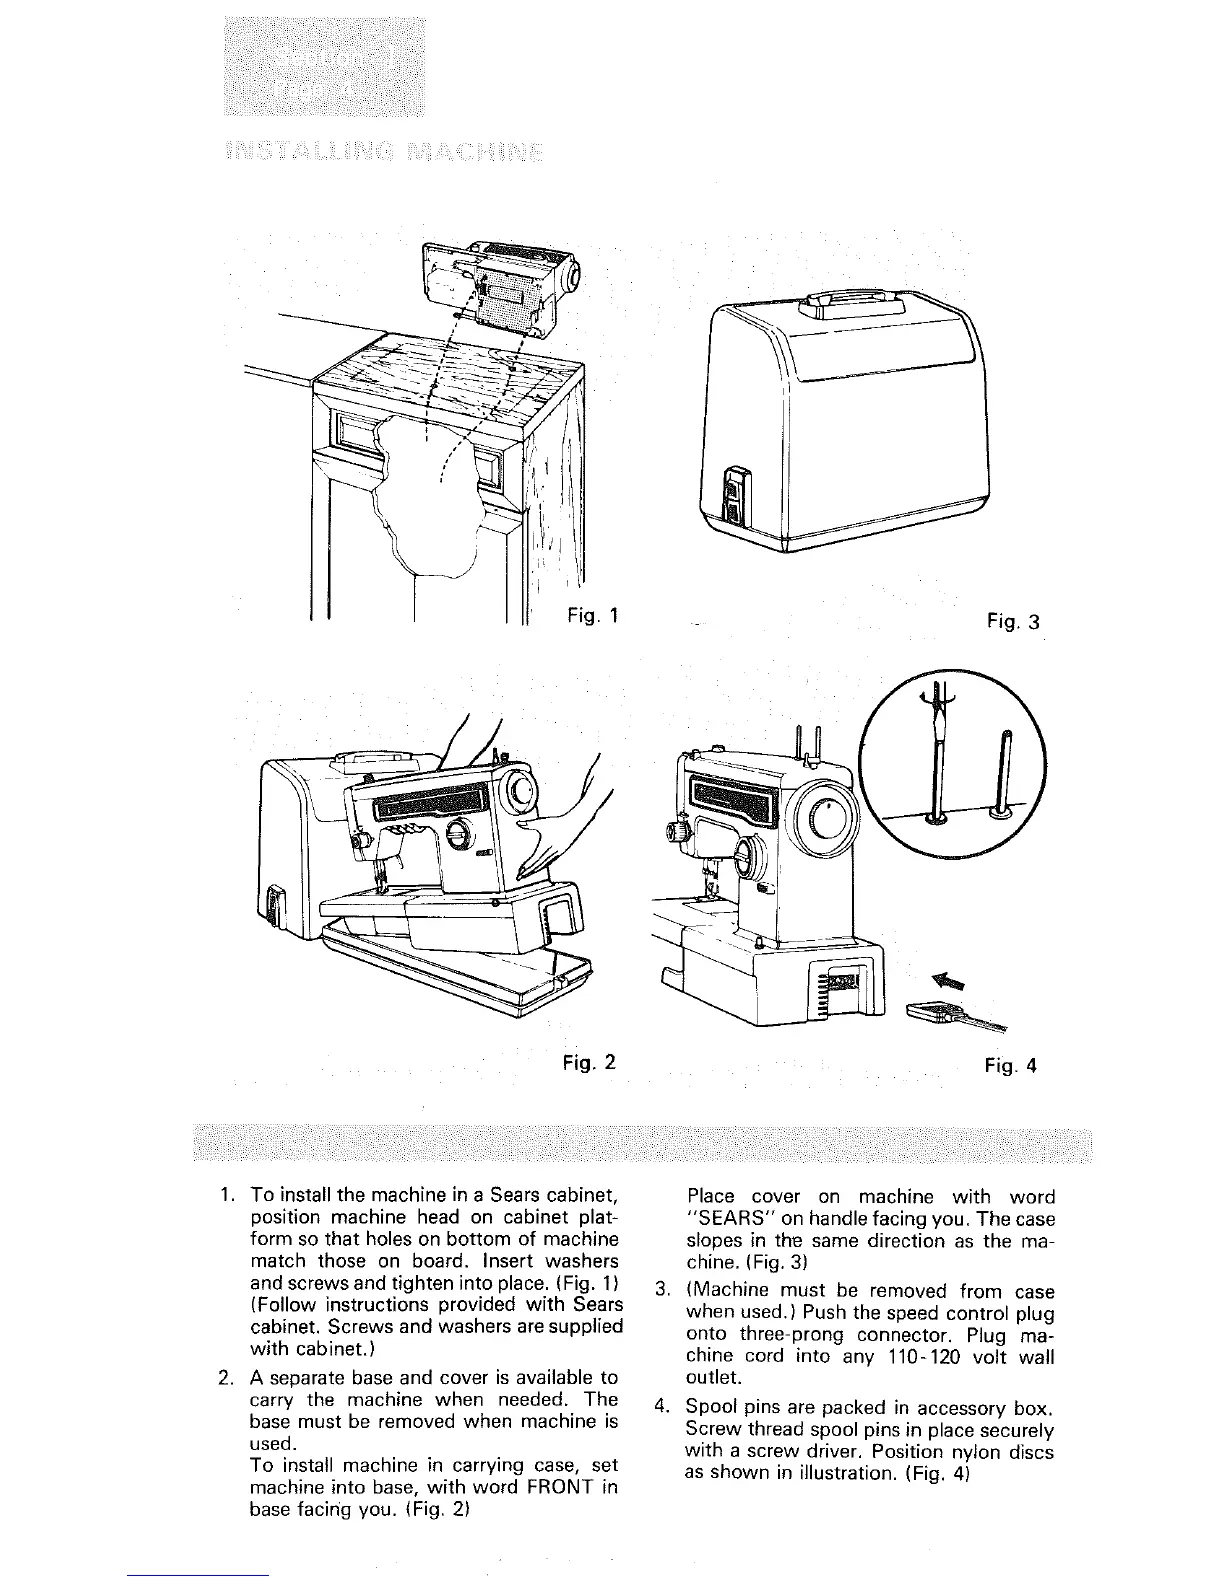
Place cover on machine with word
"SEARS" on handle facing you. The case
slopes in th_ same direction as the ma-
chine. (Fig, 3)
(Machine must be removed from case
when used.) Push the speed control plug
onto three-prong connector. Plug ma-
chine cord into any 110-120 volt wall
outlet.
Spool pins are packed in accessory box,
Screw thread spool pins in place securely
with a screw driver, Position nylon discs
as shown in illustration. (Fig, 4)