Connection/Installation
34
Ñ To set up the camera
assignment settings
1
Press the [MENU] button.
Popup menu appears.
2
Touch [SETUP].
SETUP Menu screen appears.
3
Touch [Camera].
Camera screen appears.
4
Touch [Camera Assignment Settings].
5
Select the item to set up.
■ [REAR VIEW CAMERA] (DDX9907XR /
DMX957XR)
Change the HD camera picture quality
setting when an HD camera is connected
with this unit.
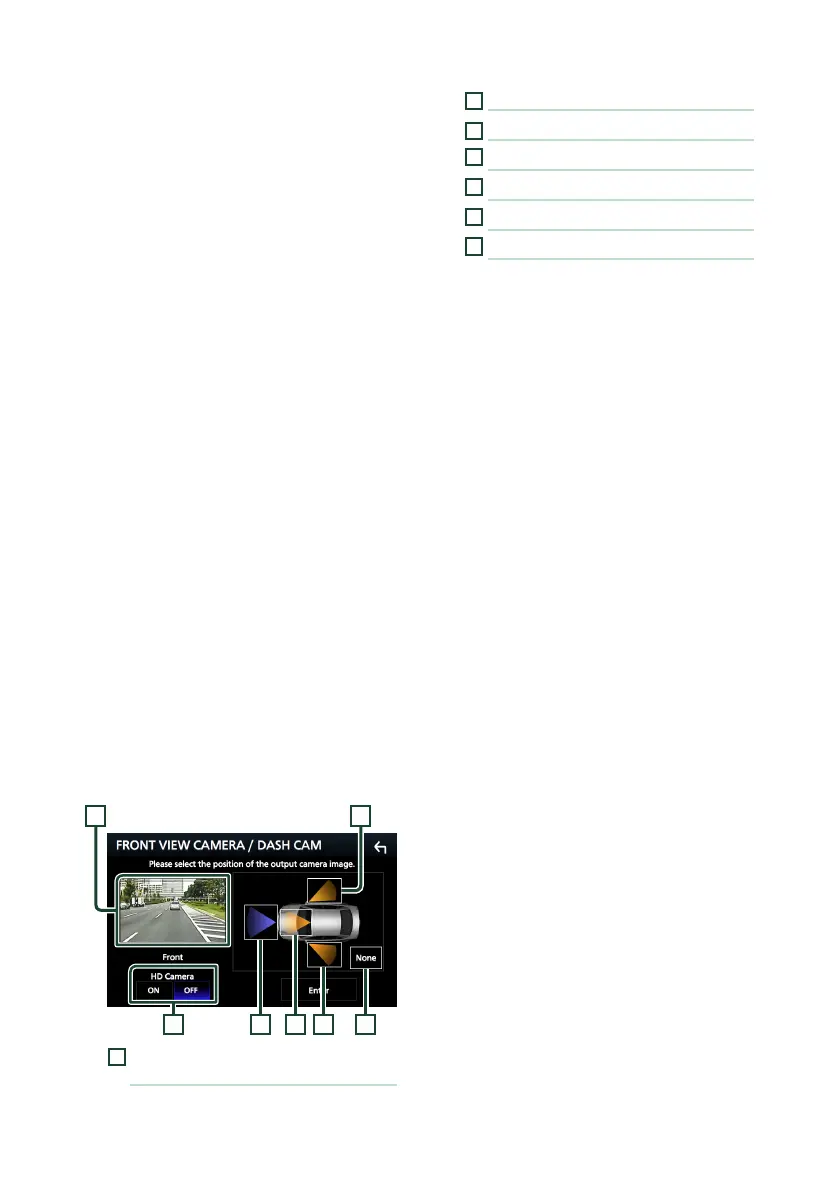
■ [FRONT VIEW CAMERA / DASH CAM]
Set the camera assignment from view
camera connected to Front view camera/
Dashboard camera input terminal.
Change the HD camera picture quality
setting when an HD camera is connected.
(DDX9907XR / DMX957XR)
■ [3rd VIEW CAMERA]
Set the camera assignment from view
camera connected to 3rd view camera input
terminal.
■ [AV-IN]
Set the camera assignment from view
camera connected to AV-IN input terminal.
6
Select the view camera to set up.
63 741
2 5
1
[Picture quality settings]
(DDX9907XR / DMX957XR) *
1
2
[Picture from view camera]
3
[Front] *
2
4
[Dashboard Camera] *
2
5
[Right] *
2
6
[Left] *
2
7
[None] *
2
*1 The [REAR VIEW CAMERA] and
[FRONT VIEW CAMERA / DASH CAM]
setting screens only when HD camera is
connected.
*2 Except the [REAR VIEW CAMERA] setting
screen.
7
Touch [Enter].
 Loading...