

A
alyssa29Sep 12, 2025
What does “CONNECT ERROR” mean on my Kenwood KMM-202 Car Receiver?
- NnburkeSep 12, 2025
If your Kenwood Car Receiver displays “CONNECT ERROR”, it indicates that the communication is unstable.
What does “CONNECT ERROR” mean on my Kenwood KMM-202 Car Receiver?
If your Kenwood Car Receiver displays “CONNECT ERROR”, it indicates that the communication is unstable.
What to do if my Kenwood KMM-202 playback is intermittent or sound skips?
If the playback on your Kenwood Car Receiver is intermittent or the sound skips, turn off the power saving mode on the Android device.
How to fix no sound on my Kenwood KMM-202 Car Receiver?
If you can't hear any sound from your Kenwood Car Receiver, first, make sure the volume is at an audible level. If that's not the issue, check all the cords and connections to ensure they are properly connected.
What happens when the call ends on my Kenwood KMM-202?
When a call ends while using your Kenwood Car Receiver, “CALL” disappears, and the audio system resumes.
Why are correct characters not displayed on my Kenwood Car Receiver?
Your Kenwood Car Receiver can only display uppercase letters, numbers, and a limited number of symbols.
What does “NO SKIPS” mean on my Kenwood KMM-202?
If your Kenwood Car Receiver displays “NO SKIPS”, the skip limit has been reached.
What does “NA FILE” mean on my Kenwood KMM-202 Car Receiver?
If your Kenwood Car Receiver displays “NA FILE”, make sure the media you are trying to play contains supported audio files.
What does “NO MUSIC” mean on my Kenwood Car Receiver?
If your Kenwood Car Receiver displays “NO MUSIC”, connect a USB device that contains playable audio files.
What does “NA DEVICE” mean on my Kenwood KMM-202 Car Receiver?
Connect a supported USB device to your Kenwood Car Receiver and check the connections.
What to do if my Kenwood Car Receiver displays “ANDROID ERROR” / “NA DEVICE”?
If your Kenwood Car Receiver shows “ANDROID ERROR” or “NA DEVICE”, try these steps: * Reconnect the Android device. * Restart the Android device.
To ensure proper use, please read through this manual before using this product.
Do not operate any function that takes your attention away from safe driving.
Adjust volume to hear outside sounds; lower volume for digital sources to prevent speaker damage.
Guides users through setting the display language and disabling the demonstration mode.
Instructions for setting the current time and date on the unit.
Steps for configuring initial system settings like audio controls and source preferences.
Initiates playback automatically when a device is connected.
Choose control method for devices and select music storage drive.
Steps to install the app, create an account, and begin Pandora streaming.
Solutions for general issues, poor radio reception, and USB/iPod connection errors.
Troubleshoot Android connection problems, Pandora errors, and call handling.
Critical safety precautions and general cautions for installing the unit.
Step-by-step guide to physically install the unit in a vehicle.
Detailed instructions for installing the unit into the vehicle's dashboard.
Illustrates how to connect the unit's wires to the vehicle's electrical system.
| MP3 playback | Yes |
|---|---|
| CD-R playback | No |
| Audio formats supported | FLAC, MP3, WAV, WMA |
| AM band range | 531 - 1611 kHz |
| FM band range | 87.5 - 108 MHz |
| LW band range | 153 - 279 kHz |
| Supported radio bands | FM, LW, MF |
| Preset stations quantity | 24 |
| DIN size | 1 DIN |
| RDS features | EON |
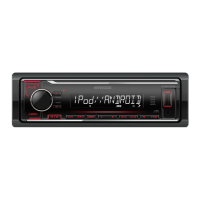
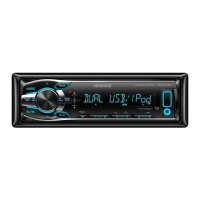
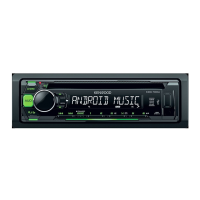
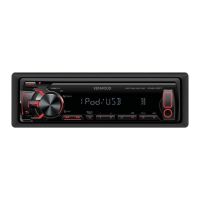
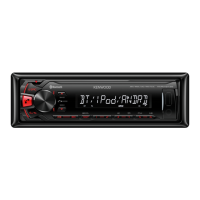
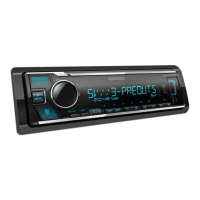
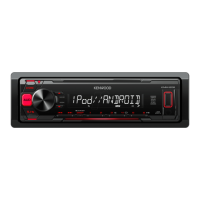
| Product color | Black |
| Volume control | Rotary |
| Frequency range | 20 - 20000 Hz |
| Audio output channels | 4.0 channels |
| Removable front panel | Removable |
| Equalizer bands quantity | 3 |
| Maximum power per channel | 50 W |
| Mobile operating systems supported | Android, iOS |
| Display type | LCD |
| Display digits | 13 digits |
| Illumination color | White |
| USB version | 2.0 |
| USB ports quantity | 1 |
| Pre-out channels | 2 SW |
| File format system | FAT 12/16/32 |
| Power requirements | 14.4 V DC, 10 A |
| Key illumination color | Red |
| Cables included | DC |
| Operating temperature (T-T) | -10 - 60 °C |
| Weight | 600 g |
|---|---|
| Dimensions (WxDxH) | 182 x 107 x 53 mm |