C
ccarrollSep 9, 2025
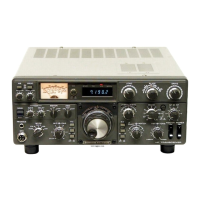
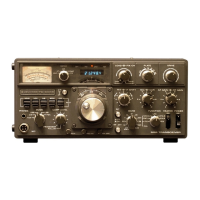
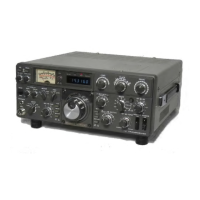
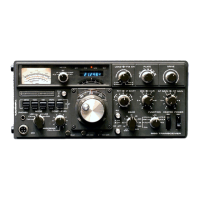
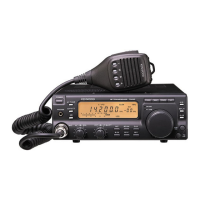
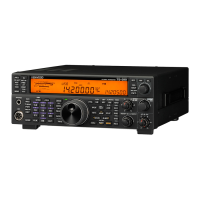
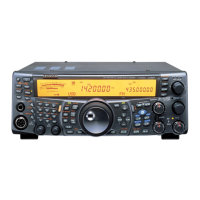
How to unlock frequency on Kenwood TS-870 Transceiver?
- WwilliamscalebSep 9, 2025
If the frequency cannot be changed on your Kenwood Transceiver, it is likely that the Lock function is activated. To resolve this, press [F.LOCK] to switch OFF the function.