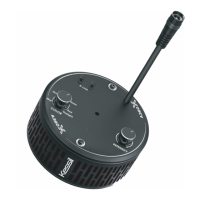
AP9X DAISY-CHAIN SCENARIO
CONTROLLING MULTIPLE K-LINK & 0-10V FIXTURES
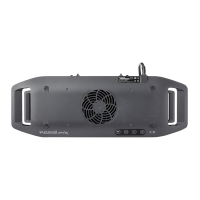
MOUNTING
• Hang the light with the four Screw Hooks and the four Hanging Brackets.
• To install the Hanging Brackets, remove the screws on the AP9X, use the same screws
to secure the fasteners with triangular rings (Hanging Brackets) onto the light fixture.
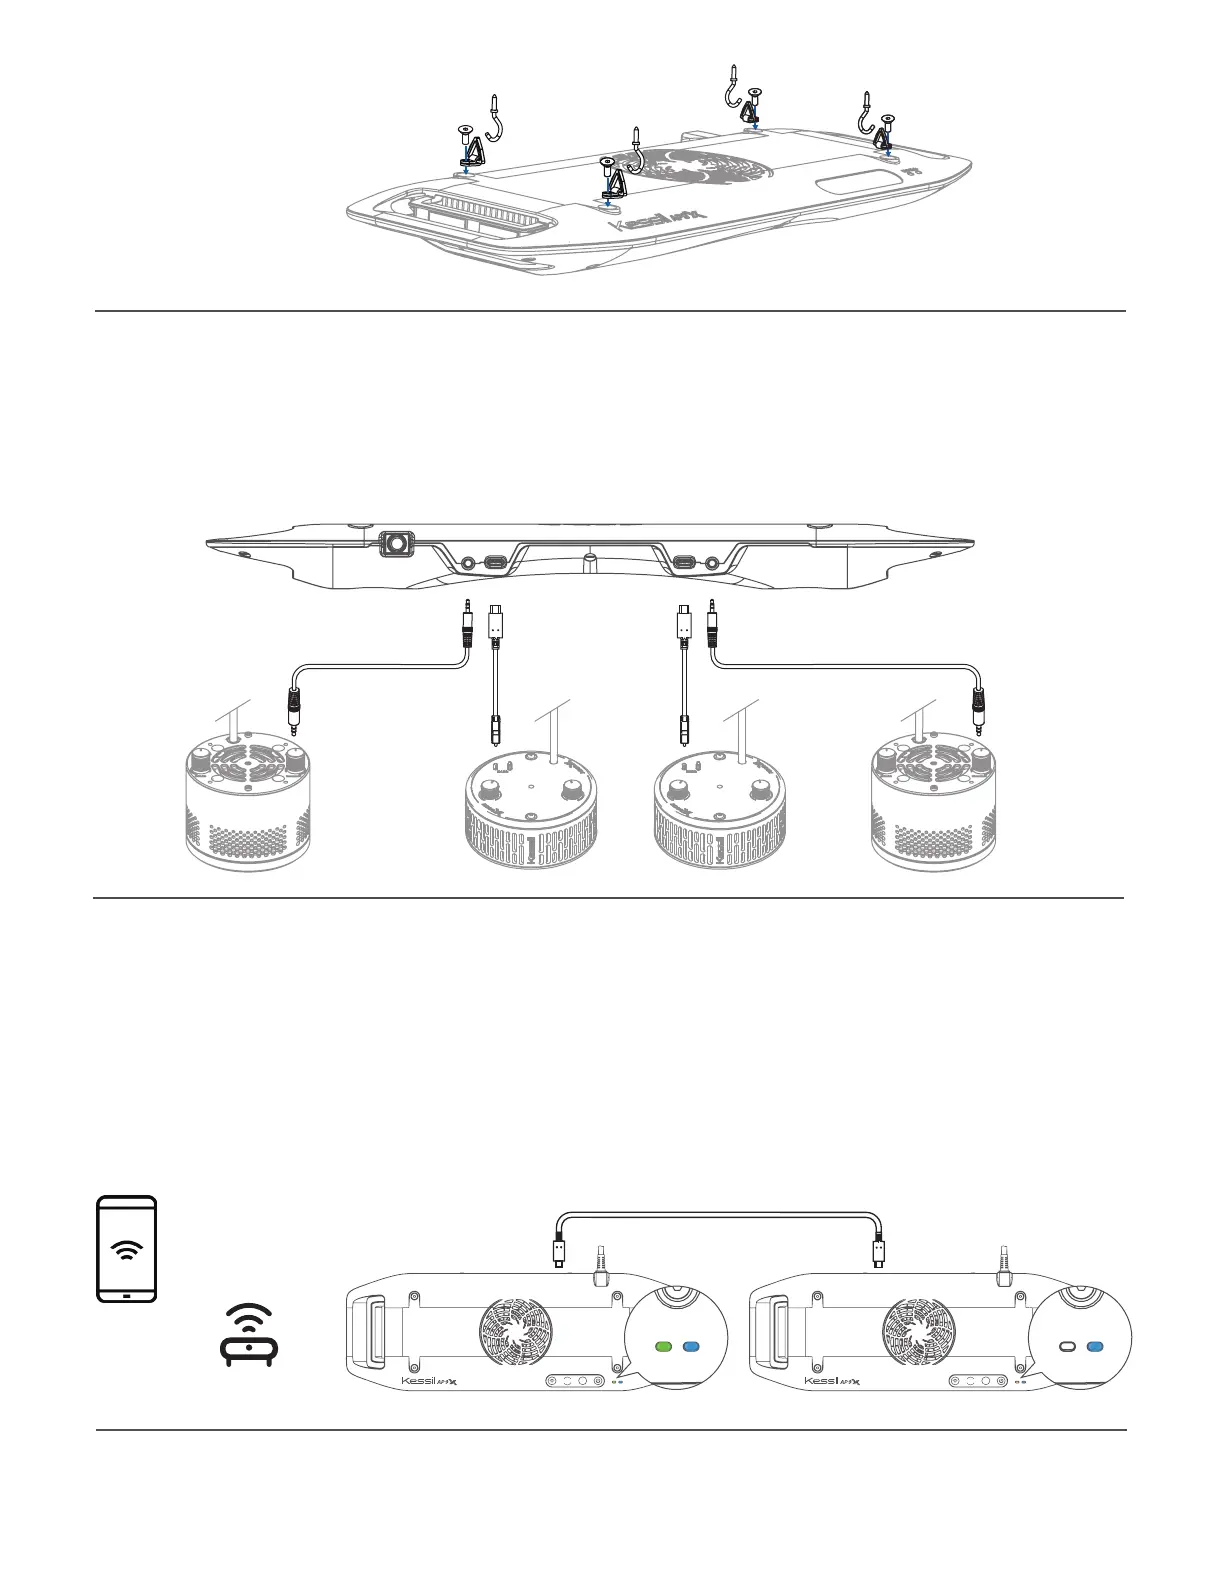
0-10V(Output only) 0-10V(Output only)K-LinkK-Link
K-Link0-10V(R) K-Link 0-10V(L)
Multiple AP9X (up to 32 K-Link fixtures) can be connected using "Kessil WiFi" app and
K-Link Cables. Only the master AP9X should have Wi-Fi signal turned on (Wi-Fi indicator
(B) is ON), Wi-Fi signal on the other fixtures should be OFF.
Mode Indicator (A) will be
solid blue and control buttons are disabled.
INT
COLOR
Wi-Fi Mode
INT
COLOR
Wi-Fi Mode
• Two K-Link ports (J): Connect and control multiple X-series K-Link fixtures using "Kessil
WiFi" app and K-Link Cables. When connecting Kessil Wi-Fi enabled products, make
sure to turn off the Wi-Fi signal of the slave fixtures. When controlling them (Tuna Blue
only) manually, tuning controls on any light control all other lights in chain.
• Two 0-10V Output ports (K): Connect and control multiple 0-10V fixtures using "Kessil
WiFi" app.
Wireless Router