9
Set-Up & First Brew
IMPORTANT: You cannot use your Keurig
brewer until it has been primed for its first use
as set forth below.
Priming your Brewer
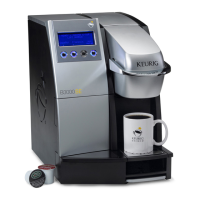
1. Unwrap cord and plug the brewer into a
grounded outlet.
2. Place an 8 oz. cup or mug on the Drip Tray
Plate.
3. If you plan to use the brewer in Pour-Over
mode, move the Pour-Over/Plumbed switch
to the left. The Pour-Over/Plumbed switch is
located behind a small door at the lower
right-rear of the brewer. During the priming
sequence, the brewer will prompt you to add
water at the appropriate time and proceed to
step you through the priming process.
4. Remove the small access door located on
the right rear of the brewer and verify the
breaker switch is in the ‘reset’ position and
replace door.
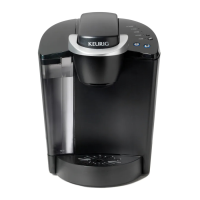
5. Press Power Button found on lower right
rear panel of the Brewer. The LCD screen,
water level indicator and brew buttons will
become illuminated.
6. The Brewer will automatically fill with water
(if plumbed) and then the water will be heat-
ed. During the priming and heating period
the LCD screen will indicate the state of the
brewer. Once the water is heated (about 3
minutes), the LCD screen will indicate that a
cleansing brew will start and steps you
through the process.
7. If the brewer is in Pour-Over mode, the LCD
screen will prompt you to add water. The
water fill door is located above the silver
brew handle. Check that the water screen is
in place before pouring water into the brew-
er. Continue to add water until the Brewer
alerts you that the Cold Water Tank is full by
way of an audible beep and a flashing of all
the water level indicator bars.
8. After the Brewer steps you through the
priming process and cleansing brew, it will
ask you to discard the cleansing brew liquid.
9. The priming process is now complete and
you are ready to brew.
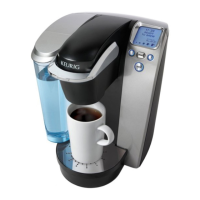
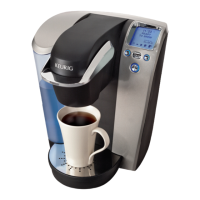
Ready to Brew your First Cup
1. The LCD screen
will indicate
2. Place a cup or mug on the Drip Tray Plate.
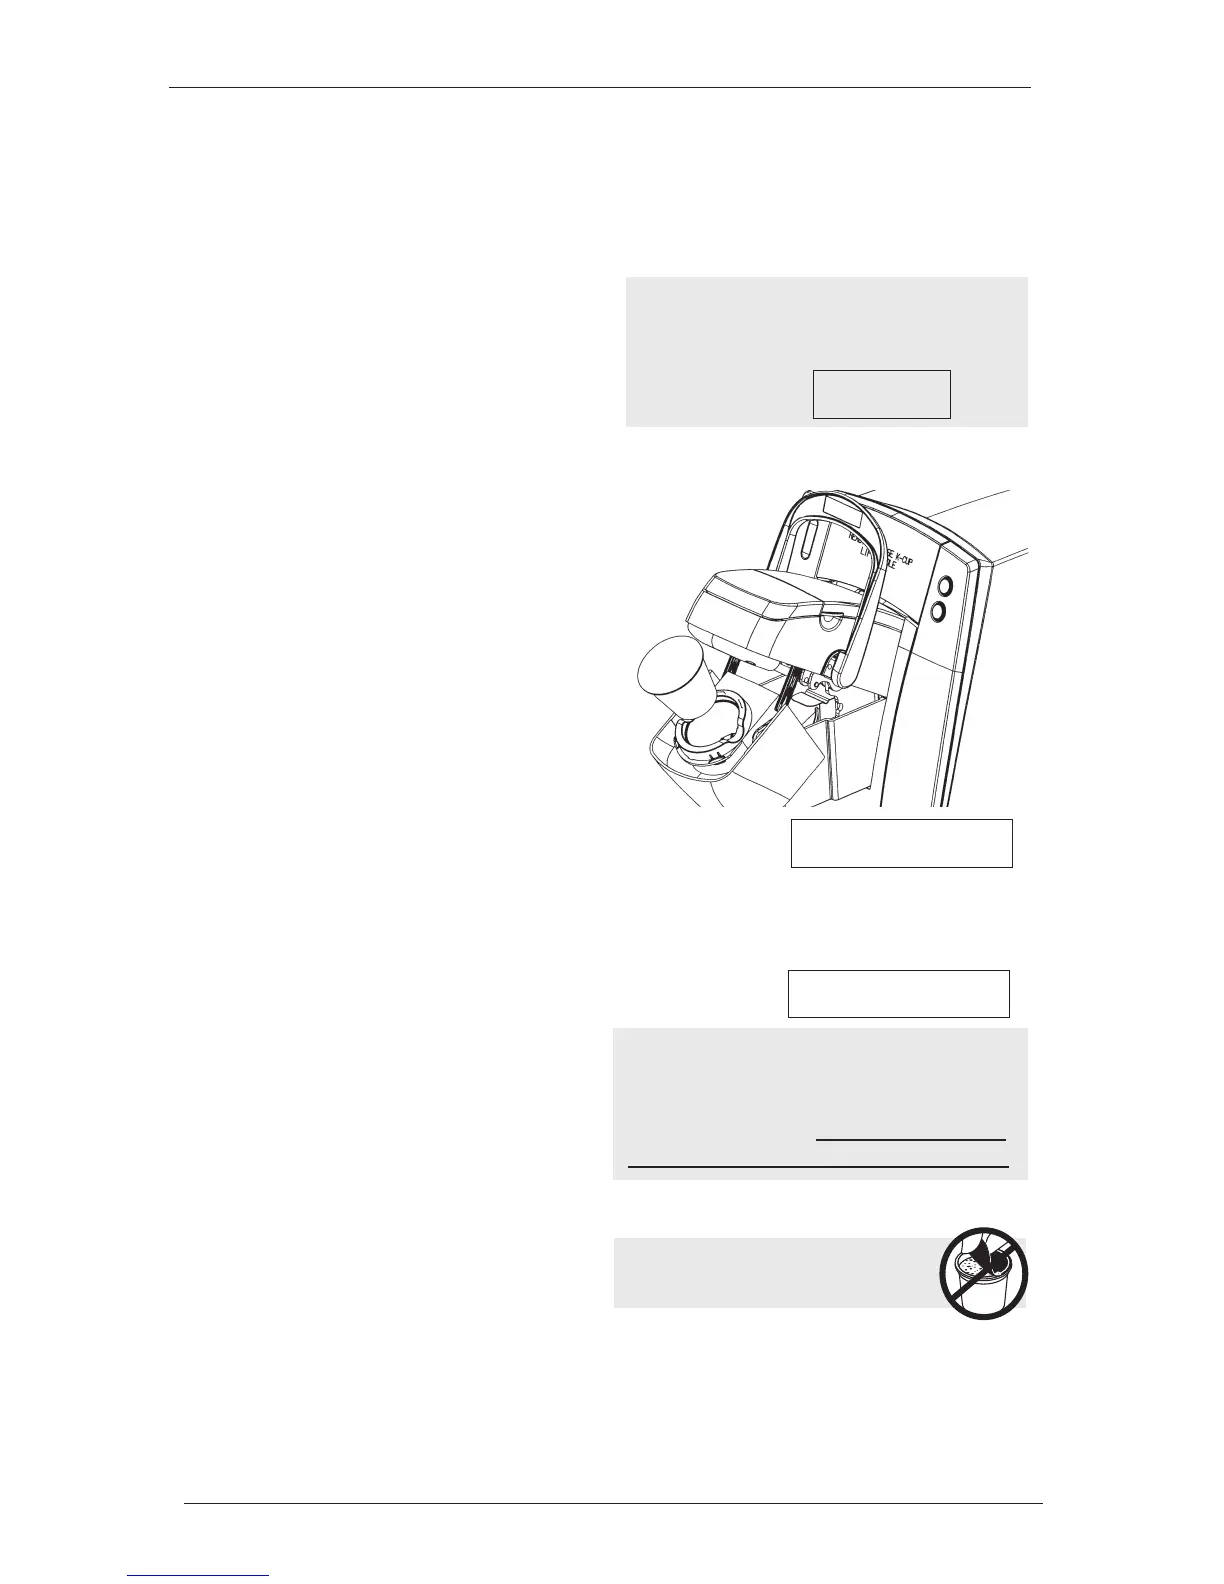
3. Lift the Handle and the K-Cup
®
Holder will
open toward you. The LCD screen will
indicate
4. Select a K-Cup
®
portion pack.
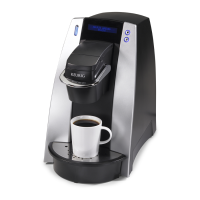
5. Place a K-Cup
®
portion pack in the K-Cup
®
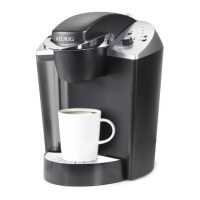
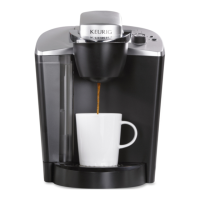
Holder (as shown in FIG. 5).
6. Lower the Handle completely to close
the Lid.
NOTE: Do not remove the foil lid or
puncture the K-Cup
®
portion pack.
CAUTION: There are two sharp needles that
puncture the K-Cup
®
portion pack, one above
the K-Cup Holder and the other in the bottom
of the K-Cup Holder. T
o avoid risk of injury,
do not put your fingers in the K-Cup Chamber.
NOTE: The Brewer Hot Water tank will take
less than 20 seconds to refill and reheat water
between brews during which time the LCD
screen will indicate
Fig. 5
HEATING -
PLEASE WAIT
READY - CHOOSE K-CUP
LIFT HANDLE
INSERT NEW K-CUP
CLOSE HANDLE
 Loading...