3 Calibration
72 Model N6705 Service Guide
Enter the value from the external DMM into
the data field and then select Next. When
calibration is complete, select Close.
10 μA Measurement Range - Models N6781A, N6782A, N6784A
Step 1.
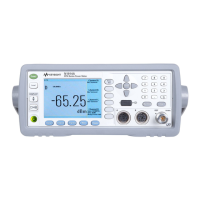
Connect the Keysight 3458A in series with a 1 MΩ resistor to the output
(see equipment list in chapter 2 and Cal Setup D). Set the Keysight
3458A to measure current using the 100 μA range (no autoranging). The
remote command to do this is “DCI 100e-6”.
Select the 10 μA measurement range of output 1.
From the Calibration menu, select
Current, 10 μA Measurement
Range. Then select Start.
CAL:CURR:MEAS 0.00001, (@1)
Select the first current calibration point.
The first calibration point is automatically
selected. “Enter P1 measured data” should be
displayed.
*OPC?
Measure the current with the
Keysight 3458A and enter the value.
Enter the value from the external DMM into
the data field and then select Next.
Select the second current calibration point.
The second calibration point is automatically
selected. “Enter P2 measured data” should be
*OPC?
Measure the current with the Keysight 3458A and enter the value. This
value should be negative.
Enter the value from the external DMM into
the data field and then select Next. When
calibration is complete, select Close.