Performance Tests and Calibration 5
Keysight U1241B and U1242B User’s and Service Guide 75
Calibration Adjustments
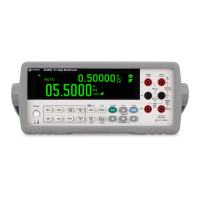
1 Turn the rotary switch to Test Function position, as shown in Table 5-3.
2 After unsecuring the multimeter, the multimeter will go into the adjustment
mode, see Unsecuring the Multimeter for Calibration.
3 The primary display will show the reference value of the Cal Items. Configure
each Cal Item shown in Valid Adjustment Input Reference Values in Table 5-3.
4 Use the and arrow keys to select the Cal Range.
5 Apply the input signal as shown in the Valid Input Reference Value column of
the Table 5-3. The bar graph will display the input reading. There is no bar
graph display for temperature adjustment.
6 Enter the actual applied input, see Entering Adjustment Values.
7 Press to start the adjustments. The CAL flashes in the secondary
display indicating the calibration is in progress.
8 Upon completion of each adjustment value, the secondary display will show
PAS. If the adjustment failed, the multimeter will sound a long beep and the
calibration error number appears in the secondary display. The primary display
remains at the current Cal Item.
Review the Test Considerations and Adjustment Considerations before
beginning the adjustment procedures.
Users are highly recommended to complete the adjustments in the same order
as shown in Table 5-3.
If the adjustment failed, check the input value, range, function, and entered
adjustment value and repeat the adjustment steps.