13
WIRING INSTRUCTIONS
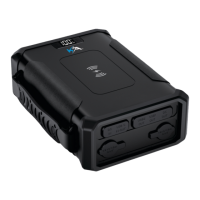
The unit comes fully assembled and ready to use. The following instructions are for
wiring in the 5 switches and connecting the unit to your battery
WIRING IN SWITCHES
What You Will Need
Wire StripperWire Crimper
Phillips Head
Screwdriver
Utility Knife
Note: Ensure the unit is disconnected from the battery prior to attempting any wiring
Step 1: Using the supplied allen key, remove the 4 screws and open the Control Hub
Step 2: For wiring in switches, select the appropriate sized spade and ring terminal for
your accessories wiring.
Note: The yellow terminals are recommended for use with 10-12AWG wire and the blue
terminals are recommended for use with 12-14AWG wire.
Step 3: Using a knife, cut the grommets on the side or bottom of the unit that your
accessory wires will run through. Push approximately 30cm of your accessories wiring
through the grommet
30cm