PT260 Service Manual
10
5.4 Installing/Removing the Belt Clip
Installing the belt clip: Match the belt clip to the two screw holes at
the rear of the radio. Use two screws to fix the belt clip.
Removing the belt clip: Use the screwdriver to take off the screws
and separate the belt clip from the radio.
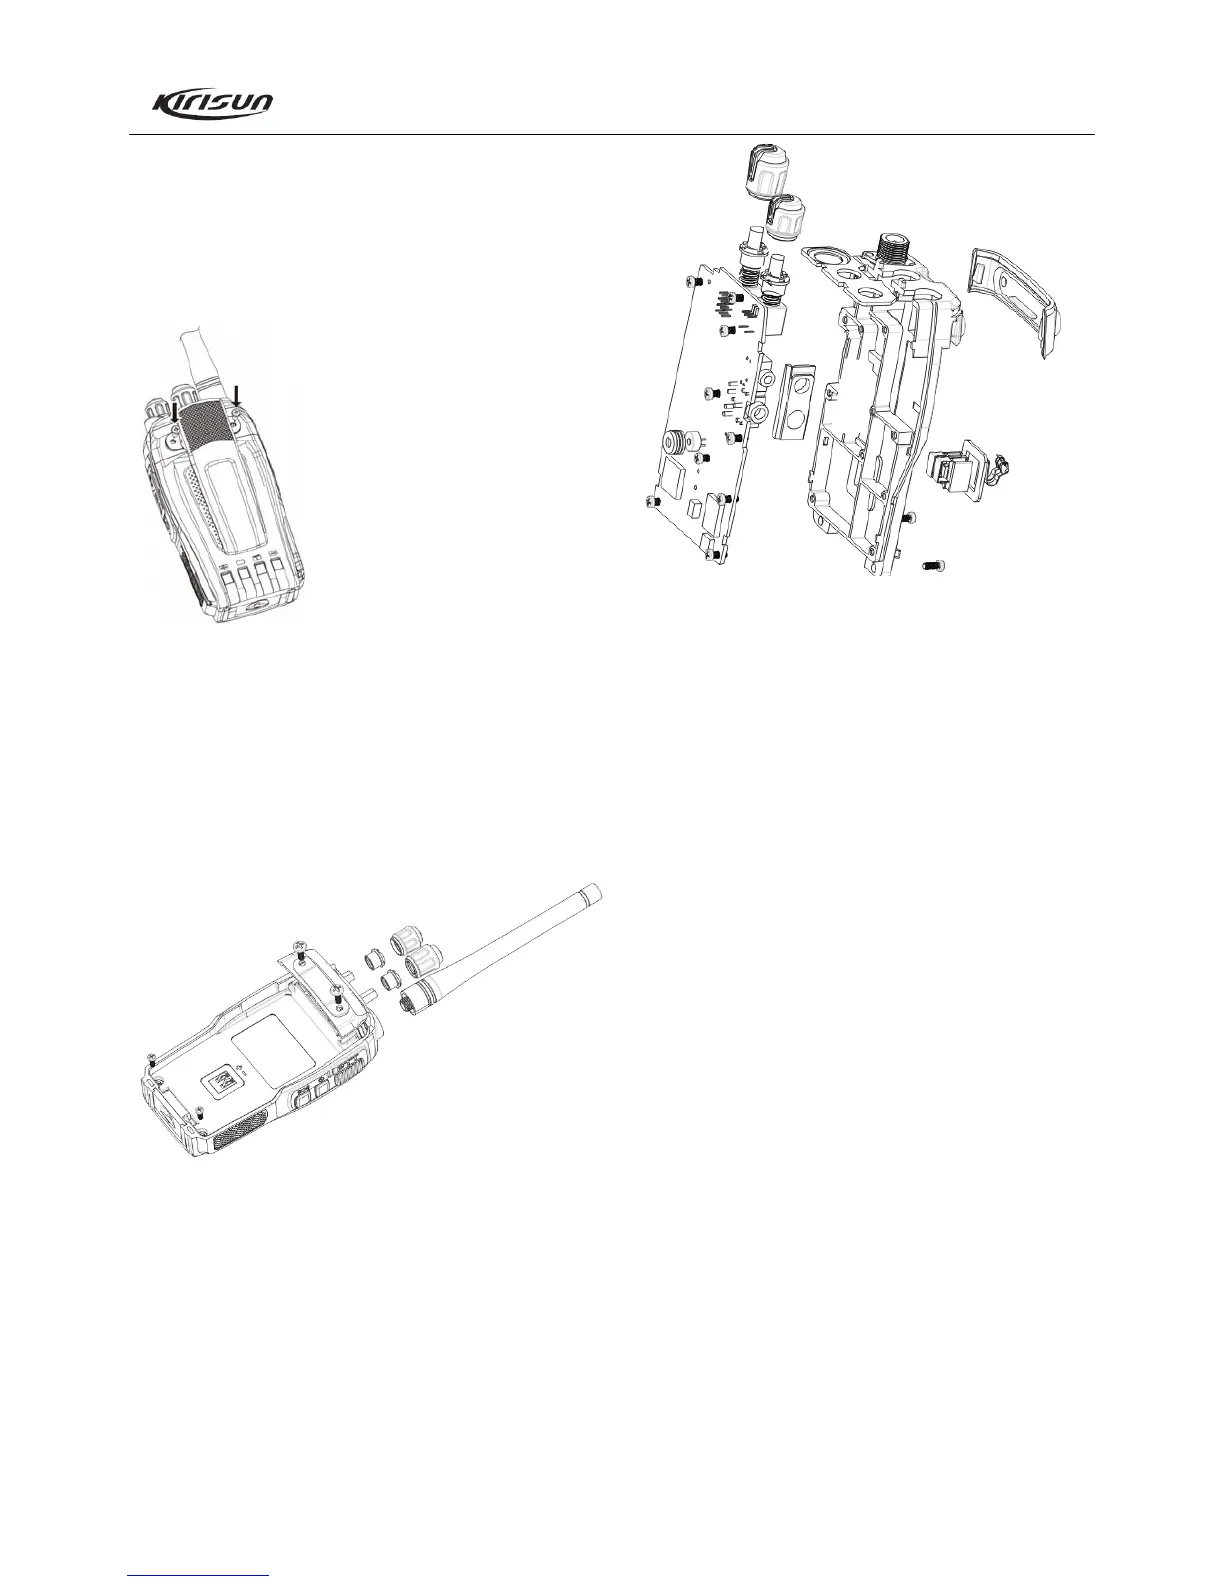
5.5 Removing the Cover from the Al bracket
1. Rotate off the Volume and Encoder Knob;
2. Screw off the screw on the knob and the antenna;
3. Screw off the two cross screws at the bottom of the Al bracket;
4. Turn over the radio; knock the radio on the desk with proper
force so as to separate the cover from the Al bracket, and then hold
at the bottom of the Al bracket and pull it out of the cover.
5.6 Removing the Main Board from the Chassis
1. Screw off the screws on the PCB board;
2. Remove the main waterproof gasket from the Al bracket;
3. Remove the solder of the speaker and the antenna terminal with
a soldering iron. Then separate the main board from the Al bracket;
4. Screw off the two screws and take off the antenna connector.
5.7 Exploded View

 Loading...