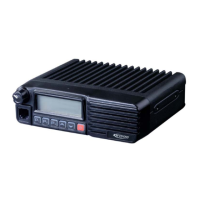
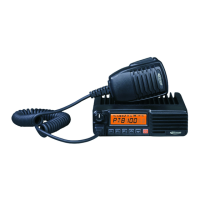
PT8100 Service Manual
3
enabled/disabled by PC software).
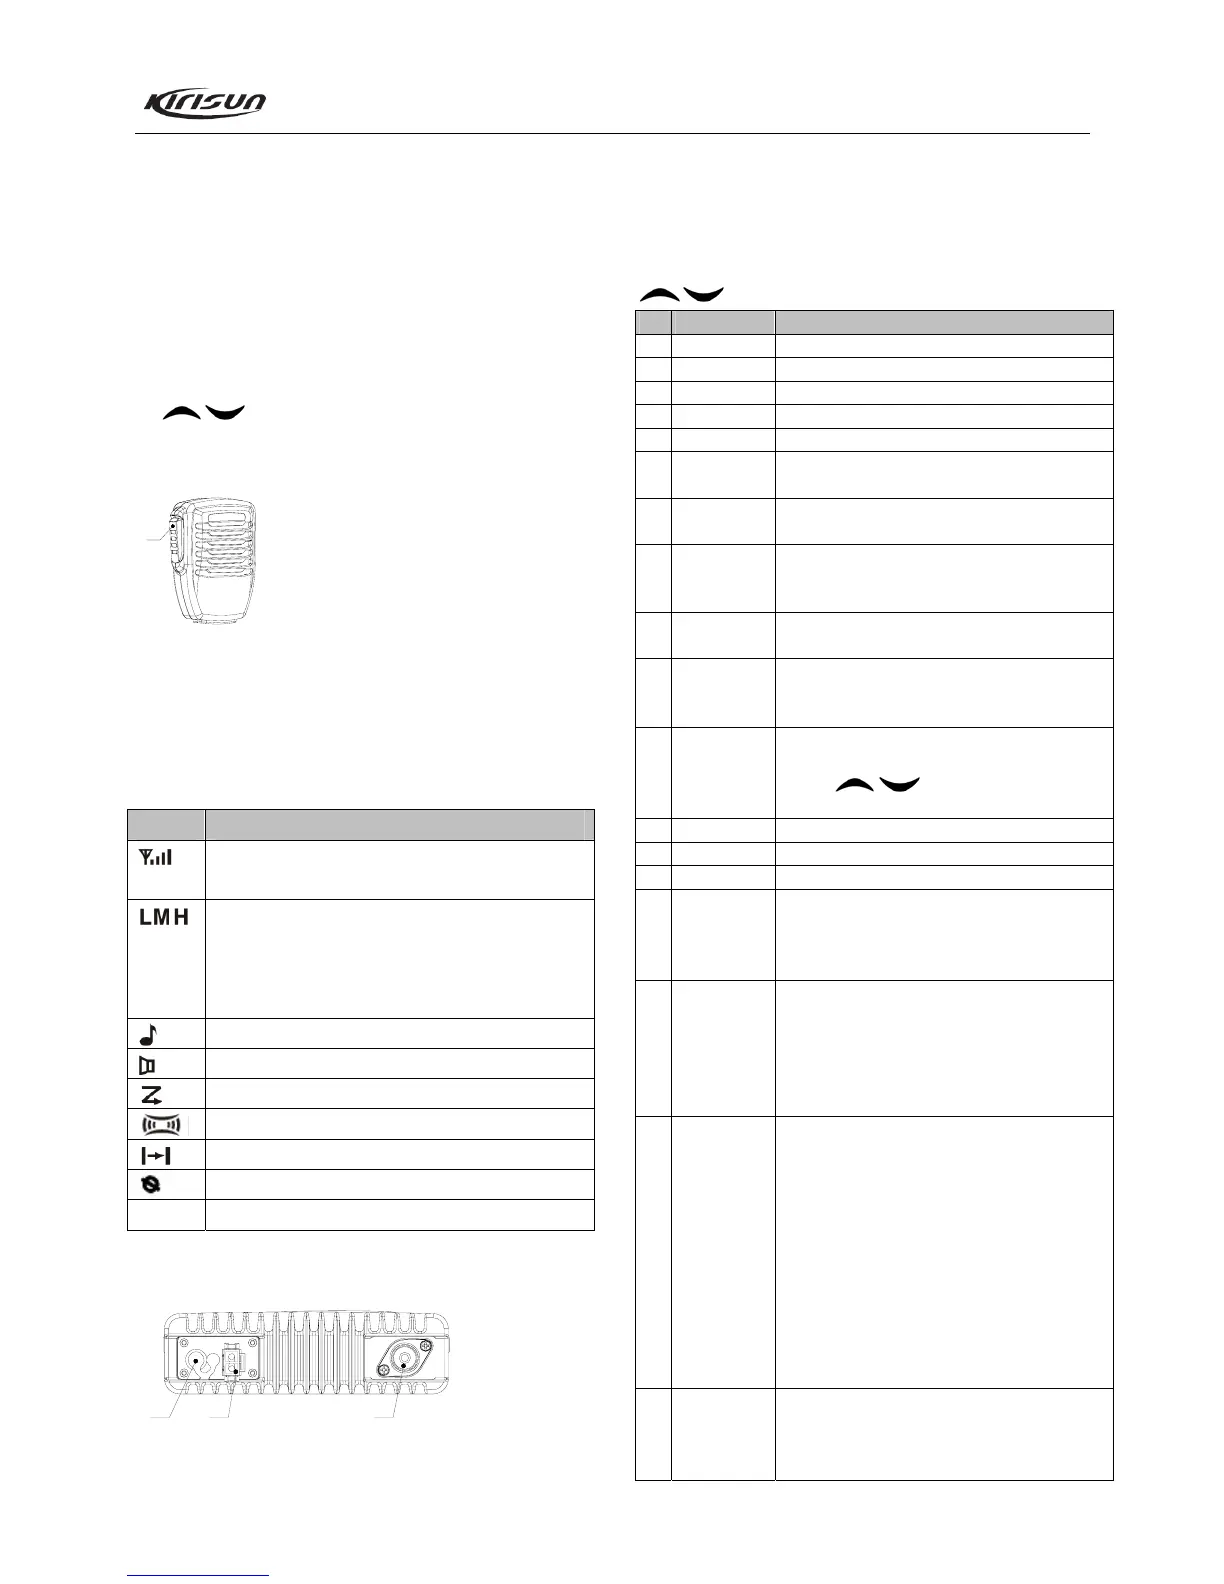
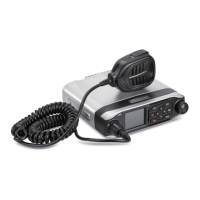
③ LCD Display
Refer to “LCD Display Screen” for details.
④ Volume Knob
Adjust volume of the mobile radio.
⑤ MIC Jack/Programming Interface
⑥ P1 Button (Programmable Button)
⑦ P2 Button (Programmable Button)
⑧ P3 Button (Programmable Button)
⑨
/ Button (Programmable Button)
3.2 Microphone
⑩
⑩ PTT Button (on the hand microphone)
Press and hold the PTT button, then speak into the
microphone, your voice can be transmitted to the recipient.
Release PTT to receive.
3.3 LCD Display Screen
Display Description
Shows the strength of the received signals; 4 bars
indicates the strongest signal.
Shows the transmitting power level of the radio:
‘L’ indicates low Tx power level;
‘M’ indicates middle Tx power level;
‘H’ indicates high Tx power level.
Appears when the radio receives a Sel Call/Call Alert.
Appears when the radio is in “Monitor” state.
Appears when the radio is scanning.
Function not used.
Appears when the radio is in talk-around mode.
Function not used.
P2 Appears when the radio is in OST state.
3.4 Rear Panel
①②③
① Antenna Connector
② Power Terminal
③ External Speaker Jack
3.5 Auxiliary Functions for Programmable Buttons
The following auxiliary functions can be assigned to
/ ,P1,P2,P3 buttons by the distributor.
No. Function Description
0 None No function is assigned.
1 Channel Up Select the next channel.
2 Channel Down Select the previous channel.
3 Zone Up Select the next zone.
4 Zone Down Select the previous zone.
5 Display CH
Frequency
Press the button, frequency of the current channel will be
shown on the LCD.
6 Display CH
Alias
Press the button, alias of the current channel will be
shown on the LCD.
7 Display Mode
Switch
Press the button to switch the display mode between
“Channel No.”, “Channel Alias”, “Zone No.”, “Zone
Alias”, and “Channel Frequency”.
8 OST This allows the radio user to change the QT/DQT setting
of current channel by pre-programmed OST list.
9 Power Level This allows the radio user to adjust the transmit power
setting to “High”, “Mid” or “Low”. Meanwhile, the LCD
will display “H”, “M”, “L” respectively.
10 Squelch Level Press the button to enter “Squelch Level Adjustment
Mode”, then the user can adjust the squelch level by
pressing / . Press P3 button to save the
selected squelch level and the radio then quits this mode.
11 Key Lock Press to lock/unlock some keys.
12 Scan Press to start/stop scanning.
13 FCS Press to start free channel scanning (FCS).
14 Nuisance Delete
(temporarily)
When the radio lands on an unwanted channel during
scanning, press the button to delete this channel
temporarily. When exit scan mode and enter it again, the
channel will be added to the scan list again.
15 Public Address Press to enable the public address function. When press
and hold the PTT key and speak to the microphone, your
voice will be heard by yourself and surround people
through the external speaker, but will not be transmitted.
Press this button again to disable the public address
function, and the radio returns to user mode.
16 Home Channel Press the button to switch to the preset home channel. If
the radio has set two home channels, it will switch to
home channel 1 upon pressing this button, and will switch
to home channel 2 if you press this button again within 2
seconds, and will switch to the original channel if you
press this button for the third time within 2 seconds.
When switching to the home channel, the zone is also
switched. If the radio has only set one home channel, the
radio will switch between the working channel and the
home channel upon pressing this button within 2 seconds.
If the interval between two pressings is longer than 2
seconds, the radio will always switch to home channel 1.
17 Talk Around Press the button to toggle between Repeater Mode and
Talkaround Mode. In Talkaround Mode, the Rx
parameters are used in place of the Tx parameters when
transmitting.