8
INSTALLATION
INSTALLATION
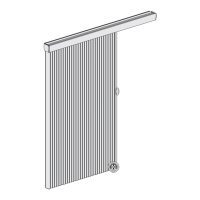
Install the Fabric Stack into the Headrail
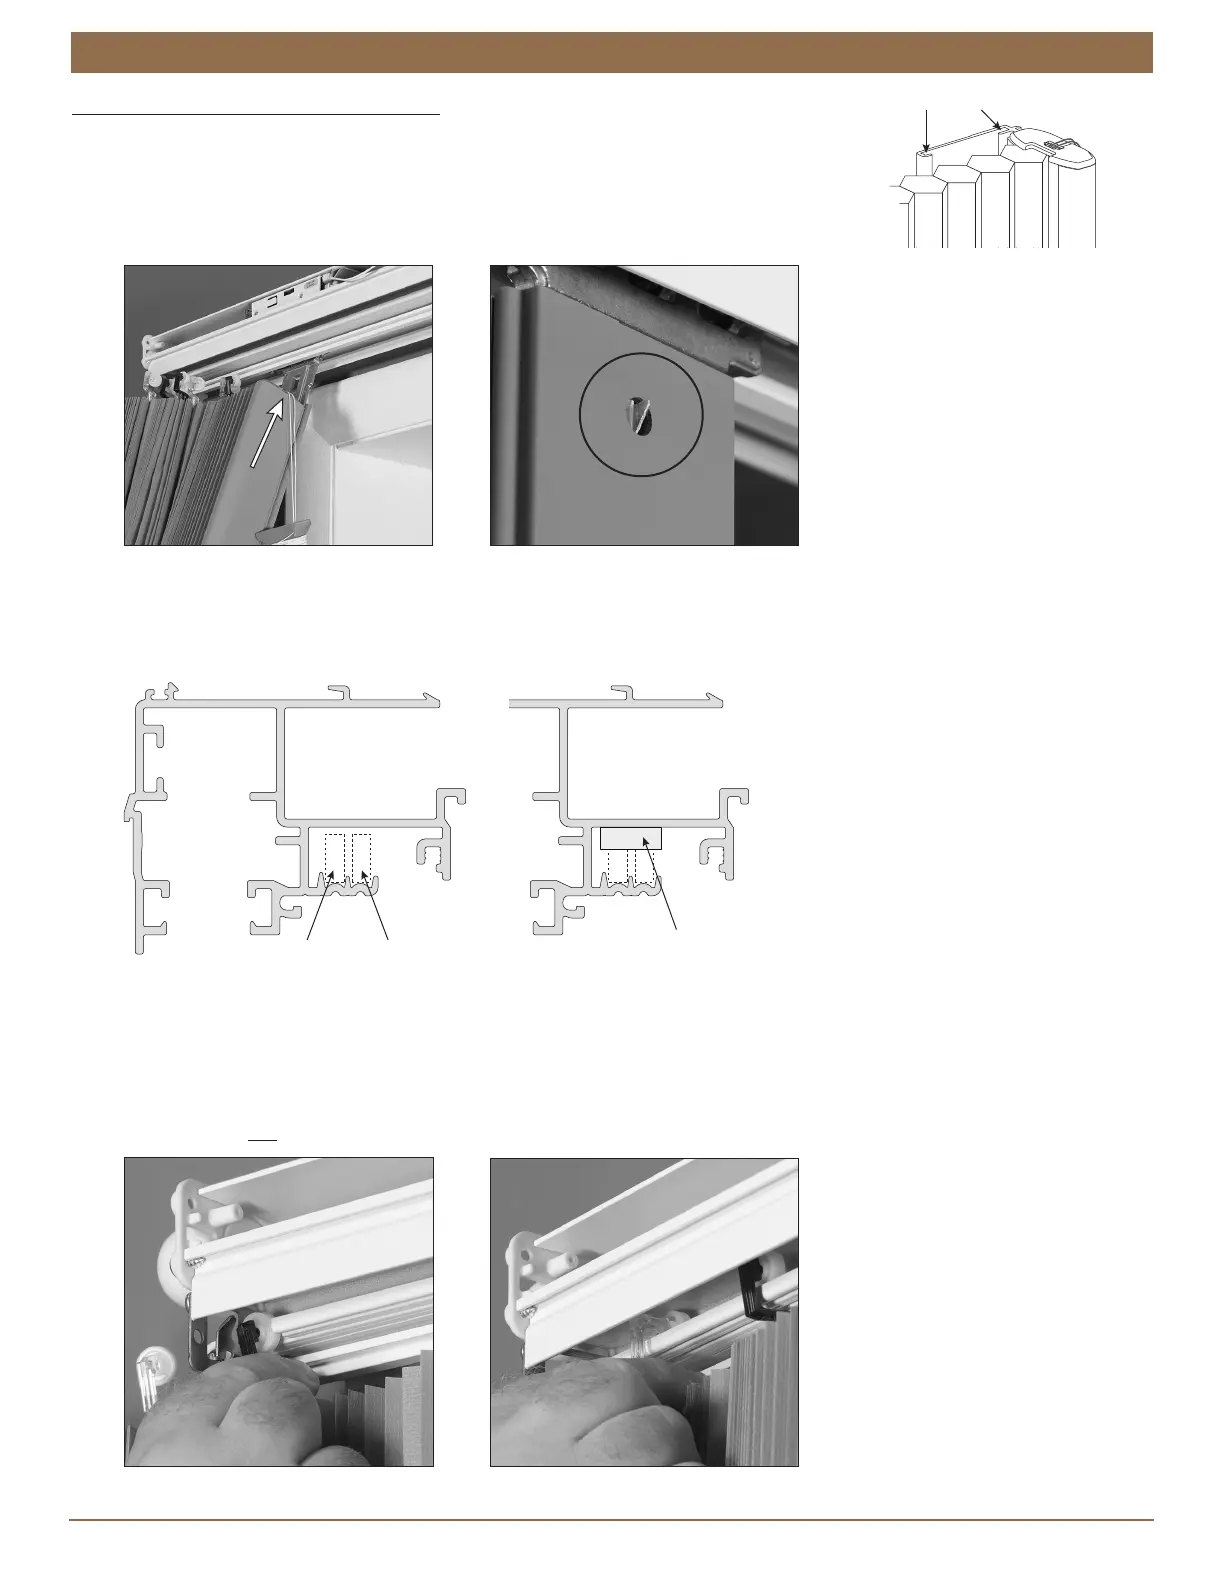
Insert the moving rail onto the moving rail bracket.
The bracket fits into the grooves on the rear of the vertical rail. Be sure to fit the bracket
into both rear grooves.
Insert the bracket until the bracket catch snaps into the hole on the back of the rail.
Check that the bracket catch is fully engaged.
Review the diagram below to familiarize yourself with where the fabric carrier wheels fit inside the headrail. Note that the
headrail is notched to allow insertion of the wheels.
Above the notch is a foam block to keep the wheels in place during installation. Compress the foam to install the fabric
carrier wheels.
Insert the fabric carrier wheels into the headrail through the notch on the stationary rail side, compressing the foam block.
(Unwrap a small amount of cord from the orange cord organizer if you need more slack.)
The wheels with clear stems fit into the rear channel and the wheels with black stems into the front channel.
NOTE: The fabric carrier wheels only fit into the rail the correct way; it is not possible to install them into the wrong channel.
IMPORTANT: Do not attach the stationary rail bracket until after inserting all fabric carriers.
Mo
Rail
Foam Block
Above Notch
Clear Stem
Black Stem
FRONT
Black = Front
Clear = Rear