7
INSTALLATION
INSTALLATION
STEP 2: Mount the Battery Wand (If Applicable)
■
Refer to the appropriate page based on your order.
➤
For a battery wand, see below.
➤
For a headrail-mounted rechargeable battery wand, see page 7
➤
For any other power options, the shade is installed first. See "STEP 3: Install the Shade" on page 8..
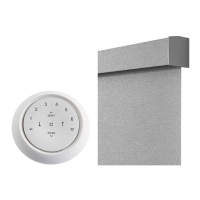
Battery Wand
Install the Battery Wand Clips
■
Hook the battery wand clip onto the back channel of the headrail.
IMPORTANT: Position the clip so that the battery wand will be between installation brackets.
■
Rotate the clip down until it snaps into place.
Mount the Battery Wand into the Battery Wand Clip
■
Align the battery wand with its socket
toward the right-side motor end cap.
■
Push the battery wand straight up into the battery wand clip until it snaps into
place. Check to make sure the battery wand is secure.
CAUTION: Be sure the cable does not become pinched by the battery wand
clip during installation. Damage or overheating of components could result.
Plug the Power Cable into the Battery Wand
■
On the back of the headrail, connect
the power cable (coming from the shade)
into the socket on the battery wand.
Proceed to "STEP 3: Install the Shade" on page 8
Headrail-Mounted Rechargeable Battery Wand
Install the Rechargeable Battery Wand Clips
■
Hook the clip onto the back channel of the headrail.
IMPORTANT: Position the clip so that the battery wand will be between installation brackets.
■
Rotate the clip down and press the middle of the clip until it snaps into place.
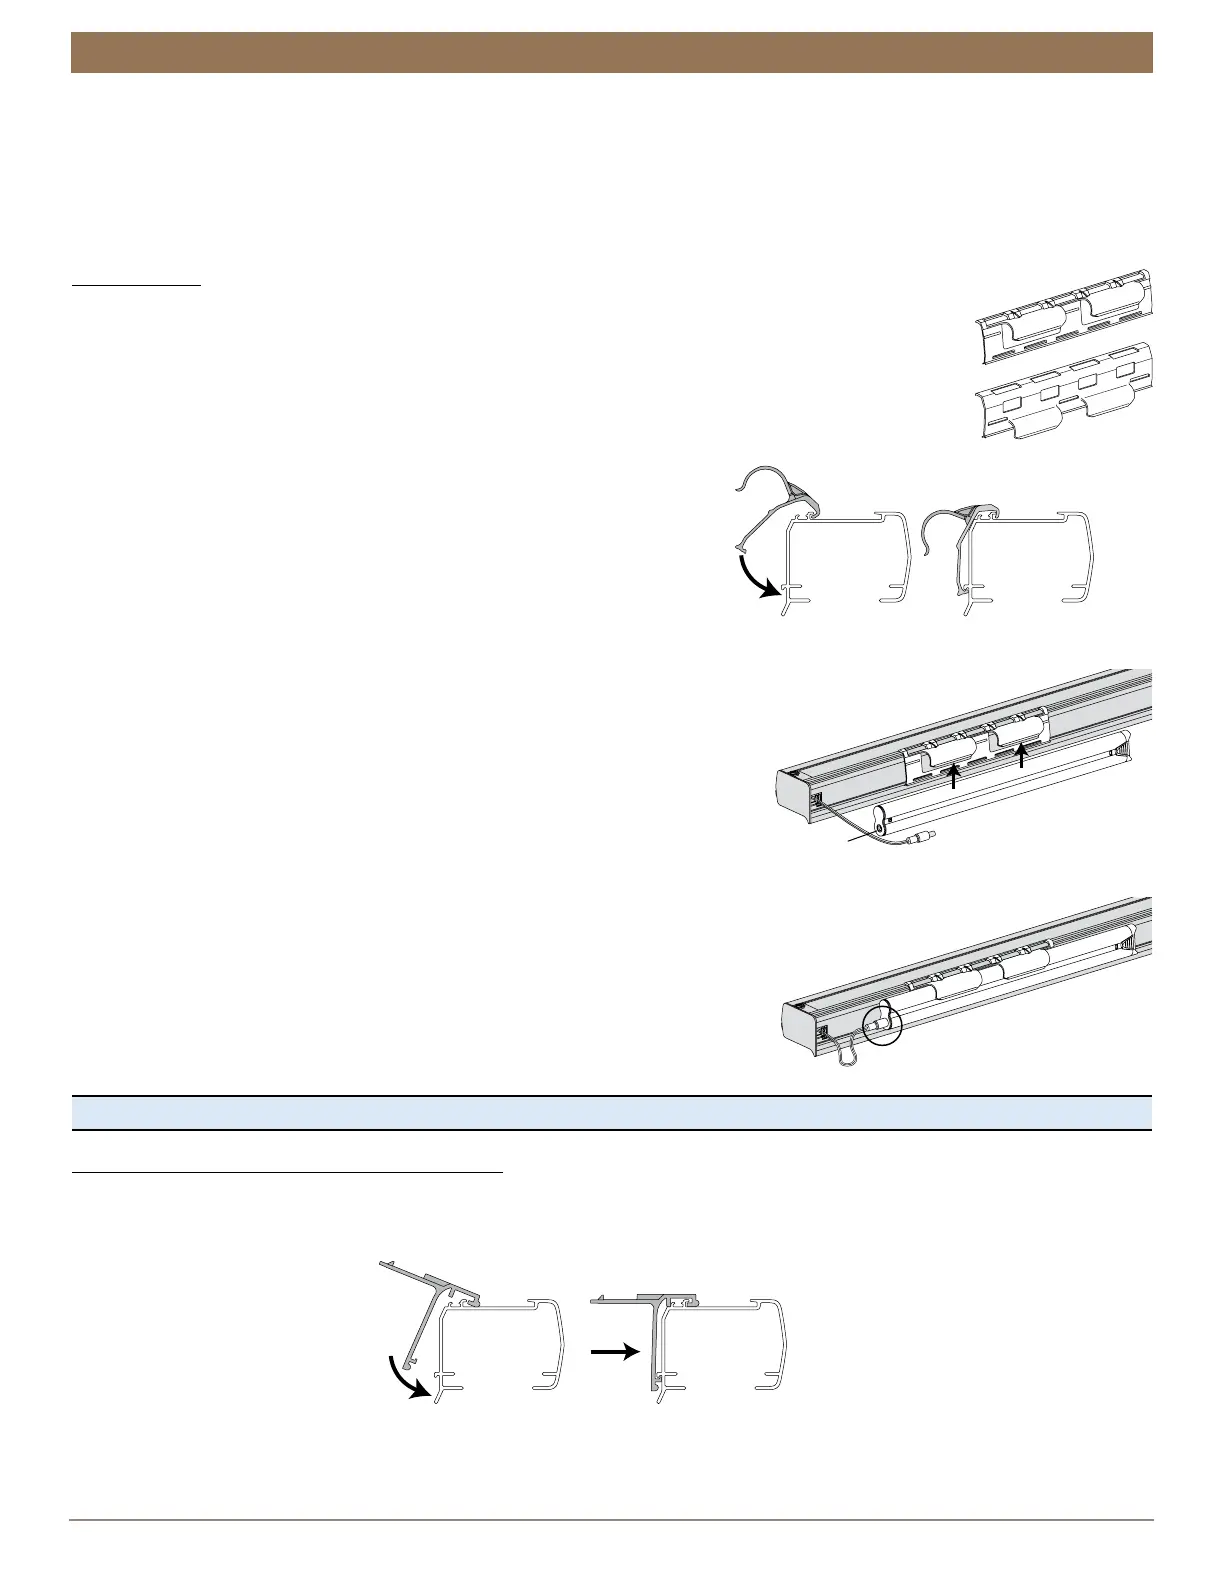
(Standard)
Low Mount
(Optional)
Front of
Clip
Shown:
High Mount Battery Wand Bracket
Front of
Headrai
Clip