5
English
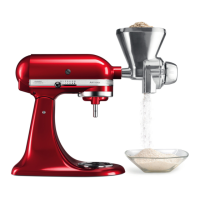
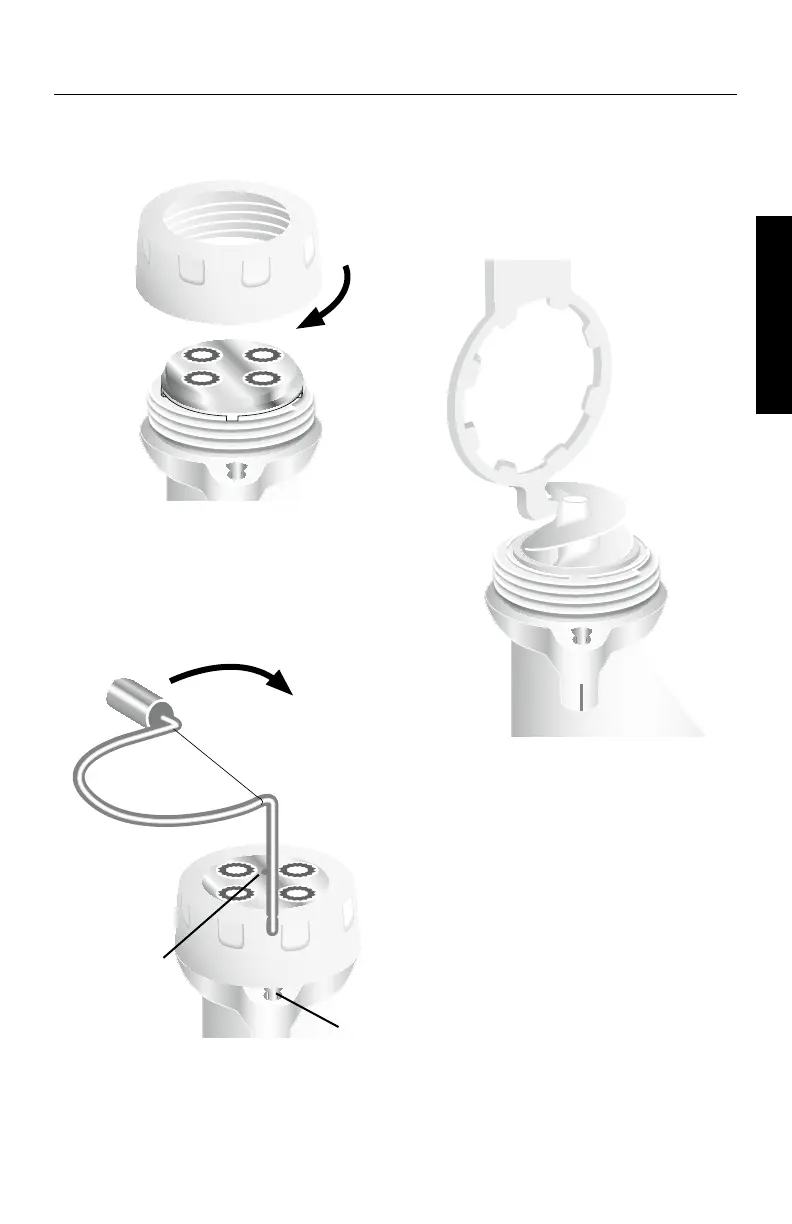
3. Place the pasta ring (D) over the plate
and gently turn by hand until finger
tight but not over tightened.
4. Insert the cutter (B) into the socket,
aligning the flange (O) with the left
side of the slot (P) as shown. Push in
until locked into place and turn cutter
to the right. The pasta shape press
is now ready to attach to the Stand
Mixer.
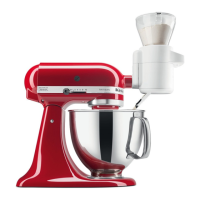
To Assemble Pasta Shape Press Accessory
A multipurpose combo tool (L) with a
hook and wrench is provided. The flat end
may be used to help push dough into the
press. The wrench may be used to loosen
the pasta ring from the press body. The
hook may be used to pry the auger out of
the casing.
A storage case (E) is provided to store
pasta plates (F, G, H, I, J and K).
NOTE: Do not use combo tool (L) to
tighten pasta ring.
RIGATONI
RIGATONI
RIGATONI
RIGATONI
RIGATONI
RIGATONI
RIGATONI
RIGATONI
RIGATONI
RIGATONI
RIGATONI
RIGATONI
A
D
RIGATONI
RIGATONI
RIGATONI
RIGATONI
RIGATONI
RIGATONI
O
P
TURN AFTER
INSERTING
INTO SOCKET
B
L
C
A
A
 Loading...