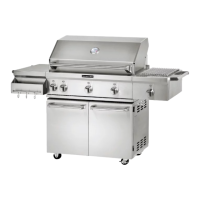
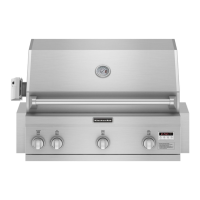
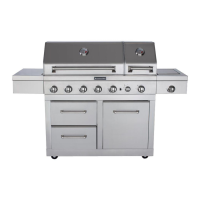
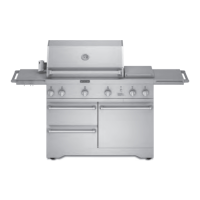
2-18
3. Turn off the valve and wait until grill and
burners cool completely.
4. Remove grill grates and sear plates.
5. Remove the 2 screws that hold the burner
in place. Remove gas burner from the
grill.
6. If ame is yellow (not enough air), turn air
shutter adjustment screw counterclock-
wise.
If ame is noisy or lifts away from burner
(too much air), turn air shutter adjustment
screw clockwise.
Adjustment should be made clockwise or
counterclockwise from 1/8" (3.2 mm) to
1/4" (6.4 mm).
7. Replace gas burner, sear plates and
grates.
8. Light grill using information in the “Outdoor
Grill Use” section.
See “Burner Flame Characteristics
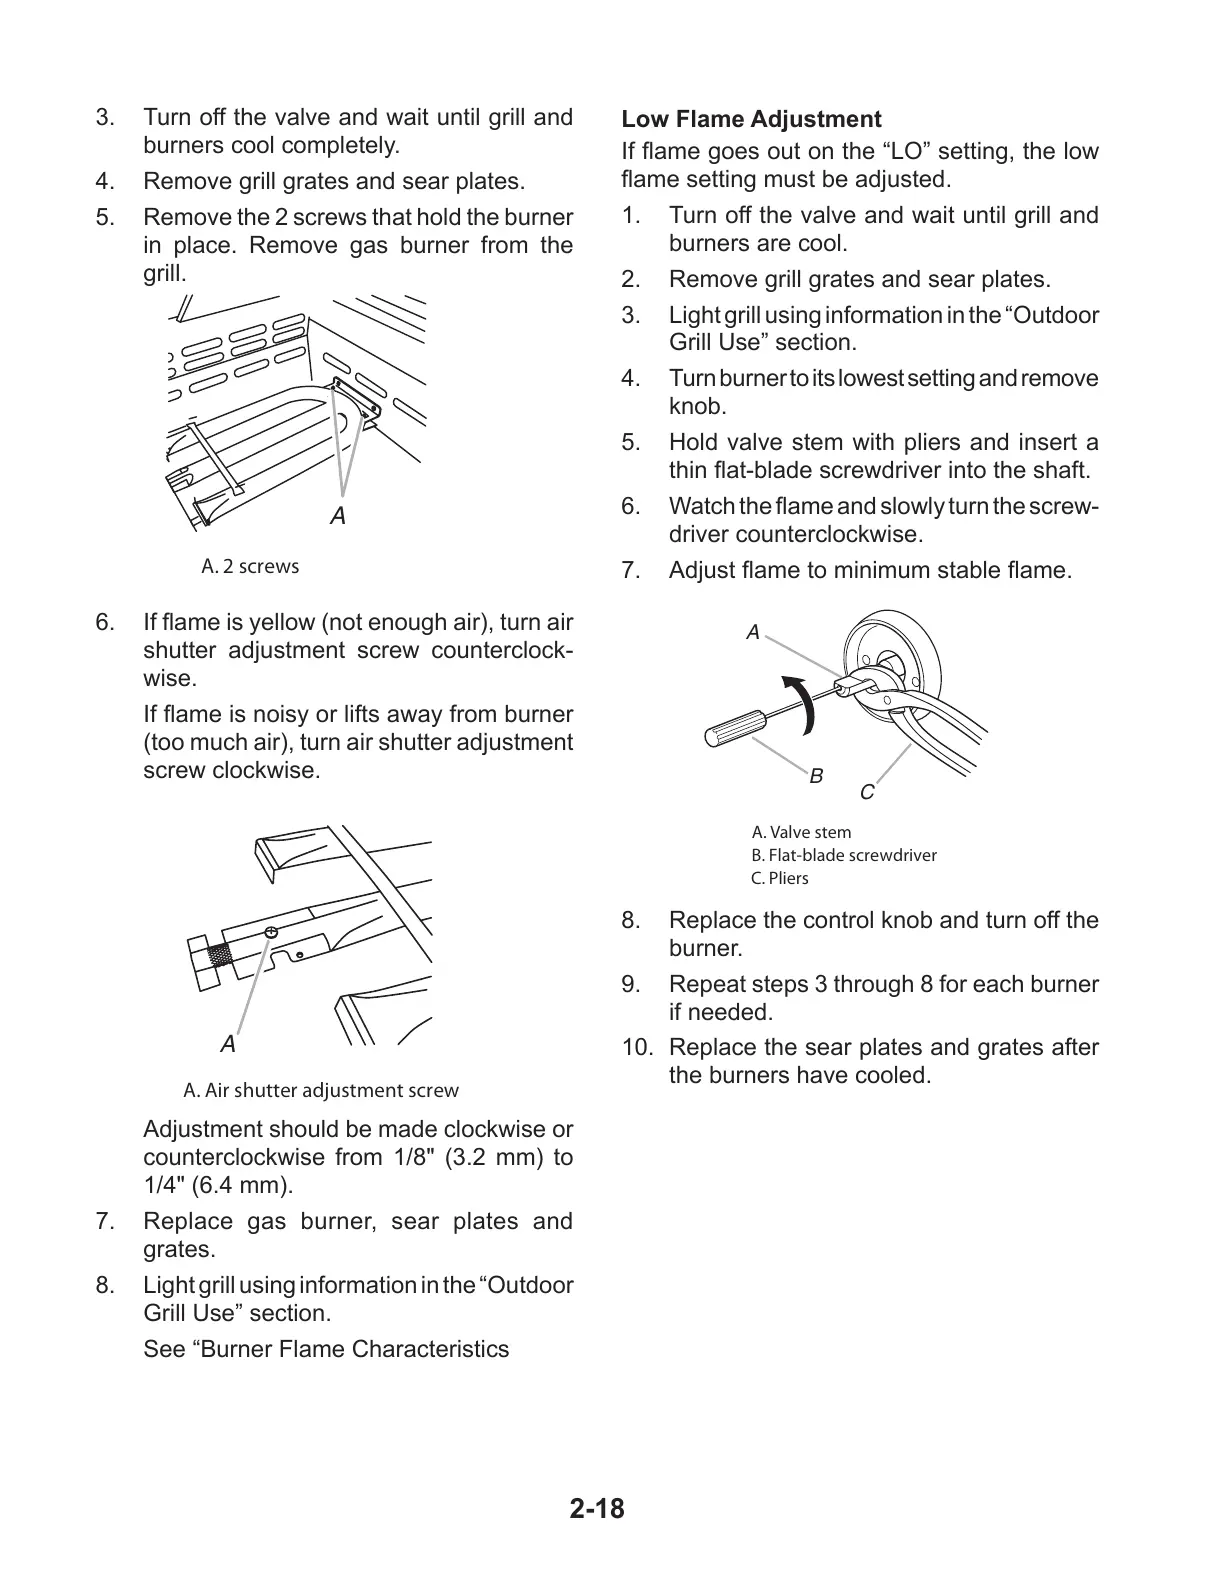
Low Flame Adjustment
If ame goes out on the “LO” setting, the low
ame setting must be adjusted.
1. Turn off the valve and wait until grill and
burners are cool.
2. Remove grill grates and sear plates.
3. Light grill using information in the “Outdoor
Grill Use” section.
4. Turn burner to its lowest setting and remove
knob.
5. Hold valve stem with pliers and insert a
thin at-blade screwdriver into the shaft.
6. Watch the ame and slowly turn the screw-
driver counterclockwise.
7. Adjust ame to minimum stable ame.
8. Replace the control knob and turn off the
burner.
9. Repeat steps 3 through 8 for each burner
if needed.
10. Replace the sear plates and grates after
the burners have cooled.