4-7
REMOVING THE INFRARED ROTISSERIE BURNER
1. Turn off and disconnect the gas supply
going to the grill.
2. Remove the infrared burner ignitor from
the grill (see step 2 on page 4-4 for the
procedure).
3. Remove the screw from the rear access
panel and remove the panel.
7. Remove screws holding infrared rotisserie
burner to hood assembly.
Rear Access Panel
Screw
Disconnect Gas
Line Here
4. Disconnectthegaslinettinggoingtothe
infrared burner.
Screws
Screws
Infrared Rotisserie Burner
Rear Of Unit Hood Assembly
Rear Of Unit
6. Remove twelve screws holding rear panel
to hood assembly.
5. Remove two screws holding grill hood to
hood assembly and remove hood.
Rear Panel
Hood Assembly
7. Slide infrared rotisserie burner forward out
of hood assembly.
REASSEMBLY NOTE: Turn on the gas to the
grill, and test all of the connections by brushing
on an approved noncorrosive leak-detection
solution. Bubbles will indicate a leak. Correct
any leaks found.
Screws
1 of 12
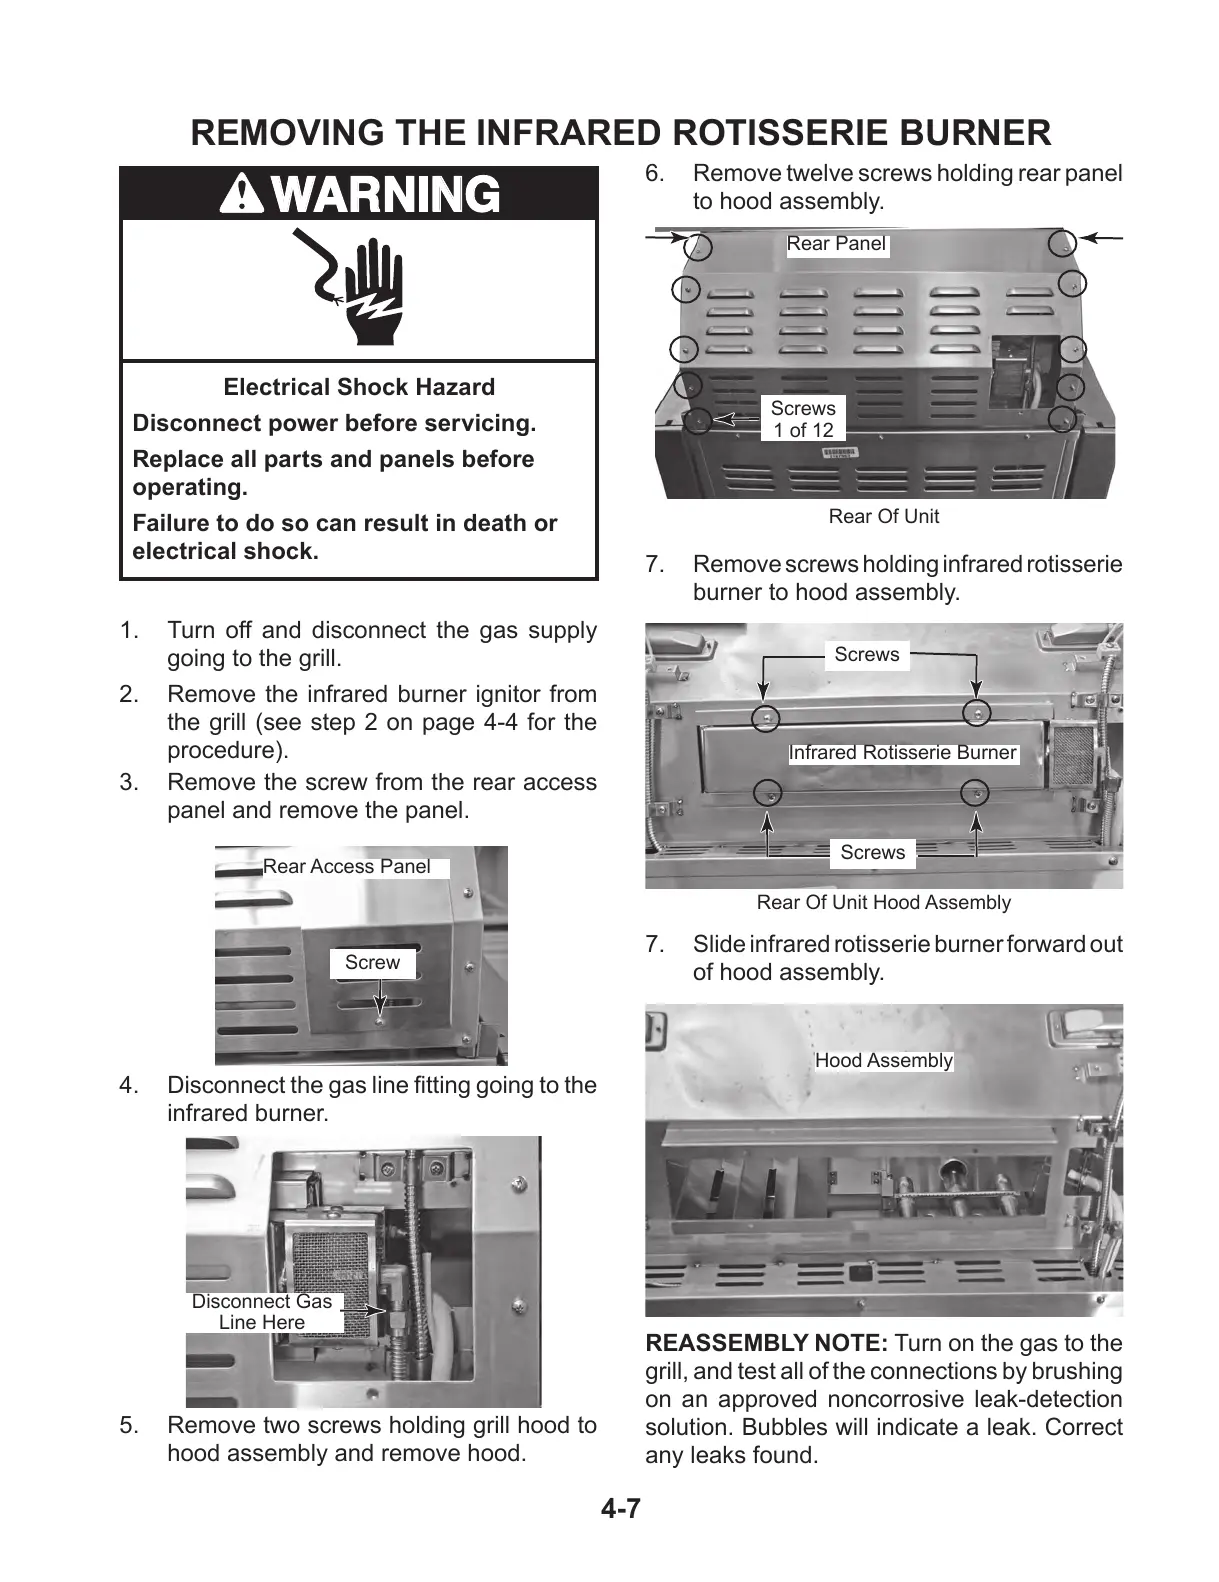
Electrical Shock Hazard
Disconnect power before servicing.
Replace all parts and panels before
operating.
Failure to do so can result in death or
electrical shock.