3-4
6. Repeat steps 3 through 6 for each main
burner.
7. Remove match and replace manual light-
ing extension inside the cabinet drawer.
IMPORTANT:
If burner does not light immediately, turn the
burner knob to OFF and wait 5 minutes before
relighting.
If any burners do not light after attempting to
light them manually, contact the KitchenAid
Customer eXperience Center. See the “As-
sistance or Service” section.
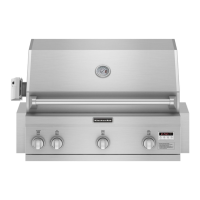
Using Your Infrared Sear Burner
Infrared grilling produces intense heat which
quickly sears the meat. Searing locks in avor
and juices while allowing the outer surface to
absorb smoke and food aroma that is produced
as grease and drippings are vaporized by the
burner. The result is a crisp, avorful outside
with a tender, juicy inside.
Preheat the infrared sear burner for 5 min-•
utes.
Ensure that meats are fully thawed and •
that all excess fat is trimmed away prior
to grilling.
Leave the burner set to HI when placing •
food on the grill to sear.
Use the sear burner to sear meat 1 to 2 •
minutes on each side, then move the meat
to the main grill cooking surface to nish
grilling to the desired doneness.
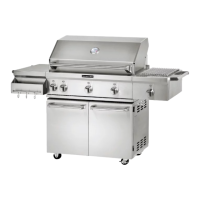
Lighting the Side Burner
(u models only)
1. Remove the side burner cover. Do not light
burners with the cover on.
2. Do not lean over the grill.
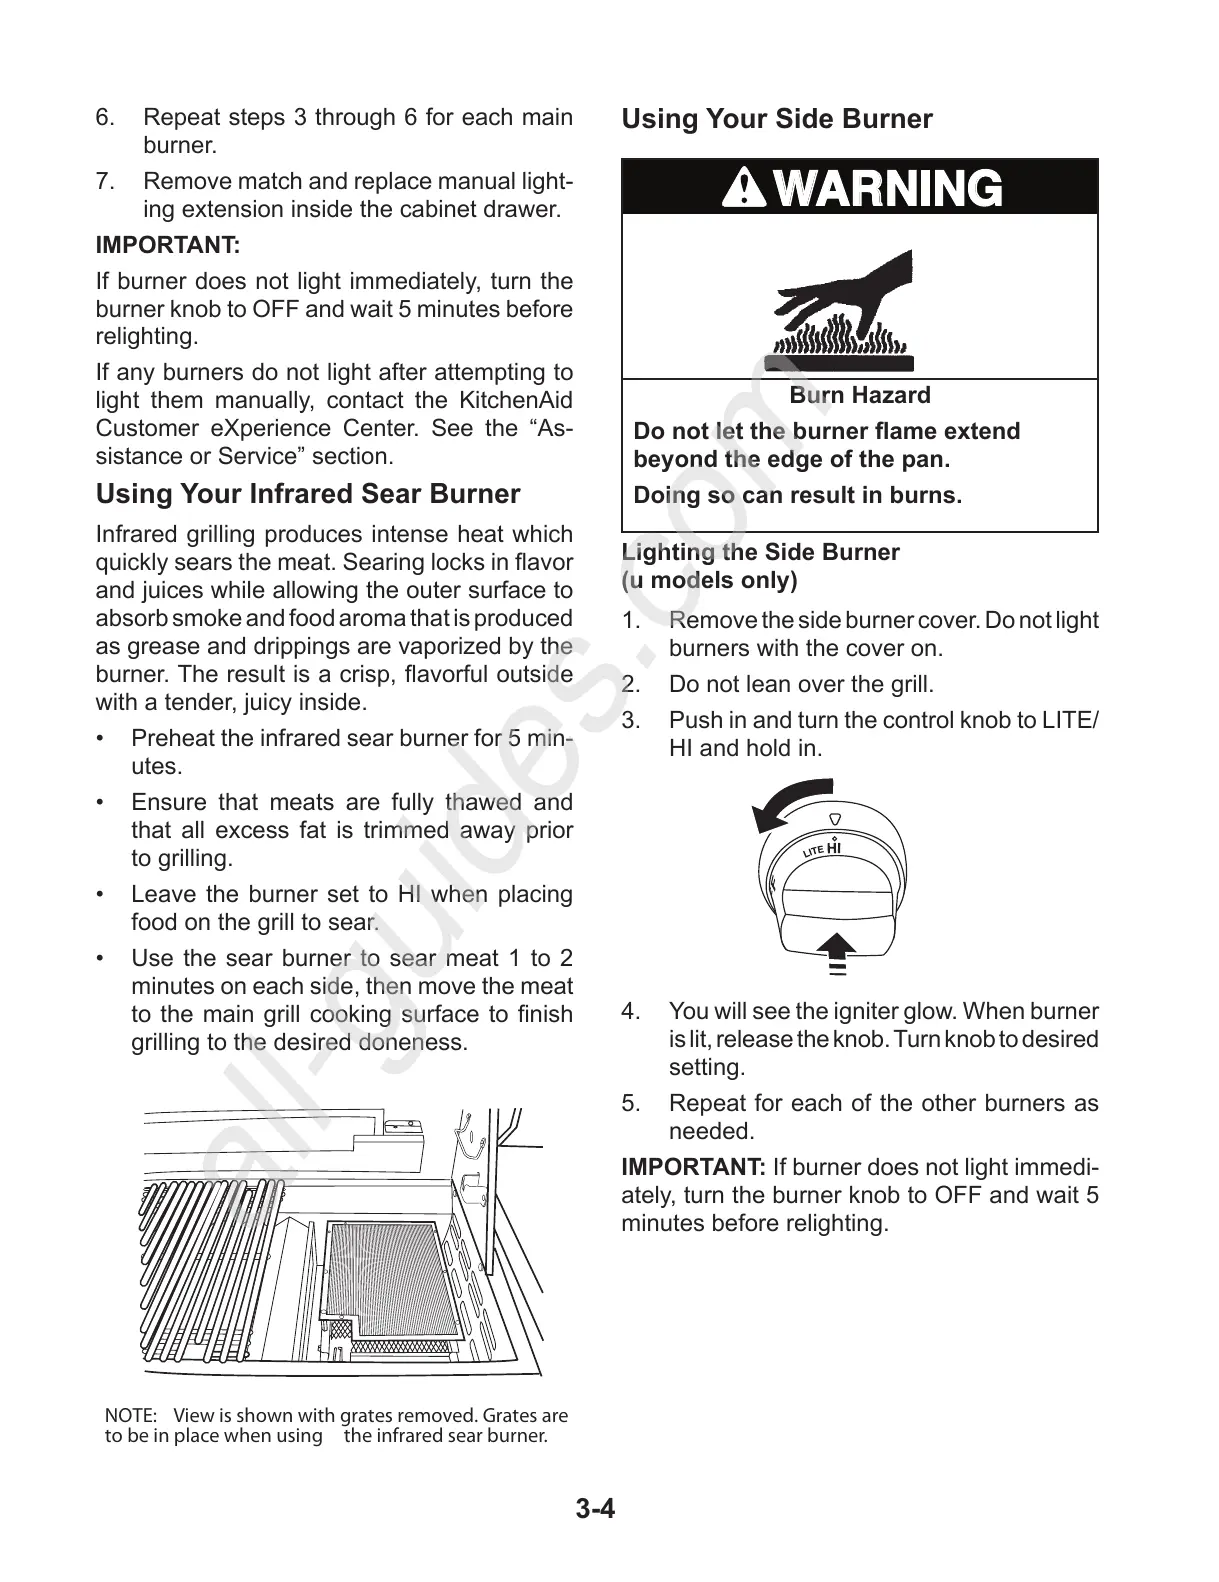
3. Push in and turn the control knob to LITE/
HI and hold in.
4. You will see the igniter glow. When burner
is lit, release the knob. Turn knob to desired
setting.
5. Repeat for each of the other burners as
needed.
IMPORTANT: If burner does not light immedi-
ately, turn the burner knob to OFF and wait 5
minutes before relighting.