- 25 -
Fig. 62) secure the collar to the upper housing with 3 screws
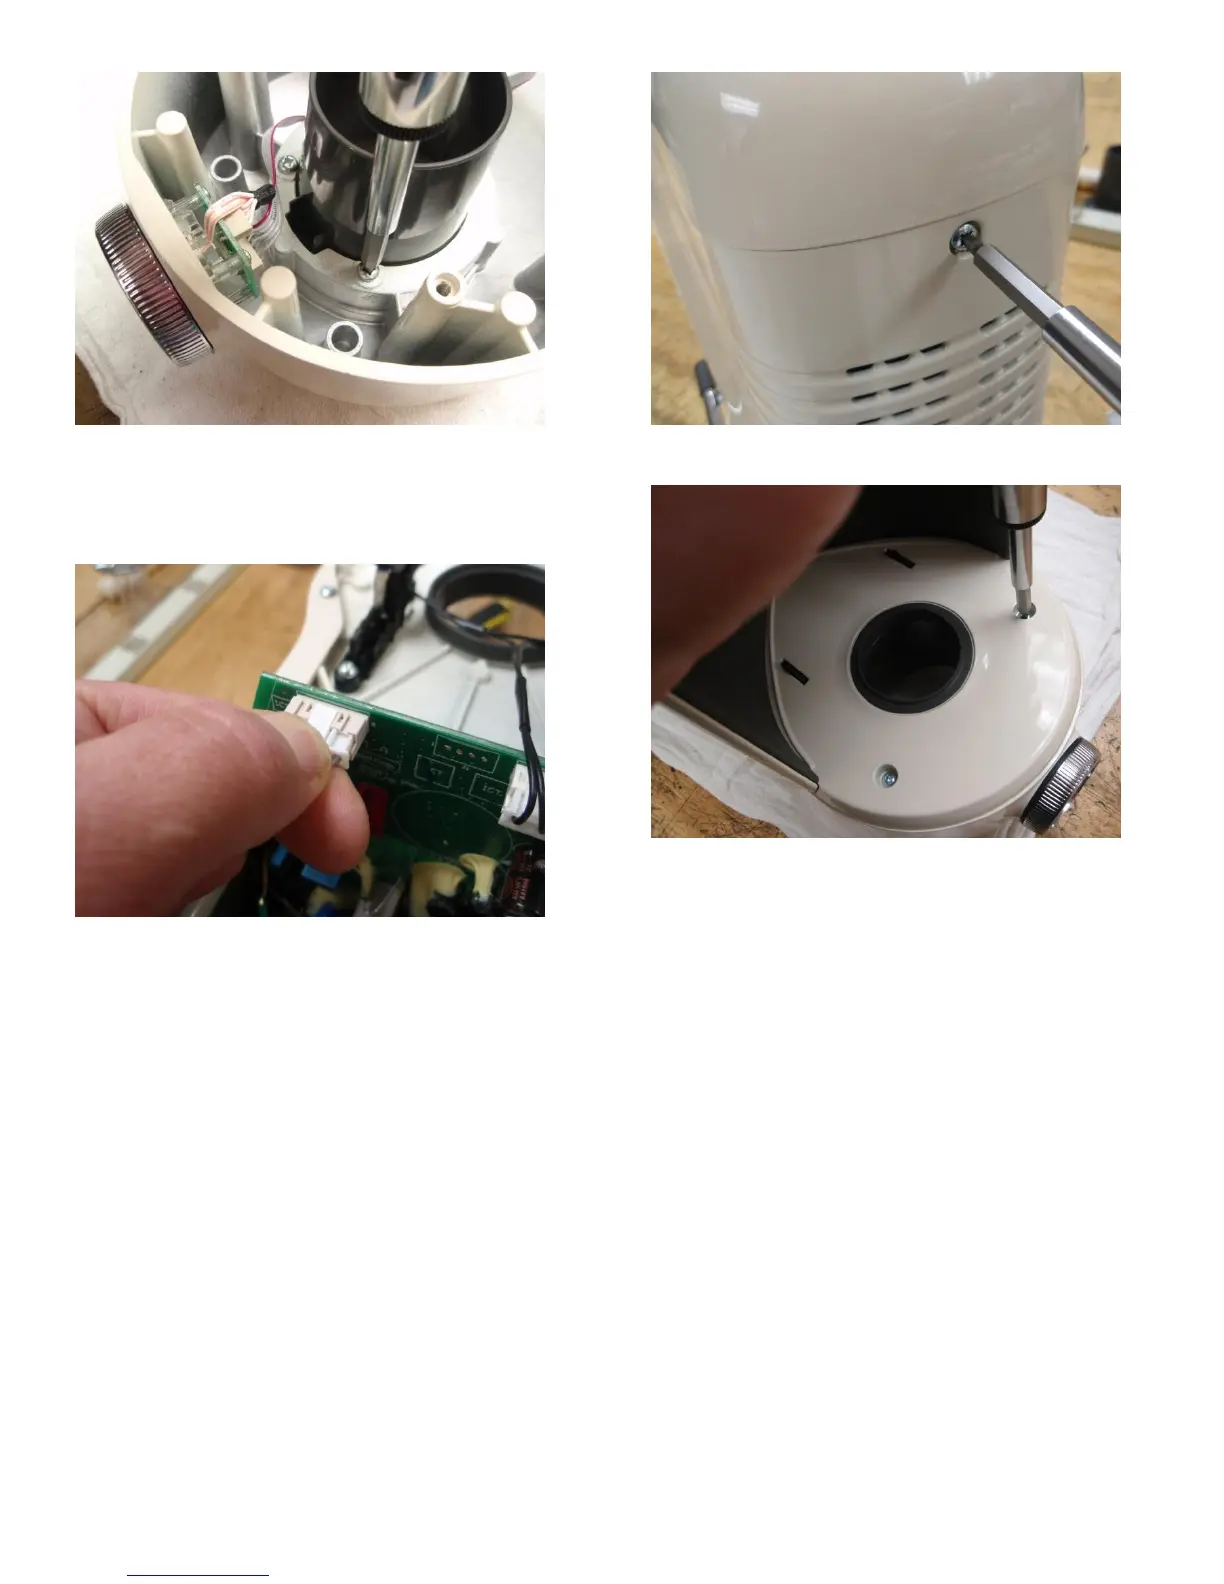
65. While holding the upper housing assembly with one
hand, plug the UI wire harness into the electronic
control circuit board opposite the speaker and safety
interlock switch (Fig. 63).
Fig. 63) Plug the UI wire harness into the electronic control
circuit board
66. Place the upper housing onto the blender assembly
being careful not to pinch the UI ribbon cable
between the collar and gasket. Secure the housing
with the back housing screw first, and then invert the
entire blender assembly and replace the remaining
(2) upper housing screws through the bottom of the
upper cover (Figs. 64 & 65).
Fig. 64) Secure the upper housing to the blender assembly by
tightening the rear housing screw
Fig. 65) Replace the final (2) screws into the upper housing
with the blender inverted
67. Upright the blender and replace the sleeve, the
ingredient cap and the jar.
68. Perform ground continuity and dielectric withstand
tests (HiPot) on the unit to make sure there are no
open or shorted circuits within the repaired unit.
69. Plug the blender in and with approximately ½ jar of
water test the operation of the unit. Make sure you
have the lid installed properly on the jar for testing.
70. Wipe down the exterior of the blender after testing
so that it will look its best when returning it to the
customer.