2-6
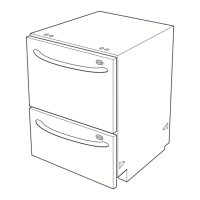
1. Route the hoses and power supply cord
through the utility hole. IMPORTANT: Push
against the outside edges of drawers as
shown. Do not push against the middle of
the drawers.
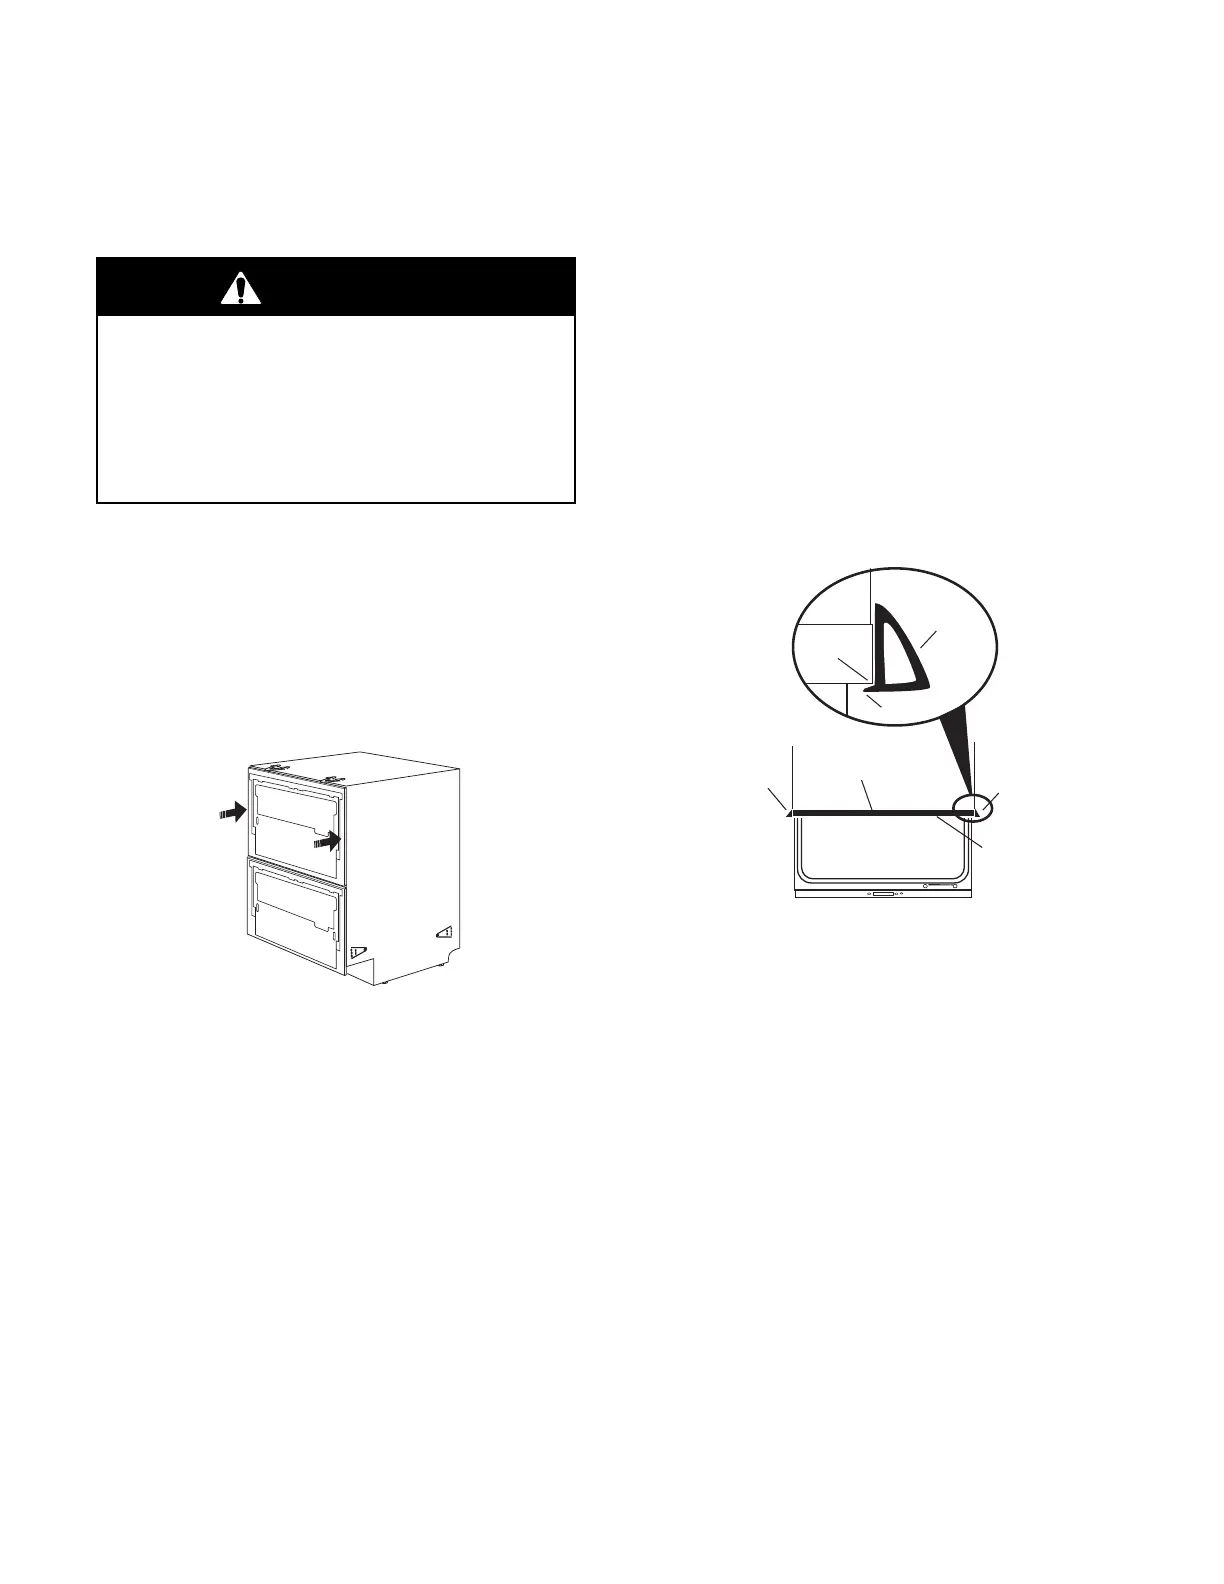
2. If the cabinet opening is 24″ wide x 34-12″
high (61.0 cm x 87.6 cm) flexible extru-
sions can be attached along the top and
sides of the dishwasher. The top and side
extrusions are different lengths.
- Open the drawers to expose the chas-
sis trim.
- Center the extrusions.
- If using the optional top attaching brack-
ets, place the extrusion under the at-
taching brackets.
- Remove extrusion backing paper to ex-
pose the adhesive.
- Carefully place the extrusion on the trim
and press.
chassis
trim
edge
chassis
trim
edge
side
extrusion
side
extrusion
side
extrusion
open drawer
top extrusion
lip
- Finish pushing the dishwasher into the
opening.
Proceed to “Mounting The Dishwasher” on
page 2-10.
Push the dishwasher partway into the
opening.
As the dishwasher is being pushed into
the opening, carefully pull the inlet hose,
drain hose and power supply cord through
the utility hole.
Remove the strap from upper drawer.
Excessive Weight Hazard
Use two or more people to move and
install dishwasher.
Failure to do so can result in back or
other injury.
WARNING
 Loading...