24 25
[...continued] Mounting onto your board
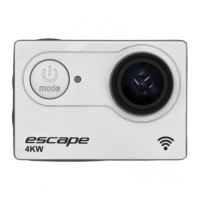
3. Rotate the wheel on the Body Piece anticlockwise to tighten the Tilting Head Adaptor, Quick Release Adaptor socket or
the camera itself onto the Body Piece.
4. Use the secure strap to link up the camera and secure piece of Flat Mount. To fasten the mount, please refer to
‘Securing the strap’, page 20.
5. Peel off the protective film which covers the double-sided adhesive on the secure piece and attach the secure piece
to a suitable location on the board.
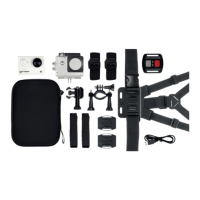
Note: When mounting your camera with the Tilting Head Adaptor or Quick Release Adaptor socket, please make sure you
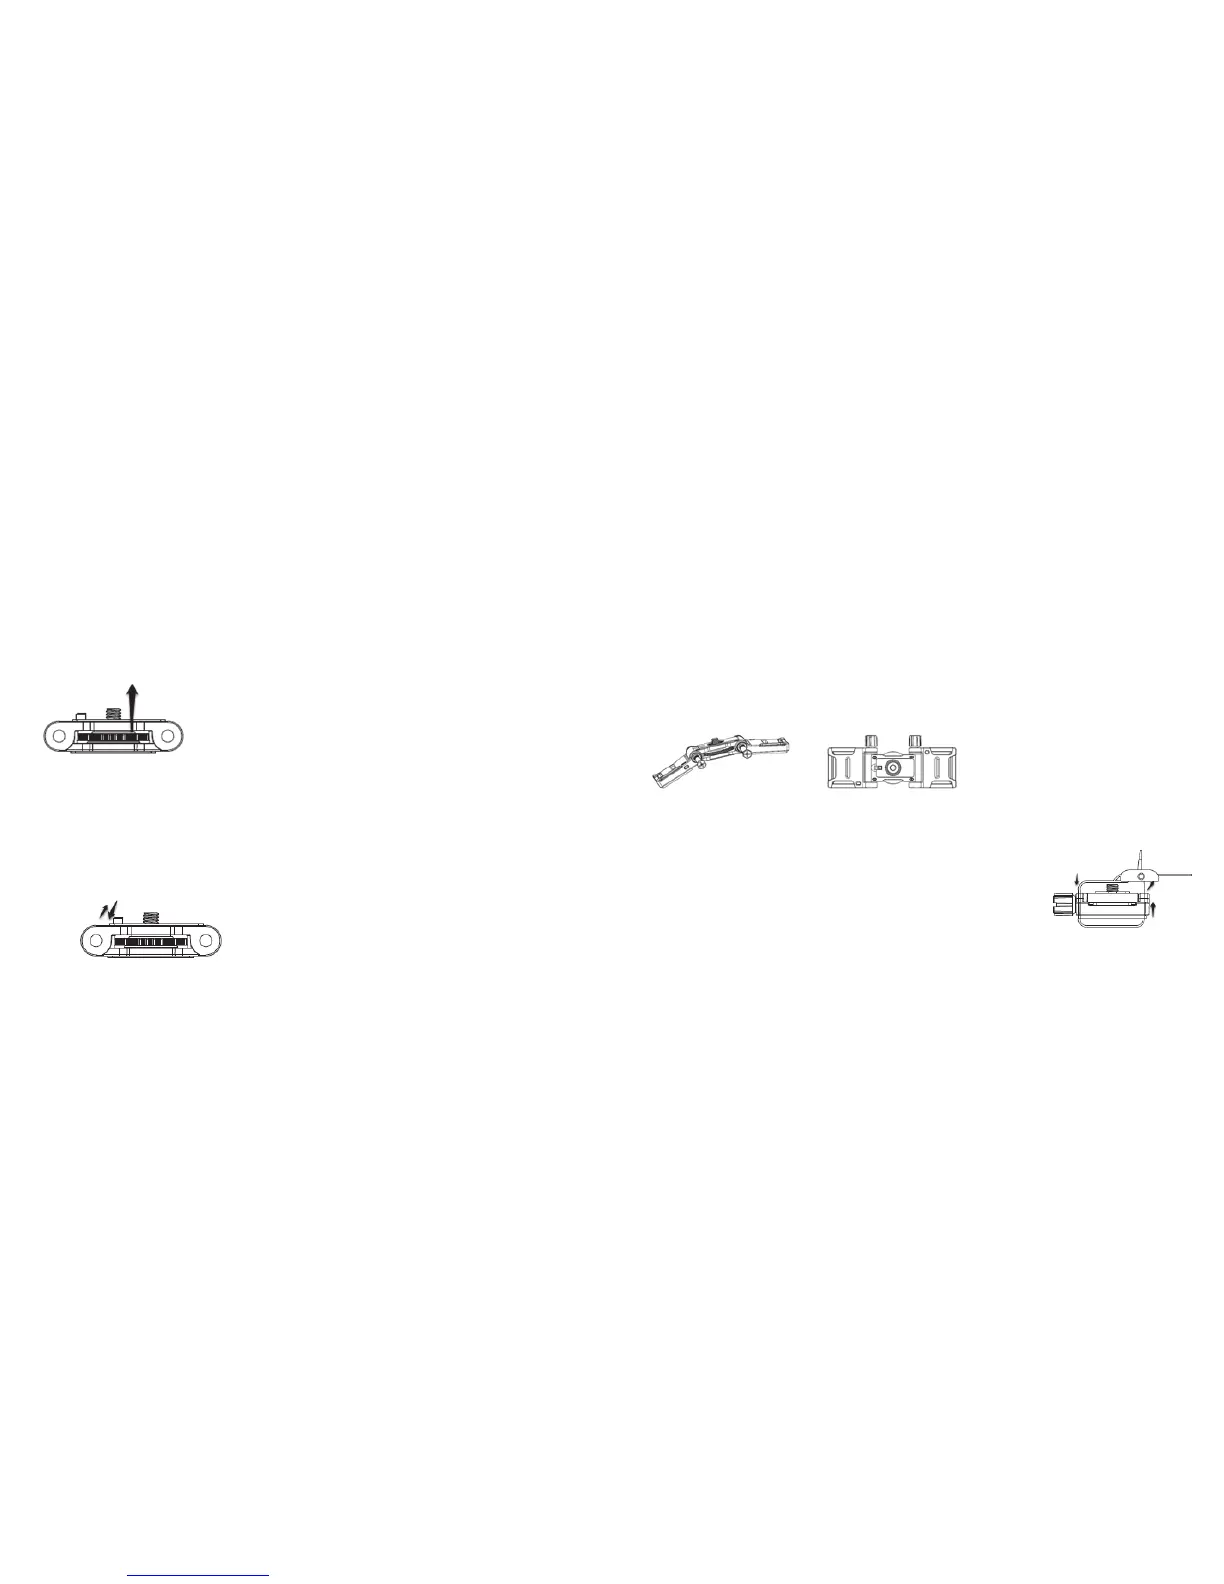
push the orientation column on the Body Piece down. When mounting your camera directly onto the Body Piece,
please pull the orientation column on the Body Piece up.
Note:Ifyouwanttomakechangestothehorizontalpositionofthecamera,you can rotate the wheel on the Body Piece
clockwise, adjust the camera position, and rotate anticlockwise to re-tighten the mount.
Mounting onto your bike helmet/backpack
Assembling the Strap Mount
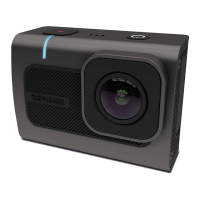
1. Attach the Strap Wings to the left and right side of the Body Piece accordingly.
Note:PleasemakesureyouinstalltheStrapWingswiththeatevapadfacingdownwardsandtthegearsofthe
Strap Wings and the Body Piece correctly on both sides.
2. Inserttheboltintothesliderailfromtheholeandtightenthenut.
Note: The angle of the Strap Wings can be adjusted: simply loosen the nut, adjust the Strap Wings and re-tighten the nut.
Mounting onto your bike helmet/backpack
1. LoopthestrapoftheStrapMountthroughoneventoftheStrapWingfromthetop.
Next, follow either of the below steps according to your mounting object:
•Ifyouwanttomountontoyourbikehelmet,loopthestrapthroughtheventof
the bike helmet and pull it out from the opposite helmet vent
•Ifyouwanttomountontoyourbackpack,loopthestrapthroughonesideofthe
backpack shoulder belt and back through the other side
2. LoopthestrapthroughtheoppositeventoftheStrapWingfromthebottom.
3. Loopthestrapthroughtheventoftheclipfromthebottom.
[continued...]
Rotate the wheel