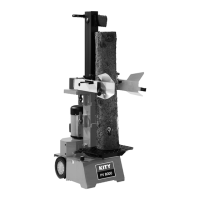
Mounting the control arms, Fig. 4.2
Insert the control arm (A) in the rocker switch (C), and •
screw it in place with the hexagon bolt (D), the washer
(E) and the safety nut. Tighten the lock nut so the con-
trol arm can still be moved.
Now, mount the control arm (B) on the right, following •
the method described above.
Mount the hoop guards (F) to both control arms, using •
2 crosshead screws (G) in each case.
Mounting the table, Fig. 5
Depending on the length of the timber to be cleaved, the
table can be mounted at 3 different heights: 58 cm, 77
cm and 106 cm. Locking levers (A) are available at every
installation position.
Insert the tabletop into the desired mounting brackets
(B). Now, secure the tabletop with the locking lever on
both sides.
Working with the log splitter
Stroke limitation for short logs, Fig. 6
Lower cleaver blade position, approx. 10 cm above the
cleaver table
Bring the cleaver blade into the desired position•
Release one control arm•
Switch the motor off•
Release the second control arm•
Loosen the locking screw A •
Guide the control adjustment rod B upwards, until it •
is stopped by the spring
Tighten the locking screw A again•
Switch the motor on•
Check the upper position•