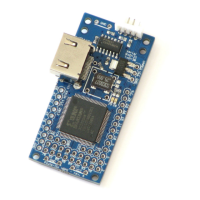
11 Flashy boards
When a Flashy board is used in combination with a KNJN FPGA board, the system becomes a digital oscilloscope.
11.1 FlashyMini design
FlashyMini is provided with full source code (HDL + C). It shows how to get data from Flashy and can be used as a
skeleton to develop your own acquisition system.
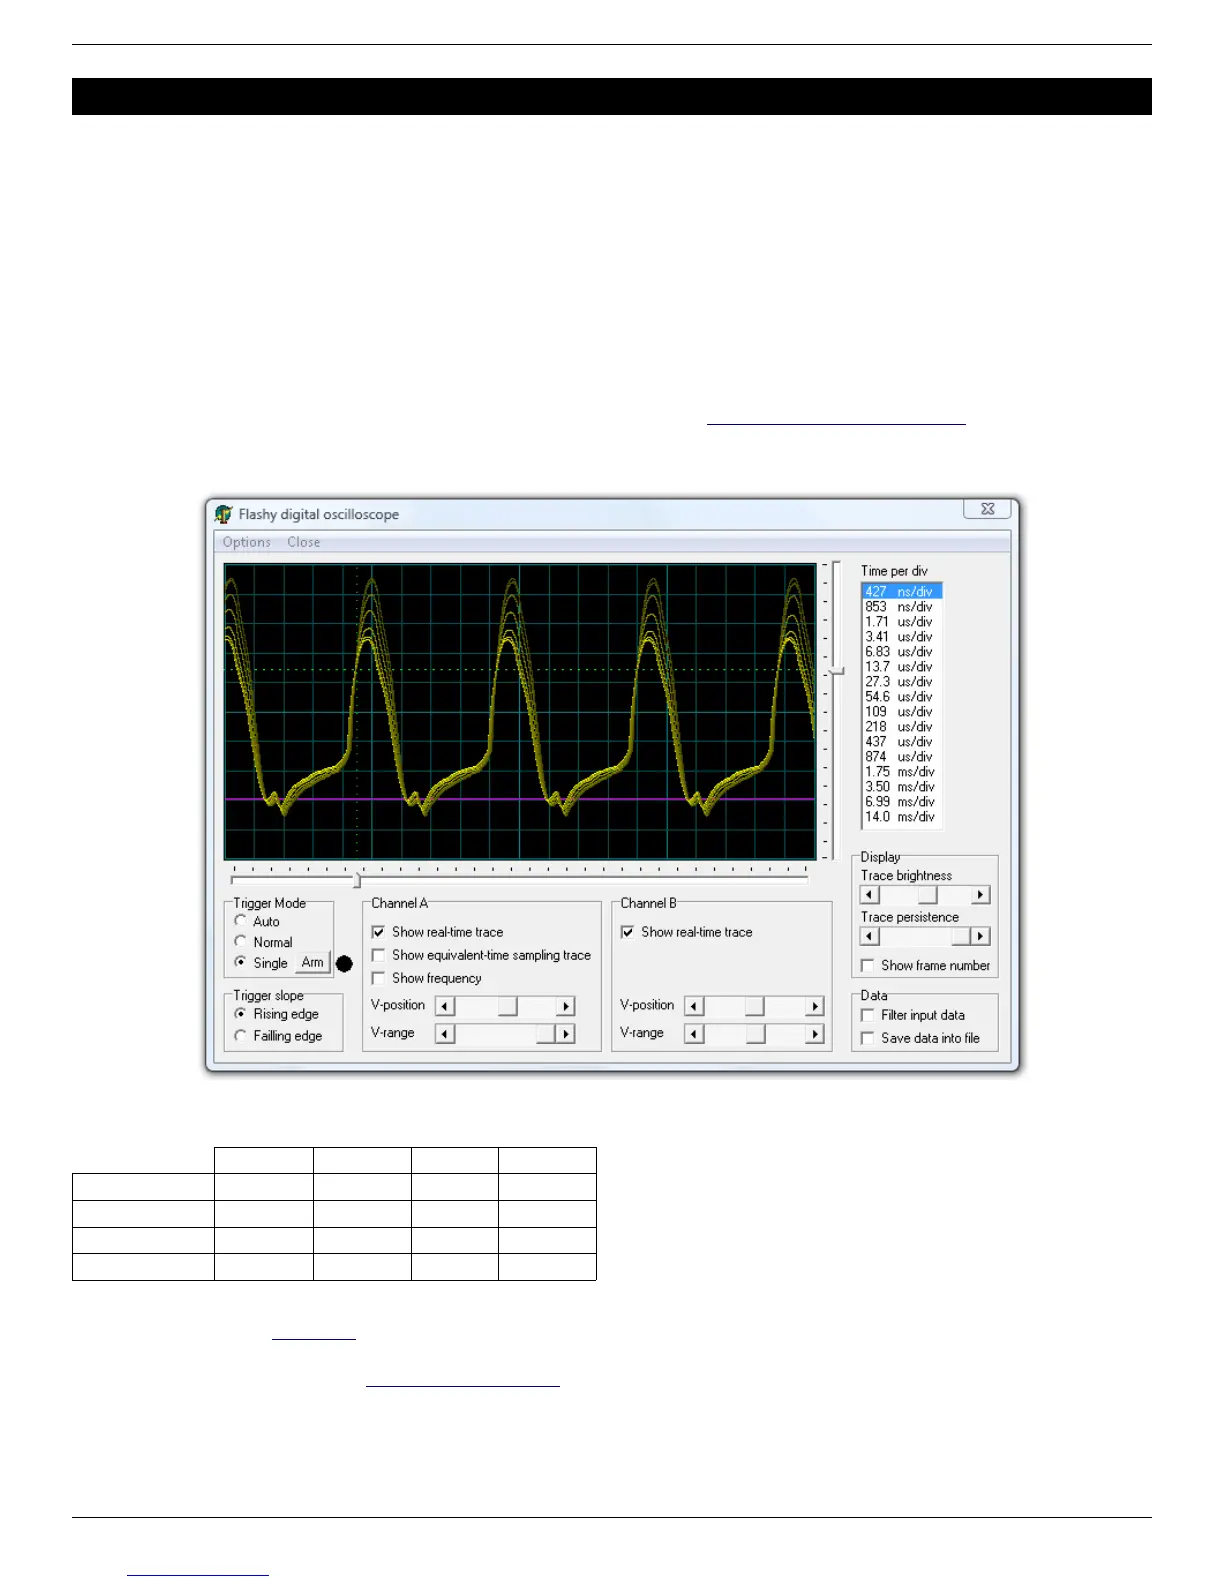
11.2 FlashyDemo design
FlashyDemo is provided in binary form. It is a showcase of Flashy possibilities, implementing features found in digital
oscilloscopes like pre-trigger acquisition and equivalent-time-sampling.
To run FlashyDemo:
1. Mount Flashy on the Pluto board, and power it up (see also the Hands-on - A digital oscilloscope page).
2. Configure the FPGA with the FlashyDemo bitfile.
3. Go to Menu → Tools → Flashy Oscilloscope (or press CTRL-F).
Note that there are actually three kind of Flashy boards available (Flash, Flashy and FlashyD).
Here's the compatibility table.
Flash Flashy FlashyD LCD (2)
Pluto Limited (1) Limited (1) No No
Pluto-II Yes Yes No Yes
Pluto-IIx / HDMI Yes Yes No Yes
Pluto-3 Yes Yes Yes Yes
(1) Pluto's FPGA cannot hold all the FlashyDemo functionality at once, so two FlashyDemo bitfiles are provided. Each covers a different
set of features.
(2) The KNJN color LCD item#5300 option can work as a FlashyDemo external display.
For more information, check KNJN's Flashy acquisition board page.
FPGA RS-232 development boards Page 16