Breathe
on
the
lens s
urf
ace
or
use a
drop
of
cleaner
such as
KODAK
Lens
Cleaner.
Th
en
with
paper
such
as
K
ODAK
Lens Cl
eaning
Paper
or
a soft,
clean
,
lintl
ess
cloth
, ge
ntl
y wipe the
front
and
rear
s
urf
aces
of
the
lens.
Replace
the
l
ens
by
again
moving
the
focus
knob
toward
the
top of
the
projector
and
guid
in
g
the
lens
back
into
position
.
In
sert
the
l
ens
far
e
nough
into
its recess so
that
the
gear
teeth
on the side
of
the
lens
barre
l will
be engaged by
the
focus-knob shaft.
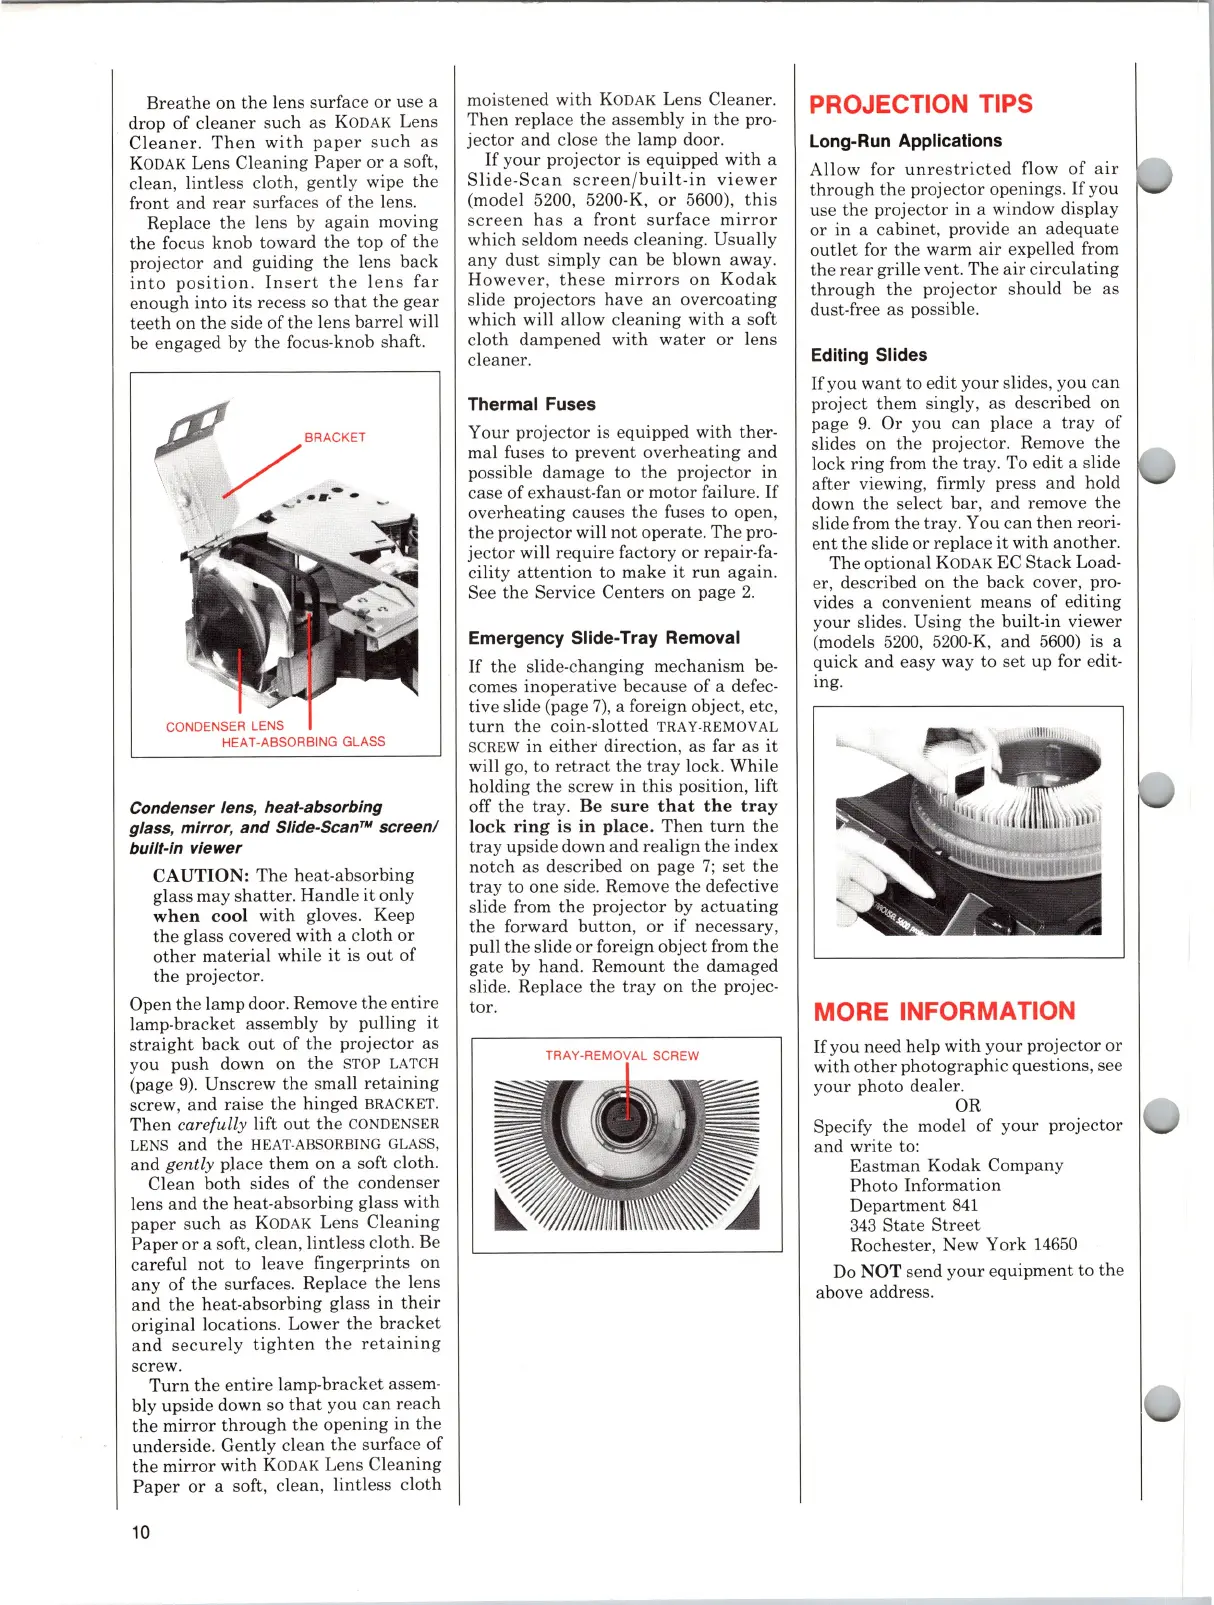
CONDENSER LENS
HEAT-ABSORBING GLASS
Condenser lens, heat-absorbing
glass, mirror,
and
Slide-ScanT/,'
screen/
built-in
viewer
CAUTION:
The
h
eat
-absorbing
glass
ma
y
shatter.
Handle
it
only
when
cool
with gloves. Keep
the
glass covered
with
a
cloth
or
other
m
ate
rial
while
it
is
out
of
the
projector
.
Op
en
the
lamp door. Remove
the
e
ntir
e
lamp-bracket assembly by pulling it
straig
ht
b
ack
out
of
the
projector
as
you
push
down on
the
STOP
LATCH
(page
9).
Unscrew
the
sma
ll
retaini
ng
screw,
an
d
rai
se
the
hing
ed
BRACKET
.
Th
en
carefully
lif
t
out
the
CONDENSER
LENS
and
the
HEAT
·
ABSORBING
GLASS
,
and
gently place them on a soft cloth.
Cl
ea
n
both
sides
of
the
condenser
lens and the heat-absorbing glass
with
paper
su
ch
as
KODAK
Lens
Cleaning
Paper
or
a soft, clean, lintless
cloth
. Be
ca
reful
not
to leave fingerprints on
any
of
the
s
urfa
ces. Replace
the
lens
and
the
h
eat
-absorbing glass in
their
origina
l locations. Lower the
bracket
and
sec
ur
ely
tighten
the
retaining
screw.
Turn
the
e
ntir
e lamp-br
acket
assem-
bly upside down so
that
you
can
reach
the
mirr
or
through
the
open
in
g
in
the
under
sid
e.
Gently
clean
the
surface
of
the
mirr
or
with
KODAK
Lens
Cleaning
Pap
er
or
a soft,
clean
, lintless
clot
h
10
moistened
with
KODAK
Lens Cleaner.
Th
en
replace the assembly
in
the
pro-
jector
a
nd
close
the
lamp
door
.
If
your
projector
is equipped
with
a
Slide-Scan
screen
/
built-in
viewer
(model 5200,
52
00-K,
or
5600),
this
scree
n
ha
s a
front
surface
mirror
which seldom needs cleaning.
Usually
any
dust
simply
can
be blown away.
Howev
er,
these
mirror
s
on
Kodak
slide projectors h
ave
an
overcoating
which will allow cleaning
with
a soft
cloth
dampened
with
water
or
lens
cleaner
.
Thermal Fuses
Your
projector
is equipped with ther-
mal fuses to
prevent
overheating
and
possible
damage
to the
projector
in
case
of
ex
haust-fan
or
m
otor
failu
re
.
If
overh
ea
ting
causes
the
fuses to open,
the
projector
will
not
operate
.
The
pro-
jector
will re
quire
factory
or
repa
ir-f
a-
cility
attentio
n to
make
it
run
again
.
See the Service Ce
nt
ers on page
2.
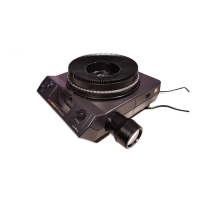
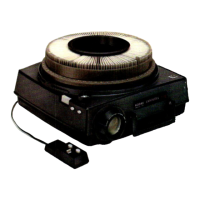
Emergency Slide-Tray Removal
If
the
slide-c
hanging
mech
an
ism
be-
comes inop
erative
becaus
e
of
a defec-
tive slide (page
7)
, a foreign object,
etc
,
turn
the
coin-slotted
TRA
Y·REMOVAL
SCREW
in
either
direction
, as far as
it
will go, to
retract
the
tray
lock. While
holding
the
screw
in
this
position, lift
off
the
tray
.
Be
sure
that
the
tray
lock
ring
is
in
place.
Then
turn
the
tray
upside down
and
rea
lign
the
index
not
ch as described on p
age
7;
set
the
tray
to
one
side. Remove
the
defective
slide from
the
projector
by
actuati
ng
the
forward
button
,
or
if
necessary,
pull
the
slide
or
foreign object from
th
e
gate
by
hand
.
Remount
the
damaged
slide. Replace
the
tray
on
the
projec-
tor.
PROJECTION TIPS
Long-Run Applications
Allow
for
unr
est
ricted
flow
of
air
through
the
proje
ctor
openings.
If
you
use
the
proje
ctor
in a window display
or
in
a cabinet, provide
an
adequ
ate
o
utl
et
for the
warm
air
expelled from
the
rear
grille vent.
Th
e a
ir
c
ir
cul
at
ing
through
the
projec
tor
should be as
dust-free as
po
ssible.
Editing Slides
If
you
want
to e
dit
your slides, you
ca
n
project
them singly, as d
escr
ibed on
page 9. Or you
ca
n place a
tray
of
slides on
th
e
projector
. Remove the
lock
ring
from
the
tray
. To e
dit
a slide
after
viewing, firmly press
and
hold
down
the
sel
ect
bar, and remove
the
slide from the
tray.
You
can
then
reori-
e
nt
the
slide
or
replace
it
with
an
ot
her.
The
optional
KODAK
EC
Stack
Load-
er, described
on
the
back
cover
, pro-
vides a convenie
nt
mean
s
of
e
diting
yo
ur
slides.
Using
the
built-in viewer
(models 5200,
5200
-K,
and
5600) is a
quick a
nd
easy way to
set
up for edit-
ing.
MORE INFORMATION
If
you need help
with
your
projector
or
with
ot
h
er
photographic
questions, see
yo
ur
photo
dealer
.
OR
Specify
the
model
of
yo
ur
projector
and
write to:
Eastman
Kodak
Company
Photo
Information
D
epart
m
ent
841
343
State
Street
Rochester, New York 14650
Do
NOT
send
your
equipm
ent
to
the
above address.
 Loading...