SETTING
UP
Dust Cover
To
install
the
dust
cover, position
it
on
top
of
the
projector
as s
hown
,
with
the
shallow side
next
to
the
projector
con-
trol panel. Press down on
the
round
section
in
the
center
of
the
cover;
the
cover will
snap
into
place.
To remove
the
cover,
push
the
DUST·
COVER
LATCH
away
from
the
center
of
the
projector
and lift off
the
cover.
(You must remove
the
cover
to use
the
projector.)
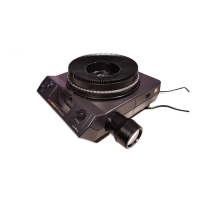
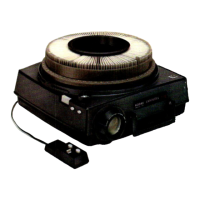
Power and Remote-Control Cords
Unwind
the
power cord from
the
cord
retainer
on
the
underside
of
the
projec-
tor. (The cord will
not
be wrapped
around
the
retainer
when
shipped.)
Turn
the
projector
upright. Open
the
CORD·COMPARTMENT
DOOR
on
the
front
of
the
projector
by pressing down
on
the
latch,
and
remove
the
remote-co
n-
trol
cord.
Then
close
and
latch
the
door.
CORD-COMPARTMENT DOOR
Plug
the
remote-control cord
into
the
remote-control
socket
at
the
rear
of
the
projector
.
The
dot
on
the
plug
should
be
toward
the
bright
dot
to
the
left
of
the
socket
when
the
plug is
in
the
socket.
Plug
the
power cord
into
a
suitable
el
ectrical
outlet.
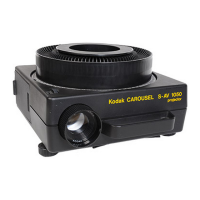
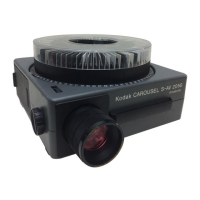
Your
CAROUSEL
Projector
for
use
in
the
United
States-model
4200, 4400, 4600,
5200,
or
5600 (see
projector
nameplate)
-
operates
on
110- to 125-volt,
60
Hz
current
only.
See
information
on
page
4
about
KODAK CAROUSEL '
4200-K, 4600-K,
and
5200-K
Projec-
tors;
and
about
the
KODAK
CAROUSEL
' 4400-L
Projector.
If
you
plug
your
projector
into
the
wrong
el
ectrical
so
urc
e,
the
projector
can
be
damaged.
Spare-Lamp Storage
It's
a good idea to keep a
spare
projec-
tion
lamp on
hand
in case
the
lamp
should
burn
out
during
use
.
The
6
CAROUSEL
5600
Projector
has
a provi-
sion
for spare-lamp
storage
inside
the
cord compartment.
After removing
the
remote-control
cord,
push
up on
the
front
of
the
lamp-
storage
clip
at
the
right-hand
side
of
the
cord compartment,
and
raise
the
clip.
Place
a
spare
lamp (page 9 for
lamp-code
designations)
under
the
clip,
with
the
lamp reflector facing to-
ward
the
right
and
the
flat side
of
the
lamp base
parallel
to
the
bottom
of
the
projector. Lower
the
clip
and
press
it
down
until
it
snaps.
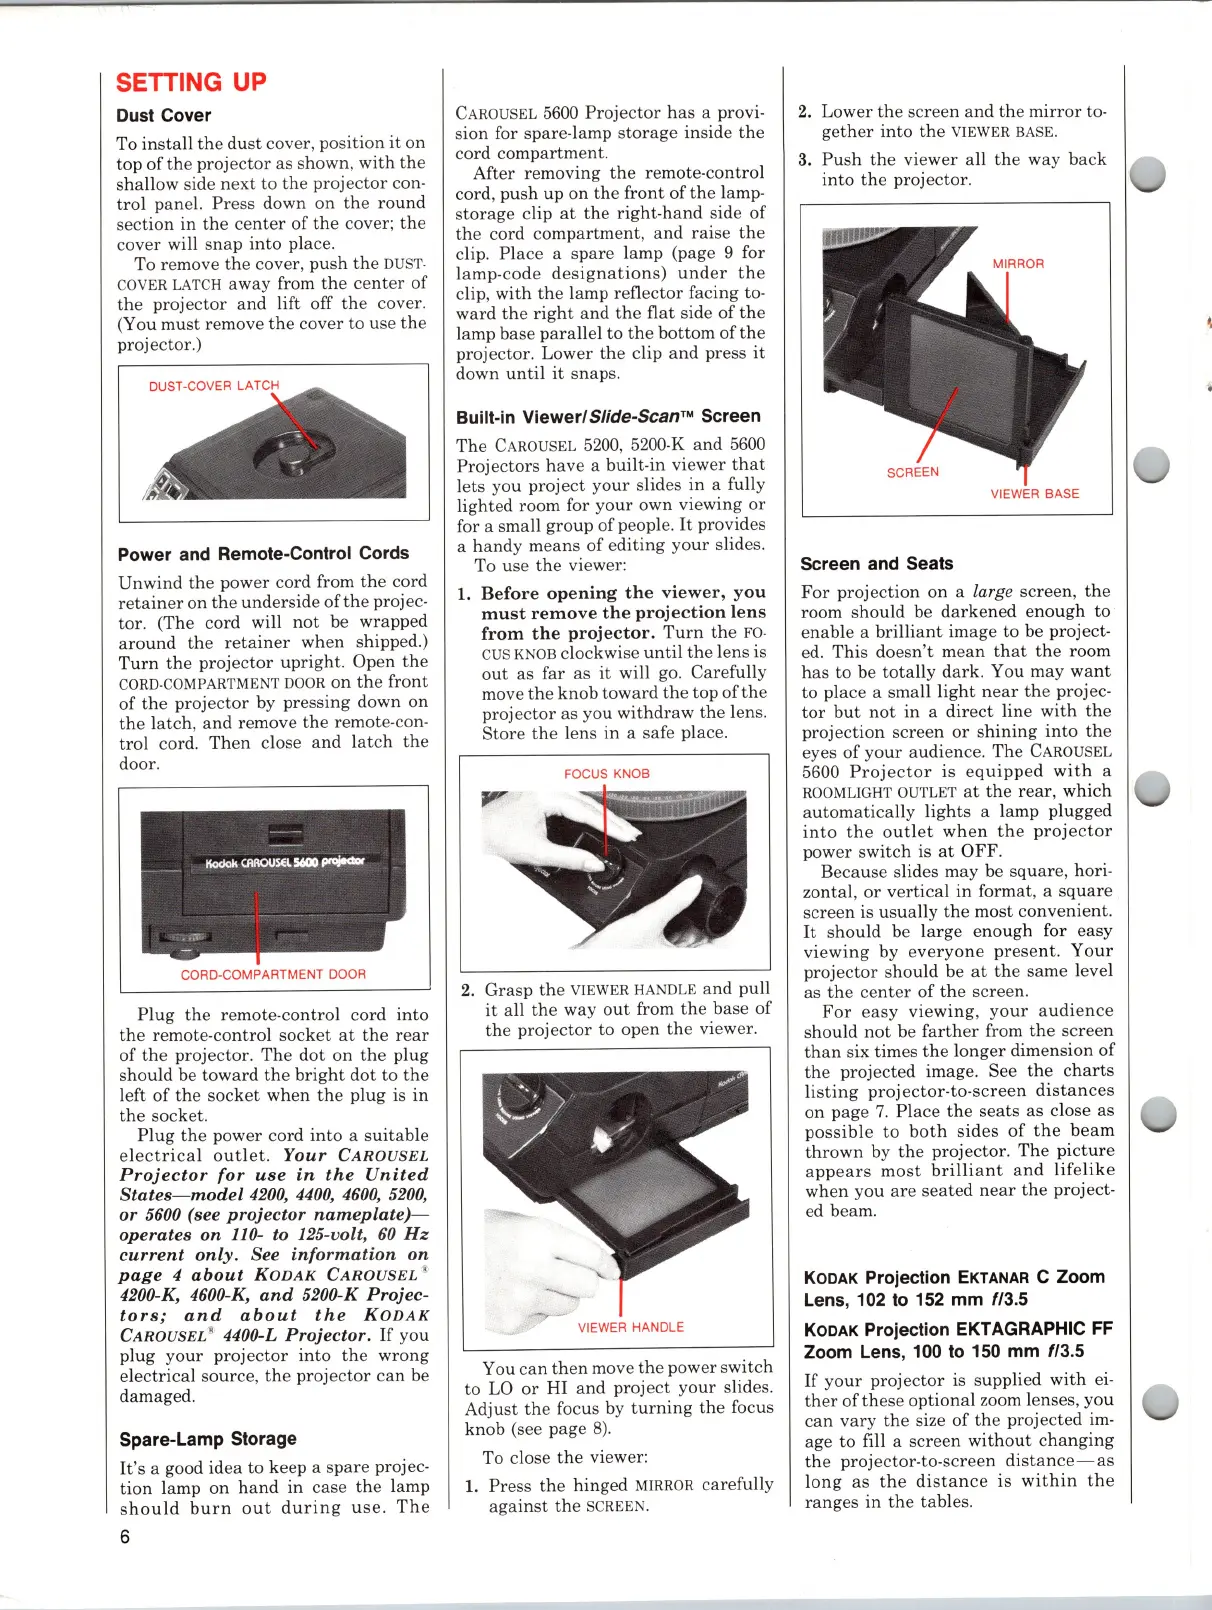
Built-in Viewerl
S/ide-ScanTM
Screen
The
CAROUSEL
5200, 5200-K
and
5600
Projectors
hav
e a built-in viewer
that
lets you
project
your
slides
in
a fully
lighted room for yo
ur
own viewing
or
for a small
group
of
people.
It
provides
a
handy
means
of
editing
your
slides.
To use
the
viewer:
1.
Before
opening
the
viewer,
you
must
remove
the
projection
lens
from
the
projector.
Turn
the
FO·
CUS
KNOB
clockwise
until
the
lens is
out
as far
as
it
will go. Carefully
move
the
knob
toward
the
top
of
the
proje
ctor
as you
withdraw
the
lens.
Store
the
lens
in
a safe place.
FOCUS KNOB
2.
Grasp
the
VIEWER
HANDLE
and
pull
it
all
the
way
out
from
the
base
of
the
projector
to open
the
viewer.
VIEWER HANDLE
You
can
then
move
the
power switch
to LO
or
HI
and
project
your
slides.
Adjust
the
focus by
turning
the
focus
knob (see page
8).
To close
the
viewer:
1. Press
the
hinged
MIRROR
carefully
against
the
SCREEN.
2.
Lower
the
screen
and
the
mirror
to-
gether
into
the
VIEWER
BASE.
3.
Push
the
viewer all
the
way
back
into
the
projector.
VIEWER BASE
Screen and Seats
For
projection on a large screen,
the
room
should
be
darkened
e
nough
to
enable
a
brilliant
image to be project-
ed. This doesn't
mean
that
the
room
has
to be
totally
dark. You may
want
to place a small
light
near
the
projec-
tor
but
not
in
a
direct
line
with
the
projection screen
or
shining
into
the
eyes
of
your
audience.
The
CAROUSEL
5600
Projector
is
equipped
with
a
ROOMLIGHT
OUTLET
at
the
rear,
which
automatically
lights a lamp plugged
into
the
outlet
when
the
projector
power
switch
is
at
OFF
.
Because
slides may be square, hori-
zontal,
or
vertical
in
format, a
square
screen is
usually
the
most co
nv
enie
nt
.
It
should
be
large
enough
for easy
viewing
by
everyone
present.
Your
projector
shou
ld be
at
the
same
level
as
the
center
of
the
screen.
For
easy
viewing,
your
audience
should
not
be
farther
from
the
screen
than
six times
the
long
er
dimension
of
the
projected image. See
the
charts
listing
projector-to-screen
distances
on
page
7.
Place
the
seats
as close as
possible
to
both
s
id
es
of
the
bea
m
thrown
by
the
projector.
The
pi
ct
ur
e
appears
most
brilliant
and
lif
e
lik
e
when
you
are
seated
near
the
project-
ed beam.
KODAK
Projection
EKTANAR
C Zoom
Lens, 102
to
152 mm
113.5
KODAK
Projection EKTAGRAPHIC FF
Zoom Lens, 100
to
150 mm
113.5
If
your
projector
is supplied
with
ei-
ther
of
these
optional
zoom lenses,
you
can
vary
the
size
of
the
projected im-
age to fill a
screen
without
changing
the
projector-to-screen
distance
-
as
long
as
the
distance
is
within
the
ranges
in
the
tables.