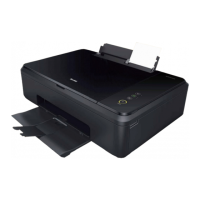
Load paper
Set paper onto the paper support
1 Reach your hand to the back of the unit, just above the Rear
Cover (Duplex Unit), and lift up the center of the Paper
Support.
2 Tilt the Paper Support forward, then tilt it backward so that
the Paper Support is fixed in the right position.
3 Pinch the Paper Support Bar at the rectangular cutout on the
right of the Paper Support, and rotate it upward.
4 Slide the paper guide to the left.
5 Fan the plain paper to be printed and then tap the paper
sheets so the ends are all the same.
6 Set the plain paper (Letter or A4 size 20 lb. or 75 g/m2) onto
the paper support. You can load up to 60 plain paper sheets.
Slide the paper guide firmly against the edge of the paper.
7 Open the paper exit tray and the exit tray extender.
1
2
Pull out the Paper exit tray all the way
before opening the Exit tray extender.
Note(s)
Loading Paper
●
You can load up to 15 index cards or postcards, 10 glossy
paper sheets or 5 envelopes on the paper support.
●
You can load up to 10 sheets of photo paper (4 x 6 inches)
when printing photo(s) on the Photo tray.
»
Refer to “Print media” on page 27.
Turn On the unit
1 Connect the AC plug to the AC outlet.
2 (Power) LED will light up, when the unit is turned On.
13
English

 Loading...