10
2. Secure the window panel frame to the top window jamb:
Drill two 9/64” diameter pilot holes in the top window jamb that are in line with the
partially plugged holes in the window panel frame.
Secure the window panel frame with two #8-32x3/4” self-threading screws.
If additional support is needed, two screws may be used on the sides of the panel frame
as well.
3. Secure the side panels to the side window jambs:
Drill two screw holes in the side channels near the bottom of the channels.
Drill two 9/64” diameter pilot holes in the side window jambs.
Secure the side channels using two #8-32x3/4” self-threading screws.
4. Replace the front panel by reversing the steps in the “Remove the Front Panel” section.
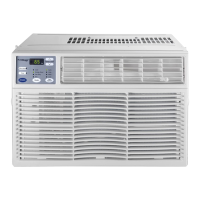
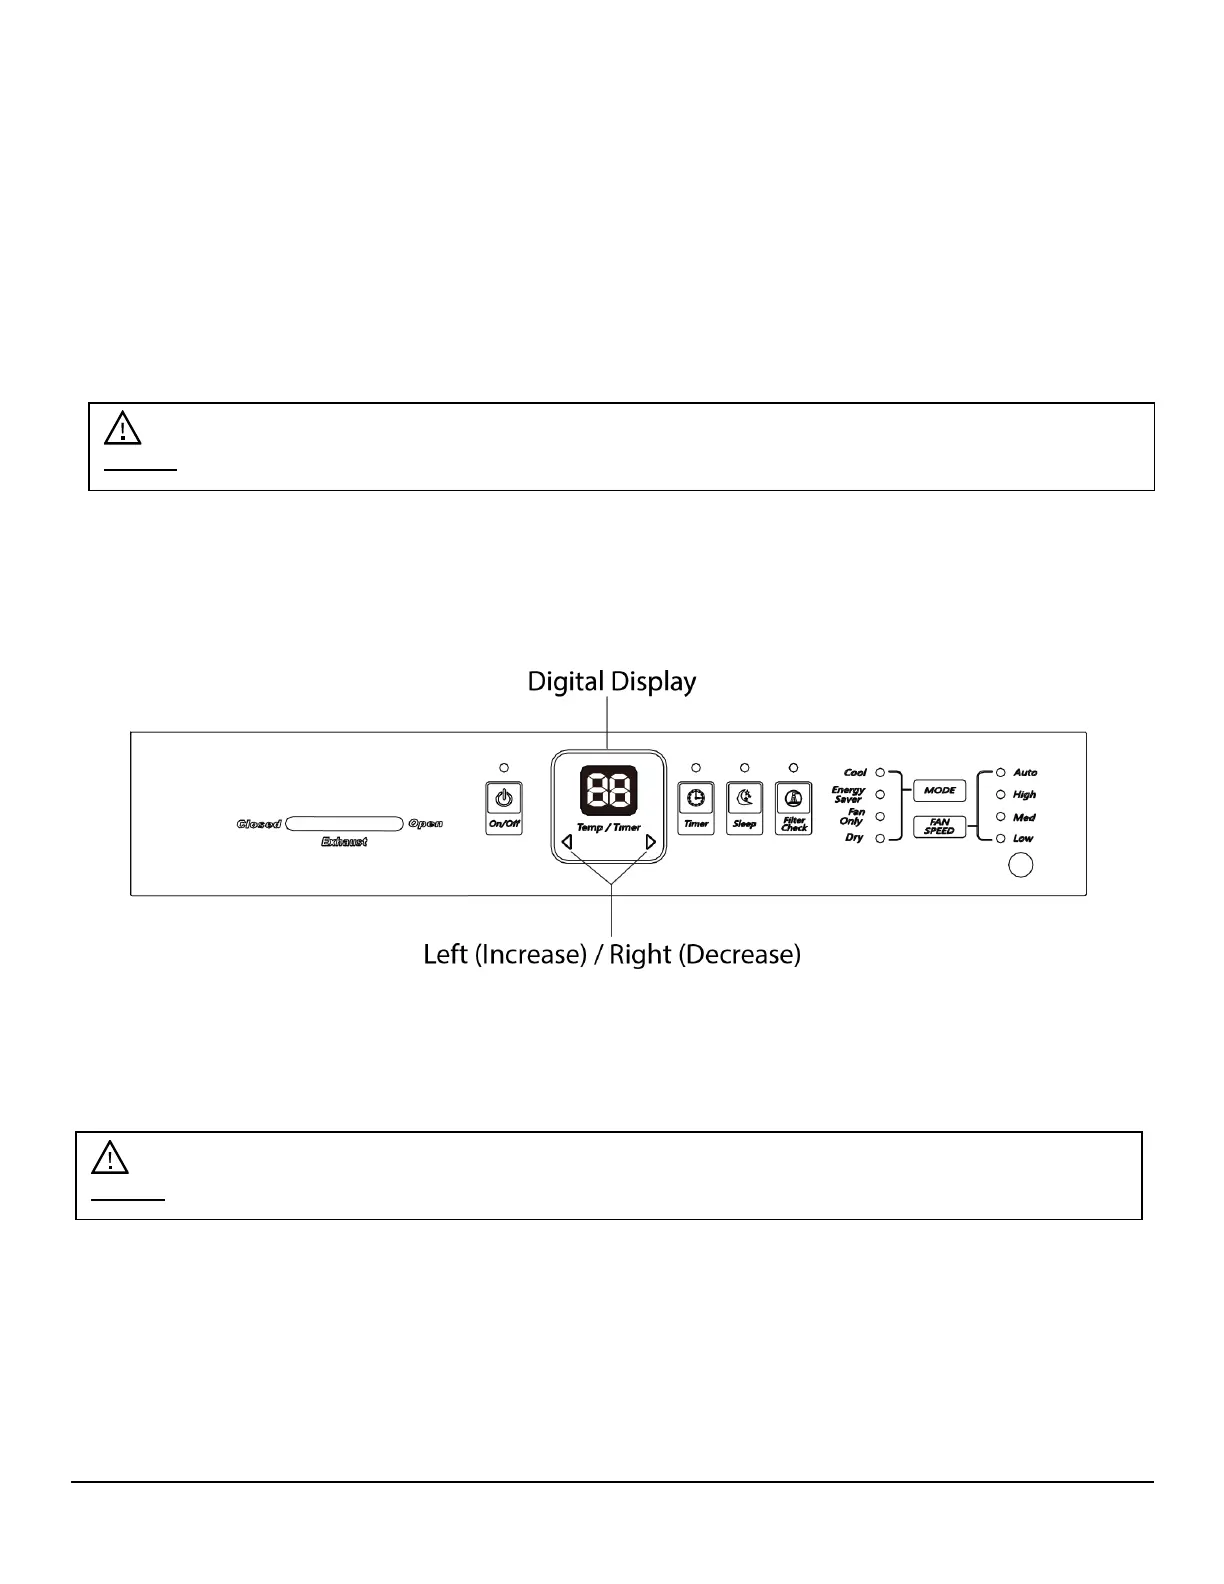
Control Panel Operations
Using the Control Panel
To Turn the Unit On:
Press the On/Off button.
To Change Temperature:
Press or hold either the Left (Increase) or Right (Decrease) button until desired temperature is
seen on the digital display. This temperature will be automatically maintained anywhere between
61°F (16°C) and 86°F (30°C).