bizhub C4000i/C3300i F DISASSEMBLY/REASSEMBLY > 4. bizhub C4000i/C3300i
F-13
E.3.1.7 Replacing the Imaging unit
4. Remove the transfer belt unit.
E.3.1.10 Replacing the transfer belt unit
5. Remove the toner filter assy.
E.3.1.8 Replacing the toner filter
6. Remove the rear cover.
F.4.1.3 Rear cover
7. Remove the left cover.
F.4.1.2 Left cover
8. Remove the PWB box.
F.4.2.7 PWB box
9. Remove the DC power supply.
F.4.3.3 DC power supply (DCPS)
10. Remove the main motor.
F.4.4.1 Main motor (M1)
11. Remove the color motor.
F.4.4.2 Color motor (M2)
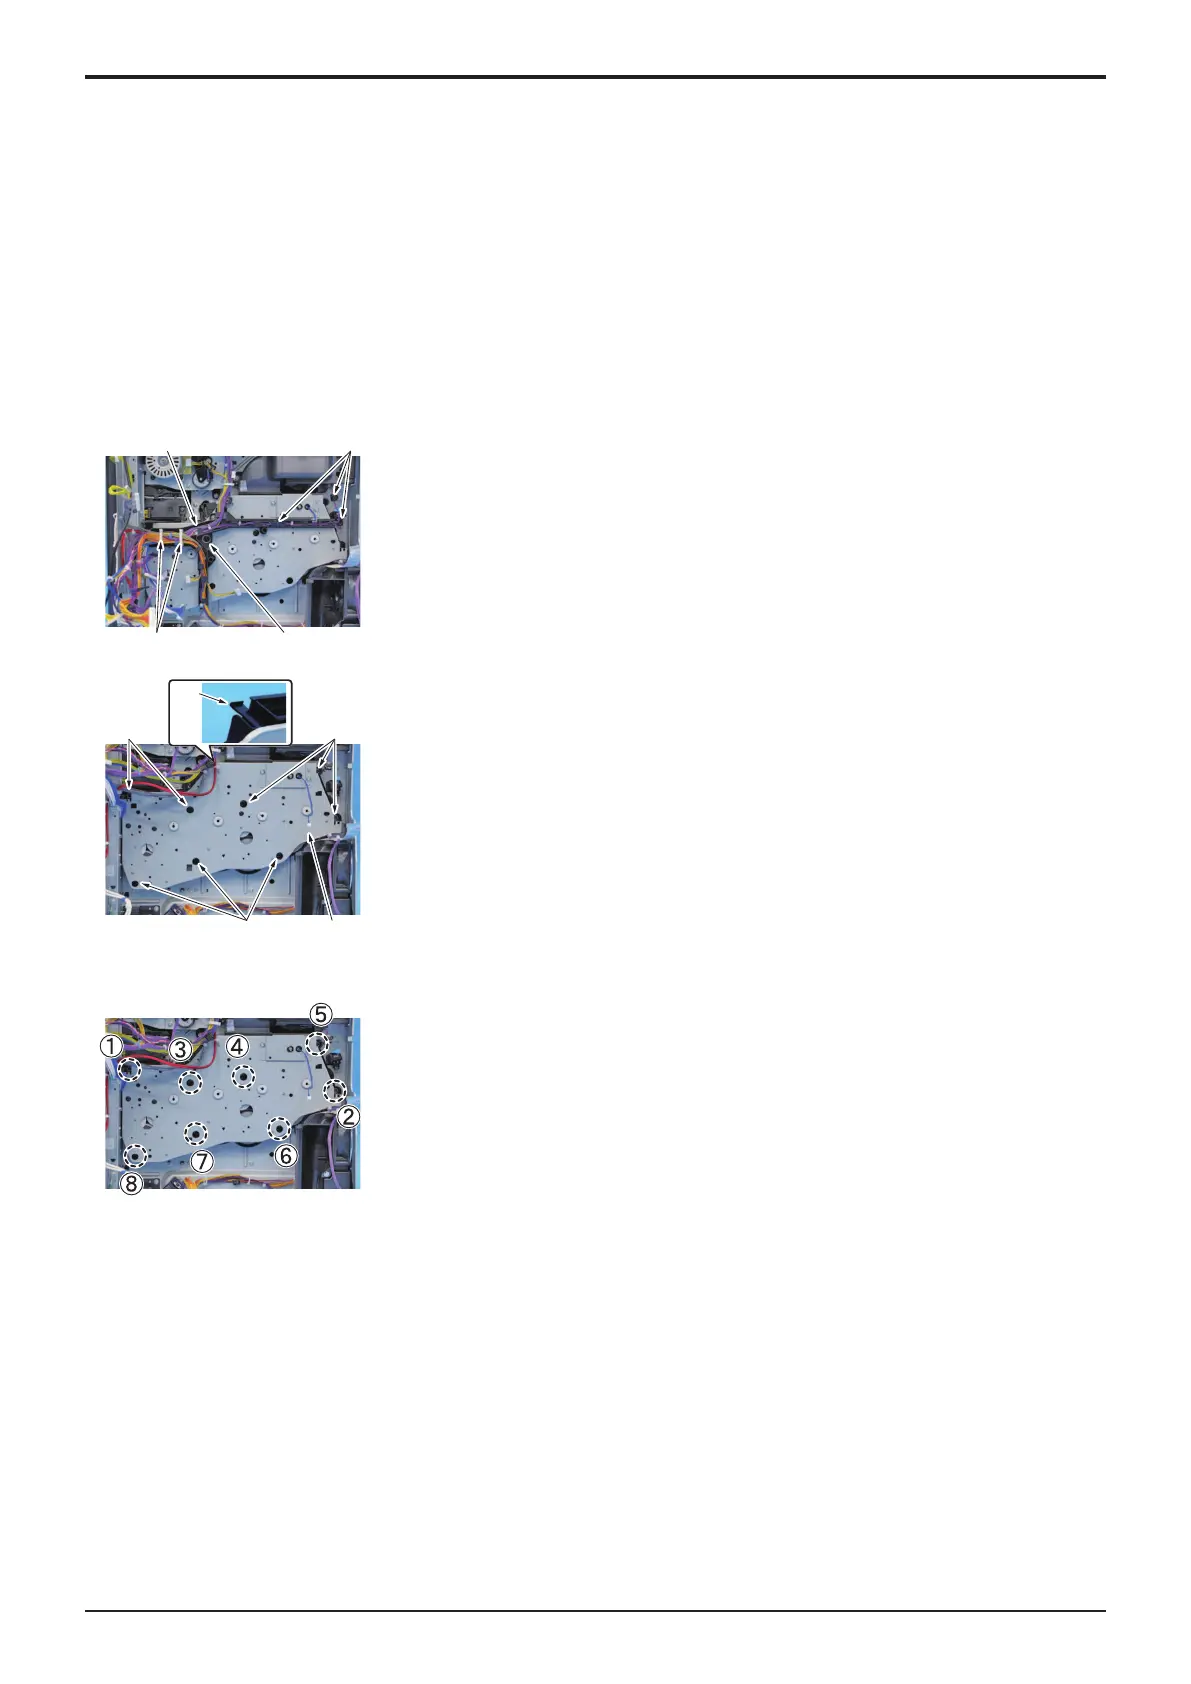
12. Disconnect three connectors [1].
13. Remove the harness from the two wire saddles [2] and the harness guide [3].
14. Remove the screw [4], and remove the harness guide [3].
15. Remove eight screws [1].
16. Remove the tab [2], and remove the main drive unit [3].
17. To reinstall, reverse the order of removal.
18. NOTE
▪ When installing the main drive unit, be sure to tighten the screws
from (1) to (8) in that order.
4.2.5Manual bypass tray roller unit
1. Open the right door.
2. Remove the manual bypass tray unit.
F.4.2.1 Manual bypass tray unit
3. Remove the bypass tray paper feed clutch.
F.4.5.1 Bypass tray paper feed clutch (CL2)
 Loading...