15
Function settings
These settings let you format an SD card, and
save or load your samples.
Procedure for Function settings
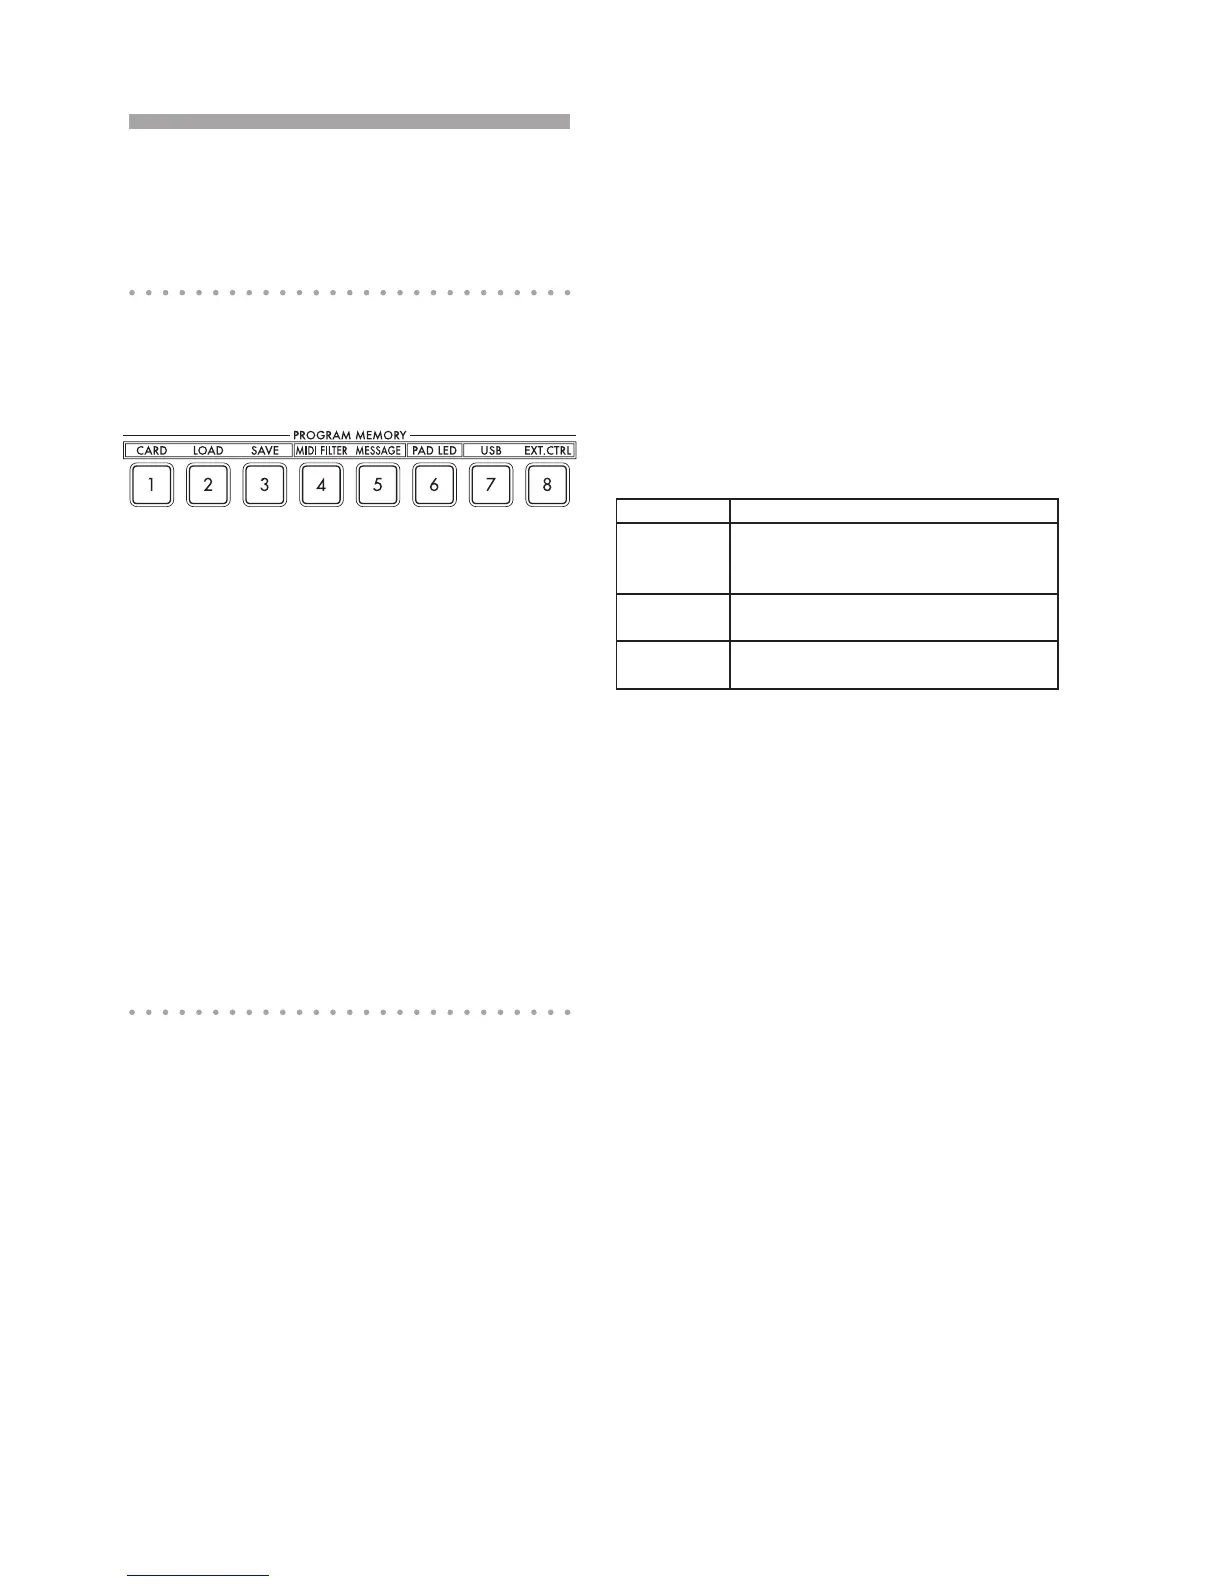
1. Hold down the SHIFT button and press one
of the PROGRAM MEMORY buttons 1–8.
2. Use the PROGRAM/BPM knob to select a
sub-parameter.
3. Press the PROGRAM/BPM knob to view
the value options for that parameter.
4. Use the PROGRAM/BPM knob to select a
value.
5. Press the TAP/RANGE button (lit) to return
to the parameter list. Repeat steps 2–5 to edit
additional parameters.
6. At this point, you can either press the
WRITE button (blinking) to save the changes
you have made, or you can press the SHIFT
button to exit without saving.
TIP: While the TAP/RANGE button is lit, you can
press the TAP/RANGE button to return to the pre-
ceding page.
About each function
[1] CARD
Displays information about the SD card, or for-
mats the SD card (→p.16: Using an SD card).
[2] LOAD
Loads data from the SD card into the KP3+
(→p.18: Loading from an SD card).
[3] SAVE
Saves data from the KP3+ to the SD card
(→p.18: Saving to SD card).
[4] MIDI FILTER
Species the MIDI clock setting and MIDI
message ltering. (→p.21: Applying the MIDI
message lter).
[5] MESSAGE
Species the channel on which MIDI messag-
es will be transmitted/received, and assigns
a control change to each controller. You can
specify note numbers for the SAMPLE BANK
buttons. (→p.20: MIDI settings).
[6] PAD LED
Prog: This turns on/off the function that dis-
plays the program name in the touch pad LED
when a program change occurs.
ILLU: This species the illumination shown in
the pad LED when a certain time has elapsed
since you took your hand off the touch pad.
“oFF”: Illumination will be off.
“ChAr”: A text string will be scrolled. You can
use the editor software to edit this
text string.
“TYP.1–8”: Illumination in a variety of patterns
will be displayed.
“TYP.C”: Illumination patterns TYP.1 through
TYP.8 will be switched automatically.
TIP: Illumination will not occur if Hold is active, nor
when you’re adjusting function settings.
TIP: You can download the KP3+ Editor from the
Korg website. (http://www.korg.com)
Scrl: Species the speed setting used for
the text to scroll. This setting determines the
speed used for the pad LED to scroll. You can
choose Slow, Mid, or Fast speeds.
TIP: You can’t change the speed of the illumination
display.
[7] USB
You can connect the KP3+ to your computer
and read/write the contents of the inserted
card via USB (→p.18: Accessing the SD card
from your computer).
[8] EXT.CTRL
This lets you use the KP3+ as a MIDI control-
ler.
The MIDI message assigned to each control-
ler using the KP3+ Editor will be transmitted
(→p.22: Using the KP3+ as a MIDI controller).
TIP: You can download the KP3+ Editor from the
Korg website. (http://www.korg.com)