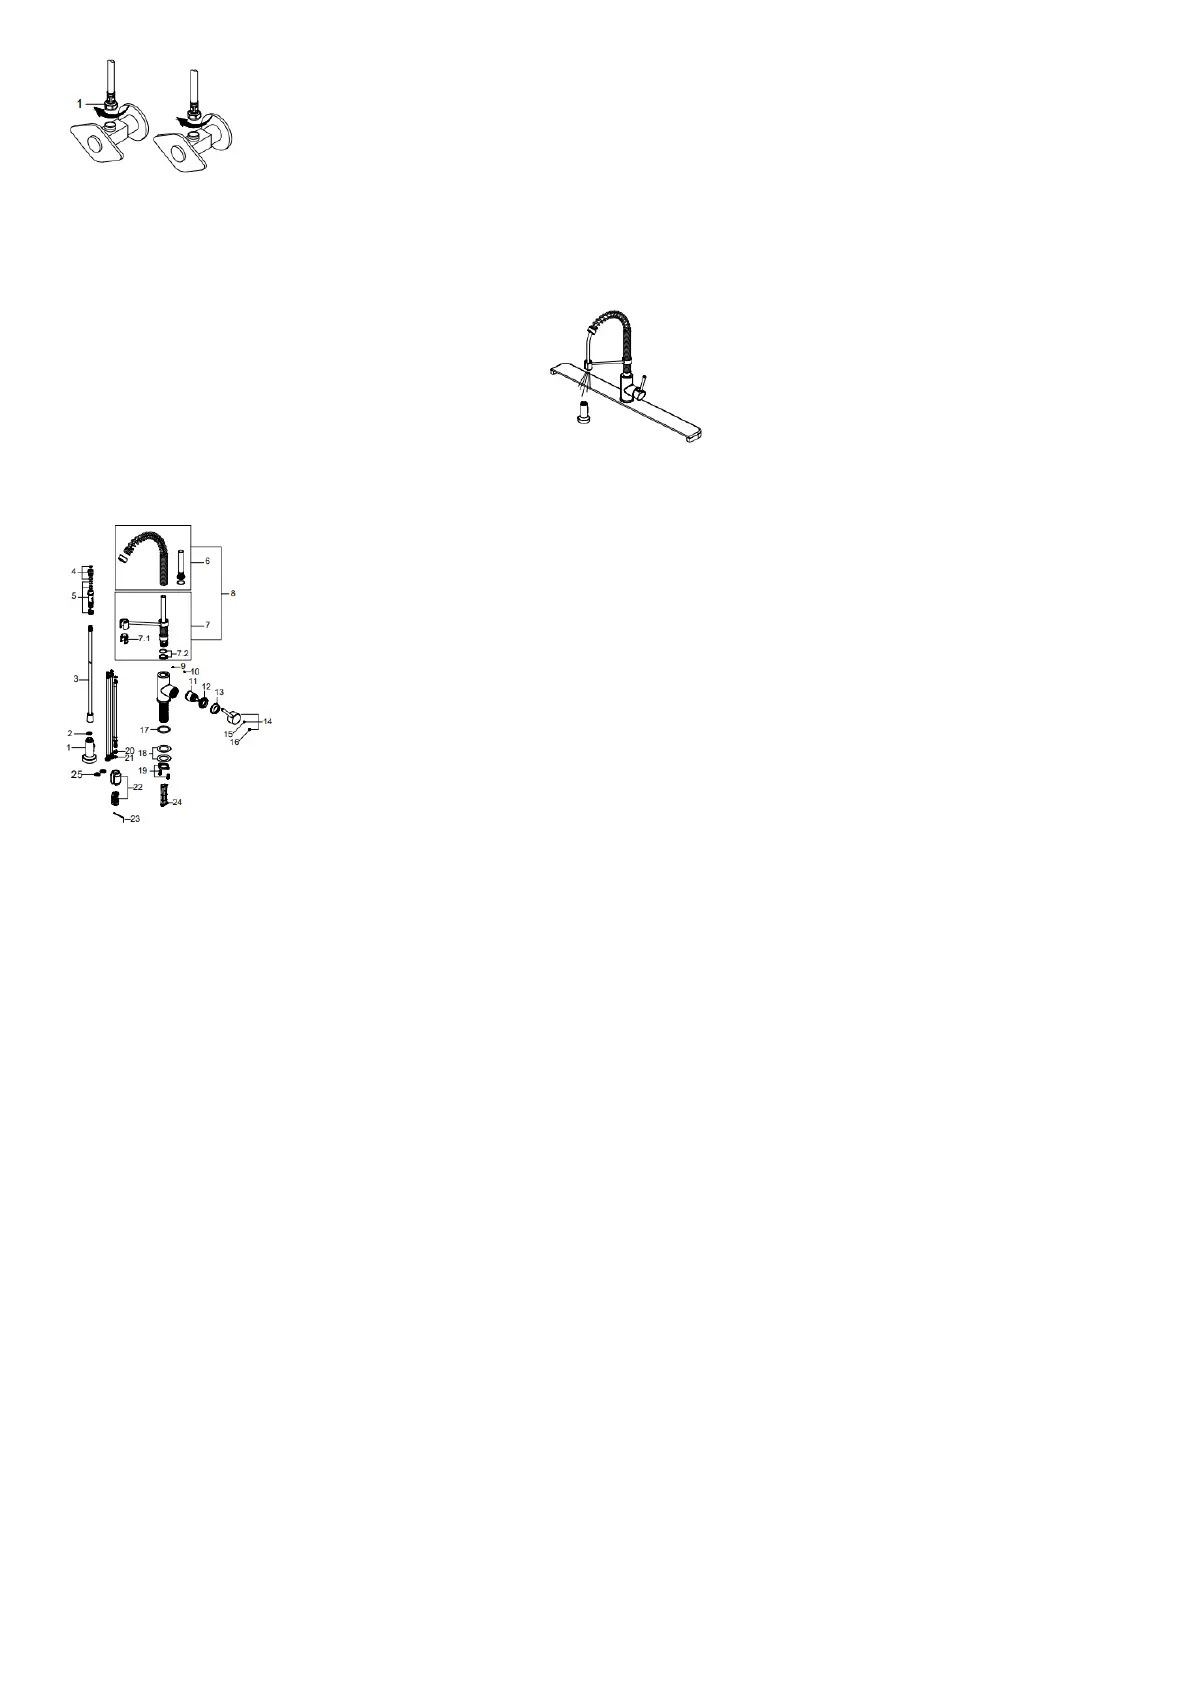
NOTE: Please make sure filter washers are installed before connecting to the main valve.
Step 7. Flushing and checking for leaks
Pull the hose assembly out of the spout and remove the spray head by unscrewing it from the hose in a counterclockwise direction. Be sure to hold the end of the hose down into
the sink and turn the faucet on to the warm position where it mixes hot and cold water. Flush the water lines for one minute. This flushes away any debris that could cause damage
to internal parts. Check for leaks. Re-tighten any connections if necessary, but do not overtighten. Reinstall the spray head by hand tightening it back onto the spray hose. After
installation is completed, turn on the hot and cold water supplies. Check for leaks.
Replacement Parts
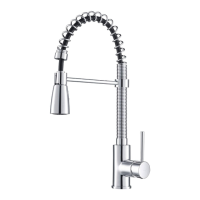
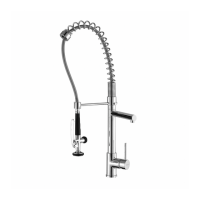
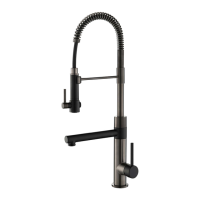
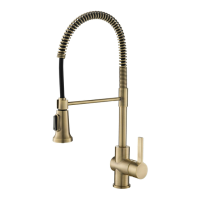
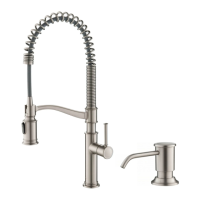
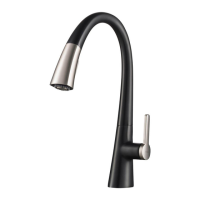
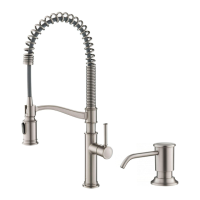
*Denotes spray hose assembly color options: Spray hose assembly color options: Black hose w/ Brushed Gold connector (BLBG), Black hose
with Spot-Free Stainless connector (BLSFS), Gray hose with Chrome connector (GRCH), Gray hose with Spot-Free Stainless connector (GRSFS), Gray hose with Stainless Steel
connector (GRSS), Black hose with Matte Black connector (BLMB), Black hose with Stainless Steel connector (BLSS), Black hose with Spot-Free Antique Champagne Bronze
(BLSFACB)
**Denotes faucet component color options:
CH – Chrome
SFS – Spot Free Stainless Steel
SS – Stainless Steel
MB – Matte Black
BG – Brushed Gold
SB – Black Stainless
MBSFSB – Matte Black/Spot Free Stainless Steel
SFACB – Spot Free Antique Champagne Bronze
SFACBMB – Spot Free Antique Champagne
Bronze/Matte Black
MBSB – Matte Black/Black Stainless
SFSCH – Spot Free Stainless Steel/Chrome
BGMB – Brushed Gold/Matte Black
SFSB – Spot Free Black Stainless
SFSMB – Spot Free Stainless Steel/Matte Black
SSMB – Stainless Steel/Matte Black
SSCH – Stainless Steel/Chrome
BL – Black
WH – White
GR- Grey
 Loading...