12
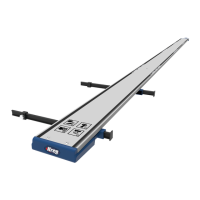
2 Position the Guide Rail and Cutline Indicator Arms
a. Position the guide on your material with the guide rail with the GripMaxx
™
clamp
(C) ush to the far edge of the material. Tilt and slide the adjustable GripMaxx
™
clamp (E) and slide it to align ush to the near edge of the material.
Note When the adjustable GripMaxx
™
clamp (E) is tilted at an angle, it will travel and
move in the guide rail. When it is tilted at 90° it will stop and not move.
b. Slide the cutline indicator arms (F) outward until the indicator stops (G) are
against the clamps. Align the at face of the arms to your measured marks.
Note Be sure to align both the near and far cutline indicator arms (F) to your
measured marks.
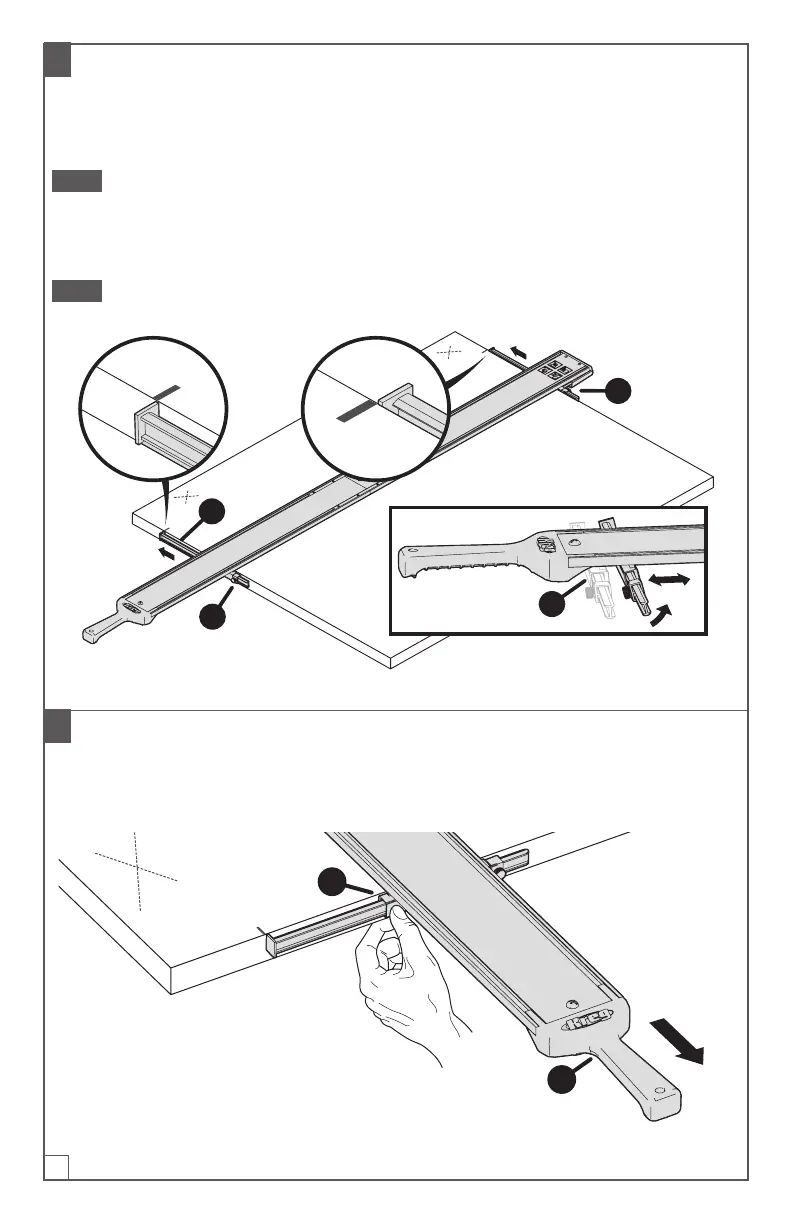
3 Clamp the Straight Edge Guide in Place on Your Material
With both indicator arms aligned to their marks, clamp the straight edge guide in
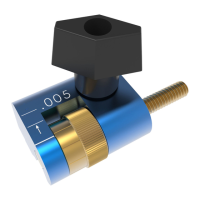
place. Press against the middle of the adjustable GripMaxx
™
clamp (E) with one hand
while using your other hand to pull the handle (H) towards you.
H
E