6
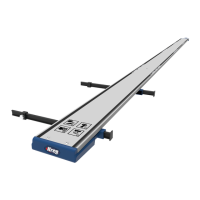
3 Attach the Guide Rails
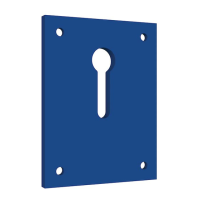
a. Slide the guide rail (D) onto the connector bars, ensuring that the hole on the
guide rail (1) is furthest away from the connector bars.
b. Use a level (2) or straightedge to ensure the connected guide rails are aligned
properly. Fully tighten the set screws (AA) in the connector bars on the guide
rail(D) using the hex wrench (DD).
c. For Straight Edge Guide XL and Straight Edge Guide Extension: Repeat steps a
and b until all guide rail sections are assembled.
ATTENTION Ensure set screws are tight but do not over-tighten to prevent marring
the guide rail. The recommended tightness is 1/4 turn past snug.
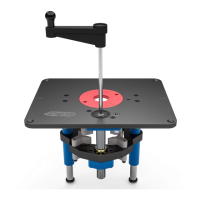
4 Install the Adjustable GripMaxx
™
Clamp
a. Install the adjustable GripMaxx
™
clamp (E) into the underside of the guide rail
assembly (D).
b. Verify that the GripMaxx
™
surface on the clamp faces the corresponding pad on
the guide rail with GripMaxx
™
clamp (C).
c. Tilt the adjustable GripMaxx
™
clamp (E) to slide into the guide rail assembly (D).