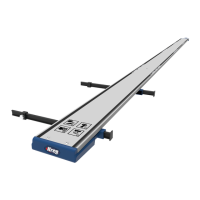
7
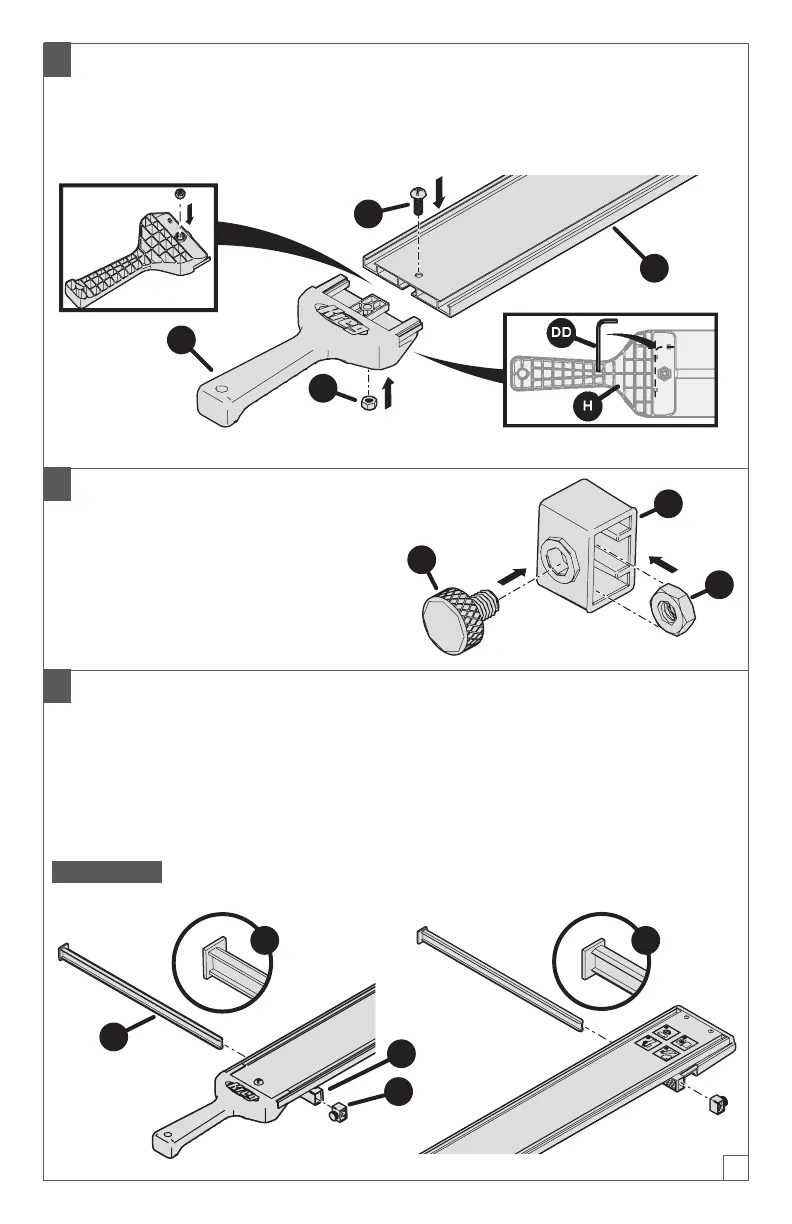
5 Install the Handle
a. Slide the handle (H) into the guide rail (D), ensuring the holes are aligned. Secure
in place using the handle bolt (EE) and handle nut (FF).
b. Store the hex wrench (DD) in the clips on the underside of the handle.
H
EE
D
FF
H
DD
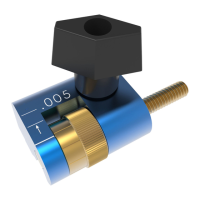
6 Assemble the Cutline Indicator Stops
a. Install a cutline indicator thumb
screw (BB) and stop nut (CC) into a
cutline indicator stop (G) as shown.
b. Repeat this process for both stops.
7 Install the Indicator Arms
a. Slide a cutline indicator arm (F) into the adjustable GripMaxx
™
clamp (E). Verify
that the longer face (1) of the arm (F) is facing inward, as shown. Then install the
cutline indicator stop (G) onto the other end of the arm (F).
b. Repeat to install the second cutline indicator arm on the guide rail with
GripMaxx
™
clamp (C), ensuring the longer face (1) points inward as well.
ATTENTION Cutline indicator arms are reversible for left- or right-bladed saws.
Refer to the calibration section of this manual.
1 1
F
E
G
BB
CC
G