ENGLISH
17
1
2
3
4
15 mm
3,5 mm
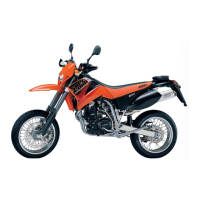
How to change the handlebar position
The handlebar position can be readjusted by 22 mm. Thus, you can put the
handlebar to the position that is the most convenient for you. The upper tri-
ple clamp
1 includes 2 bores arranged at a distance of 15 mm (0,6 in) from
one another. The bores at the handlebar support
2 are offset from the cen-
ter by 3.5 mm (0.13 in). Accordingly, you can mount the handlebar in
4 different positions.
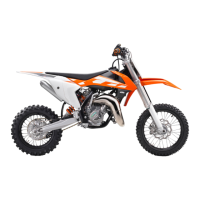
For this purpose, remove screws
3 of the handlebar clamps and screws 4
of the handlebar support. Position handlebar support, and tighten screws 4
to 40 Nm (30 ft.lbs). Mount handlebar and handlebar clamps, and tighten
screws
3 to 20 Nm (15 ft.lbs). The gap between handlebar support and
handlebar clamps is to be of equal size in the front and in the rear.
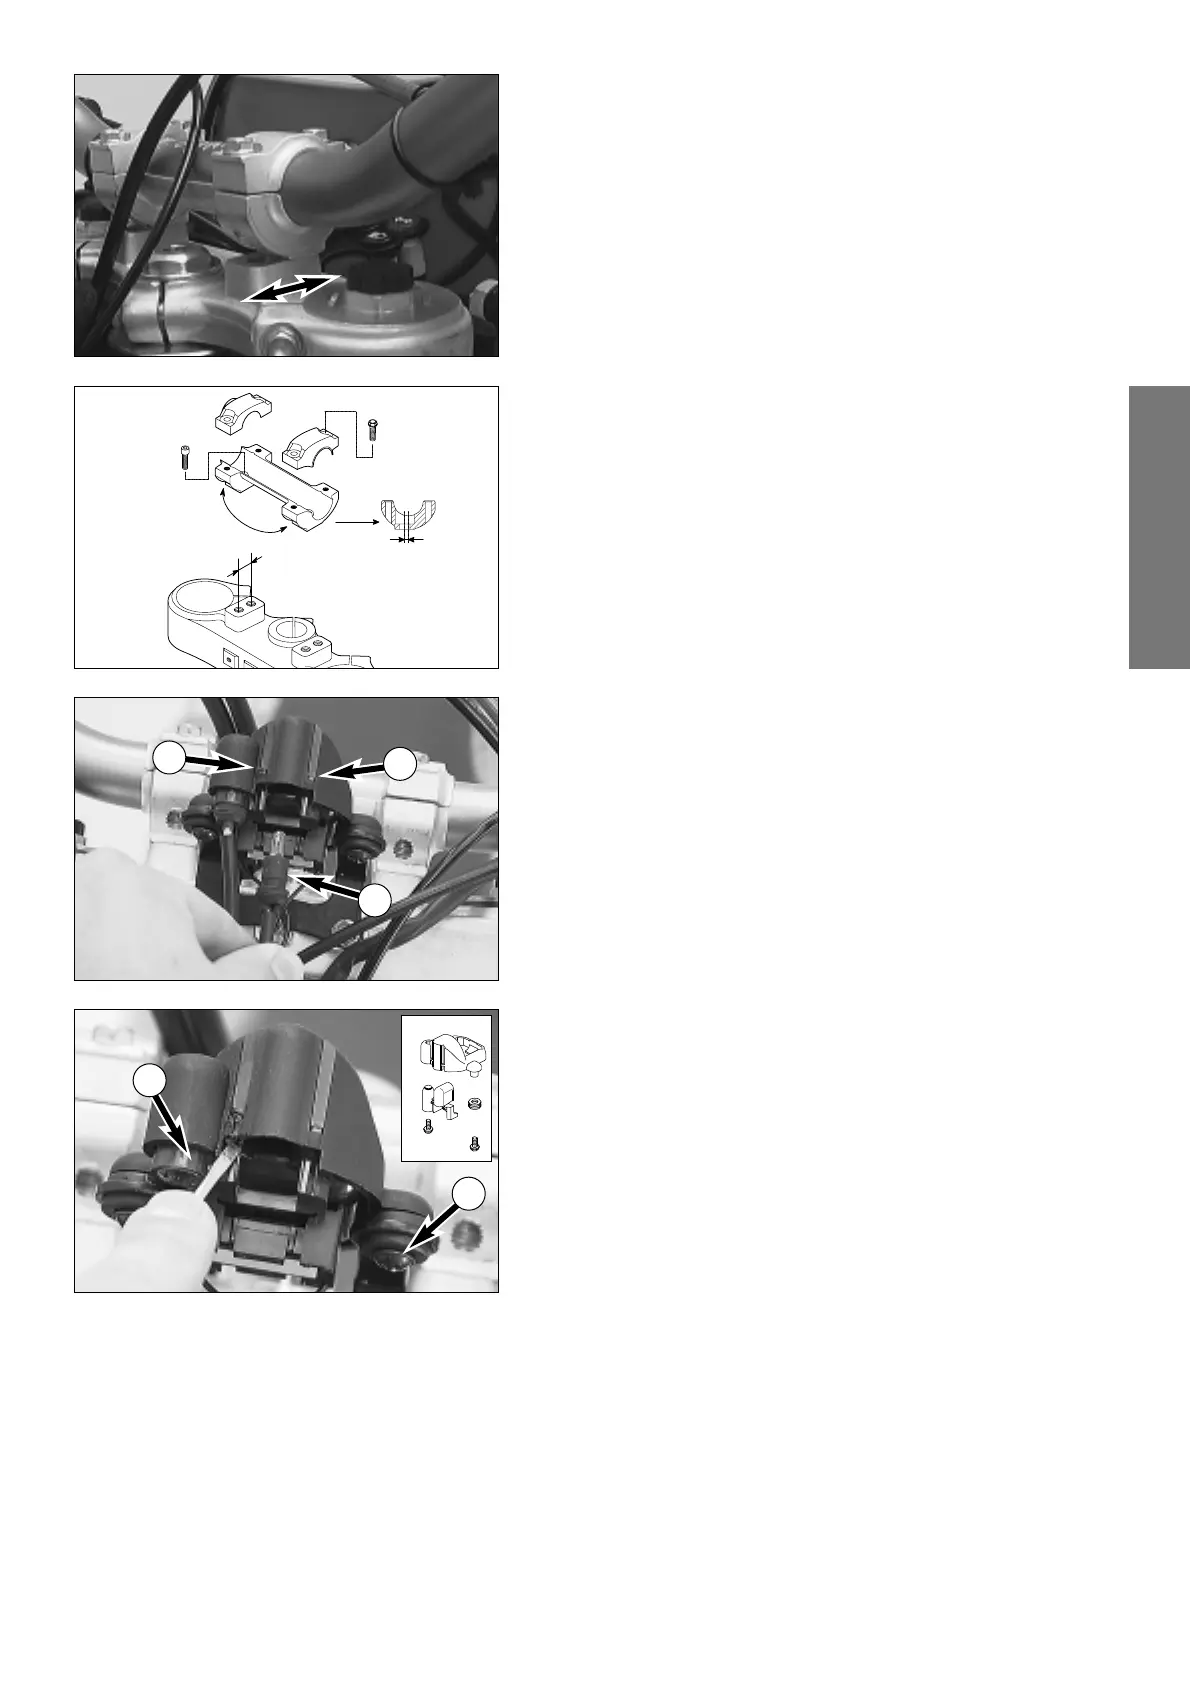
Replacing the battery of the digital speedometer
After approx. 2 years, the battery of the digital speedometer will be empty
and must be replaced. For this purpose, the speedometer must be
dismounted.
Remove headlight mask, and pull speedometer illumination system
5 out
of the speedometer housing.
Use a screwdriver to lever the blue speedometer glass 6 downward and
out of the speedometer housing
7. The two noses A must be disengaged
from the speedometer housing. Remove screws
8, and take speedometer
out of housing.
Before you remove the battery, do not forget to write down the following
data:
– total kilometer reading (DST)
– wheel circumference (WS)
– Remove the battery cover on the back of the speedometer and detach the
batteries. The new batteries must be inserted with the plus pole on top.
– Make sure that the seal ring has the right position on the cover when
mounting the battery cover.
– Now total mileage, wheel circumference and time have to be entered.
To mount the speedometer, proceed by following the reverse order of the
above procedure.
7
6
8
A
A
5
6
8