EasyManua.ls Logo

Kverneland 150 Series - User Manual

Kverneland 150 Series
65 pages
Print Icon
To Next Page IconTo Next Page
Loading...
150 Series
Operating manual
Original operating manual
Edition 2014
Date of print 06.2018
Language EN
Machine number
Model 150 Series
Document number A133084640.EN

Questions and Answers

  • K
    Kim SmithAug 1, 2025
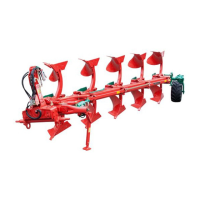
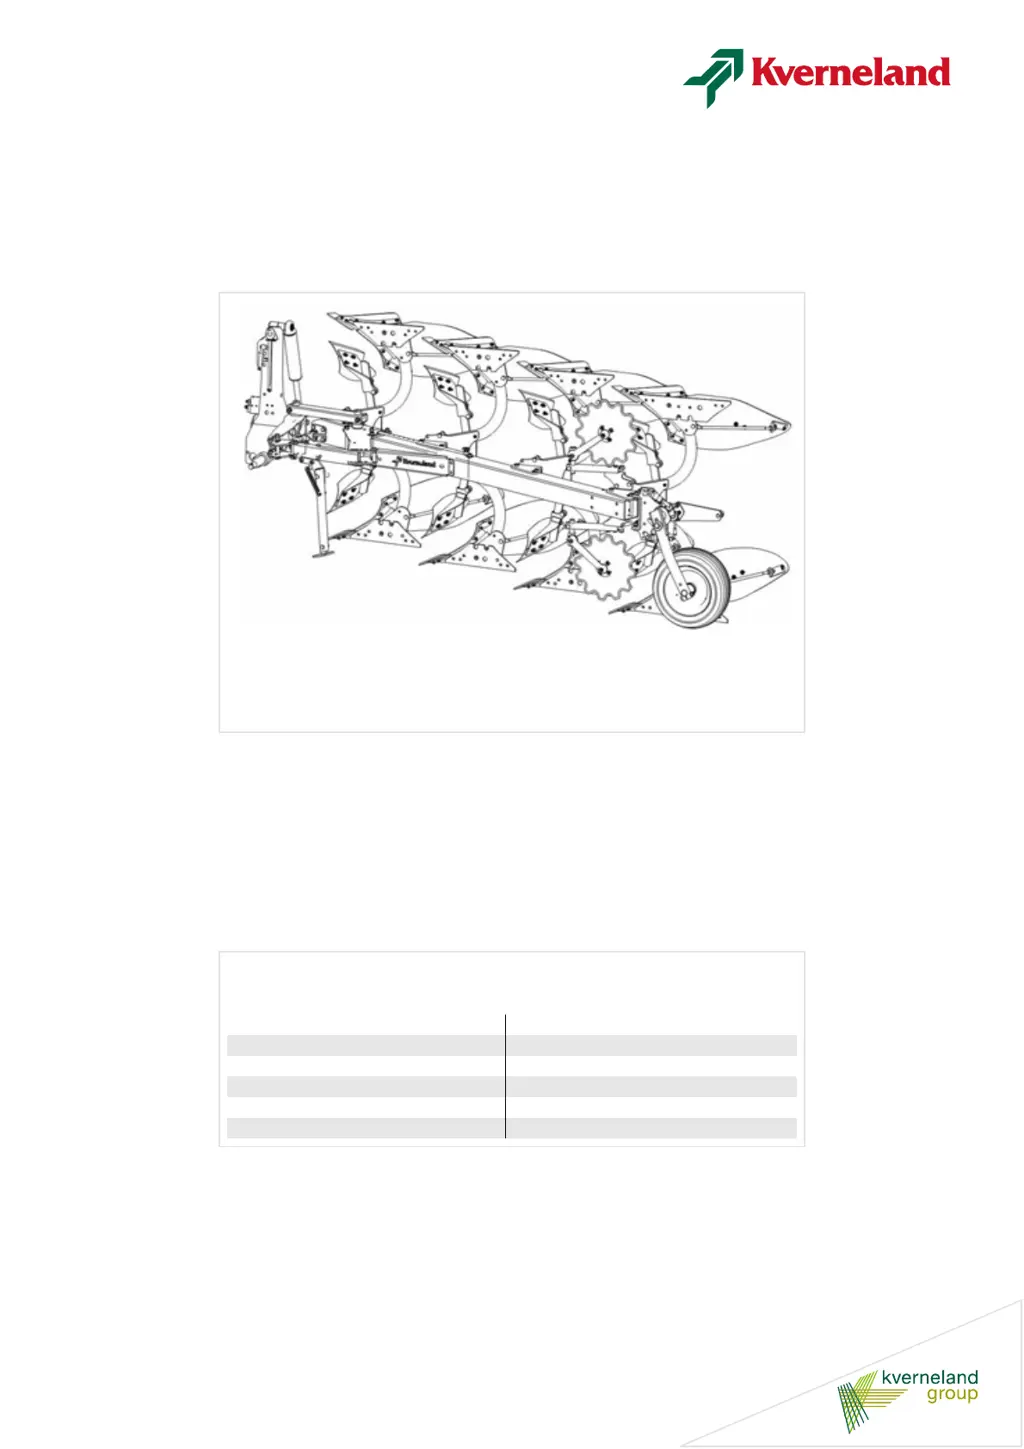
    How to troubleshoot a Kverneland 150 Farm Equipment plough that won't turn on?
    • B
      Brooke ReyesAug 1, 2025
      If your Kverneland Farm Equipment plough isn't turning, it might be due to incorrectly mounted connections to the tractor. Ensure that the quick-couplings are properly engaged and correctly connected, paying attention to the color coding on the hoses.
  • J
    Jack DiazAug 5, 2025
    Why is the first furrow width different on my Kverneland 150 Farm Equipment plough?
    • L
      lopezkennethAug 5, 2025
      If the first furrow width on your Kverneland Farm Equipment is inconsistent when ploughing on the left and right sides, the issue could stem from a few factors. First, ensure that the cross shaft is positioned centrally on the turning head. Also, verify that the air pressure in the tractor’s rear tires is equal. Finally, check and adjust the sideways leveling.
  • M
    Michael MartinAug 10, 2025
    What to do if turning is slow on my Kverneland Farm Equipment plough?
    • K
      kellyevansAug 10, 2025
      If turning is slow or incomplete on your heavy Kverneland Farm Equipment plough, the cause might be incorrect oil flow. Try adjusting the motor speed or flow rate on the tractor valve to see if different oil flow rates affect the turning. Turning valves operate best at 25-35 l/min. A high flow rate can return pressure and lead to reduced turning performance.
  • M
    Mr. Christopher GoldenAug 14, 2025
    What to do if my Kverneland 150 plough stops halfway through turning?
    • J
      jasminefryeAug 14, 2025
      If your Kverneland Farm Equipment plough turns halfway and stops, or returns to its original position, it could be due to the restrictor being mounted in the wrong port. Try changing the position of the restrictor. Alternatively, the switching pressure may be incorrect; in this case, try increasing or reducing the switching pressure.
  • L
    Leah MarshallAug 18, 2025
    Why does my Kverneland 150 Farm Equipment plough stop turning during the first cycle?
    • T
      Tonya RamirezAug 18, 2025
      If the turning stops in the first turning cycle with a Kverneland Farm Equipment plough with Packomat, or when turning the plough with the bodies under the main frame, it could be that the switch-over takes place prematurely, just before dead center is reached. Increase the switching pressure by a couple of turns clockwise and ensure that the restrictor in the turning cylinder is correctly positioned.
  • S
    Stephanie SmithAug 22, 2025
    Why is my Kverneland 150 Farm Equipment plough vibrating during turning?
    • J
      Jerry MillerAug 22, 2025
      If you are experiencing vibrations during turning with your Kverneland Farm Equipment plough, the restrictor might be mounted in the wrong port. Try changing its position to resolve the issue.
  • D
    Danielle NashAug 27, 2025
    Why does the turning cylinder creep on my Kverneland Farm Equipment plough?
    • T
      Travis ThomasAug 27, 2025
      If the turning or folding-in cylinder creeps during ploughing or transport with your Kverneland Farm Equipment plough, it could be because the turning phase isn't completed, and the cylinder isn't locked. Complete the turning phase and apply the switching pressure. On ploughs with a memory system, any adjustment of the working width should be carried out using the vari-width lever, not the turnover lever.

Summary

Safety

Safety decals

Discusses the placement and importance of safety decals on the plough.

General safety information

Provides essential general safety rules for operating and maintaining the plough.

Getting to know the plough

Proper use

Defines the intended use of the plough and states manufacturer liability for improper use.

Technical specifications

Provides detailed technical specifications for different plough models.

Preparing for operation

Tractor

Covers tractor preparations including hydraulic connections and depth control settings.

Coupling

Coupling

Details the steps for coupling the plough to the tractor, including connections and checks.

Transport

Place in the transport position

Details how to position the plough for transport, with or without a transport wheel.

Place in ploughing position

Explains the procedure to return the plough from transport to ploughing position.

Adjusting the plough

Working width - Incremental

Details how to adjust the working width in increments on the plough.

Working width - Variomat

Explains the adjustment of infinitely variable working width on Variomat models.

First furrow width

Guides on adjusting the first furrow width to match other furrows or compensate for conditions.

Working depth

Covers adjusting the plough's working depth and related checks.

Maintenance and care

Safety

Emphasizes using original spare parts, protective clothing, and avoiding skin contact with lubricants.

Prior to maintenance

Lists crucial steps to take before performing maintenance on the plough.

Maintenance chart

Presents a chart detailing maintenance operations and their recommended intervals.

Lubrication

Explains the importance of using appropriate grease and lubricating all points regularly.

Tighten bolts and nuts

Provides a table of general tightening torques for bolts and nuts.

Tightening torque of the hydraulic connections

Lists specific tightening torques for hydraulic connection threads.

Replace the shear bolt [150 B]

Explains how to replace shear bolts on the 150 B model for protection.

Possible modifications

The spring release system [150 S]

Explains how to remove and fit auto-reset beams and adjust spring tension.

Change the release force setting

Describes how to change the auto-reset beam's release force by adjusting springs.

Adjust the switching pressure in the turning valve

Guides on adjusting the switching pressure in the turning valve for proper plough turning.

Parking and storage

Safety

Warns about using the parking stand correctly to prevent overturning.

Parking stand

Details how to use the parking stand and park the plough safely.

Troubleshooting

Turnover system

Lists common problems with the turnover system and their solutions.

Operational

Addresses operational issues like first furrow width and levelling.

Kverneland 150 Series Specifications

General IconGeneral
BrandKverneland
Model150 Series
CategoryFarm Equipment
LanguageEnglish

Related product manuals