


Do you have a question about the Kwikset Kevo and is the answer not in the manual?
| Connectivity | Bluetooth |
|---|---|
| Power Source | 4 AA batteries |
| Battery Life | Approximately 1 year |
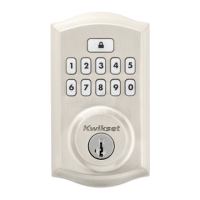
| Keypad | No |
| Material | Metal |
| Brand | Kwikset |
| Model | Kevo |
| Compatibility | iOS, Android |
| Finish Options | Satin Nickel, Polished Brass, Venetian Bronze |
| Keyless Entry | Yes |
| Remote Access | Yes (with Kevo Plus) |
| Lock Mechanism | Deadbolt |
| Rekey Technology | SmartKey Security |
Confirm the hole in the door is 2-1/8" (54mm) or 1-1/2" (38mm).
Confirm the backset is 2-3/8" or 2-3/4" (60 or 70mm).
Confirm the hole in the door edge is 1" (25mm).
Confirm the door thickness is 1-3/8" (35mm) or 1-3/4" (44mm).
Check door edge, position latch, and select latch type.
Install the strike on the door frame with appropriate screws.
Verify door hole diameter and thickness for correct installation.
Route cable and align torque blade for exterior assembly mounting.
Remove the battery cover and battery pack from the interior assembly.
Connect the cable and secure the interior assembly with screws.
Install batteries, initiate process, and verify latch retraction/extension.
Download the Kevo application from the website or scan the QR code.
Create account, enroll smartphone, and send eKeys to family/friends.
Secure the interior cover with screws, keeping the window locked.
Install cover allowing window access for programming.
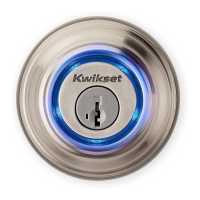
Understand light ring colors and patterns for status and errors.
Interpret red light ring warnings for low batteries or jammed deadbolt.
Understand status LED colors for door lock/unlock and battery status.
Learn about the smart lock's positioning technology for security.
View lock activity history and receive app notifications.
Enable optional passcode for added app security.
Upgrade for remote access and connect with smart products.
Read critical safety instructions and warnings for lock operation.