EasyManua.ls Logo

Kwikset Smartcode 888 User Manual

Kwikset Smartcode 888
8 pages
To Next Page IconTo Next Page
Page #1 background imageLoading...
Page #1 background image
1 / 4
66455001
Rev 01
Vivint
ZWave® Plus
Installation and User Guide
ENGLISH
If drilling a new door, use the supplied template and the complete
door drilling instructions available at www.kwikset.com/doorprep.
Note: Additional door preparation may be
required for doors with 11/2" (38 mm) holes.
Consult the deadbolt drilling instructions at
www.kwikset.com/doorprep.
or
backset
Measure to conirm that the hole in
the door is either 21/8" (54 mm) or
11/2" (38 mm).
Measure to conirm that the backset is
either 23/8" or 23/4" (60 or 70 mm).
23/8" or 23/4"
60 or 70 mm
13/8" – 2"
35 – 51 mm
Measure to conirm that the hole in
the door edge is 1" (25 mm).
Measure to conirm that the door is
between 13/8" and 2" (35 mm and
51 mm) thick.
A B C D
21/8"
54 mm
11/2"
38 mm
1"
25 mm
1
Prepare the door and check dimensions
Required tools
Ruler4 AA Batteries
Hammer Wood block
Phillips head screwdriver
Additional Tools (depending on application)
A
N or P
(2x)
N P
S
Q
A
B
B
A D
Is the door edge chiseled? Which latch are you installing?
YES NO
Use latch “A”. If the
latch bolt is not already
extended, extend the
latch bolt as shown.
wood
block
actual
size
Use latch “B” (not
included). If the latch
bolt is not already
extended, extend the
latch bolt as shown.
Latch “A Latch “B”
S (2x)
C
Q (2x)
Longer screws
install closest to
the door jamb.
door frame
E
Install strike on the door frame.
Make sure the hole in the door frame is drilled a
minimum of 1" (25 mm) deep.
or
chiseled
not
chiseled
or
2
Install the latch and strike
Kwikset
Technical Support
1-866-863-6584
www.kwikset.com
A
B
A
B
B
C
Is the D-shaped hole centered in the door hole?
Hold the latch in front of the door hole, with the latch
face lush against the door edge.
YES NO
No adjustment is required.
Proceed to next step.
D-shaped hole D-shaped hole
Rotate latch face as
shown to extend latch.
or
Latch
“B” is not included. If needed,
please contact Kwikset to order
a drive-in latch for your lock.
Strike
C
Keys
E
A
B
Exterior Assembly
Adapter
Ring
D
Mounting
Plate
Parts in the box
Fasteners
03809 46780
N
Q
S
P
66128 64109
T
V
49191
U
Interior Assembly
SmartKey
Tool
H
M
F
K
L
G
Question and Answer IconNeed help?

Do you have a question about the Kwikset Smartcode 888 and is the answer not in the manual?

Kwikset Smartcode 888 Specifications

General IconGeneral
Lock TypeElectronic Deadbolt
KeypadYes
KeywayKW1
Battery4 AA batteries
Finish OptionsSatin Nickel, Venetian Bronze, Polished Brass
CompatibilityZ-Wave
User CodesUp to 30
Power SourceBattery
Re-key TechnologySmartKey Security
ANSI GradeGrade 2
Backup PowerNo
Lock MechanismMotorized Deadbolt
Auto-LockYes
Voice ControlNo
AlarmNo
Remote AccessYes, with compatible smart home system

Summary

Door Preparation and Measurement

Latch and Strike Installation

Latch Installation and Door Edge

Install the correct latch based on door edge chisel, and check D-shaped hole centering.

Door Frame Strike Installation

Install the strike plate on the door frame, ensuring adequate depth for screws.

Exterior Keypad Installation

Exterior Keypad and Mounting Plate

Install the exterior keypad and mounting plate, routing cables properly.

Interior Assembly Installation

Mounting Interior Assembly

Mount the interior assembly onto the mounting plate, ensuring cable connections are secure.

Battery Installation and Door Handing

Battery Install and Handing Process

Install batteries and initiate the door handing process for lock orientation learning.

Smart Home System Integration

Adding Lock to Smart Home

Add the lock to your smart home controller following system instructions.

User Code Management

Lock Operation Testing and Re-keying

Troubleshooting and System Alerts

Common Lock Alerts and Solutions

Understand system alerts, reasons, and solutions for lock issues.

Factory Reset Procedure

Perform a factory reset to clear settings and codes.
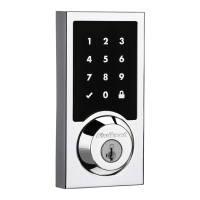
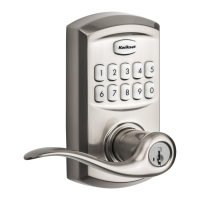
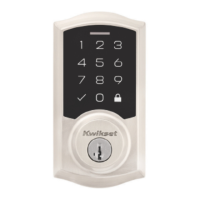
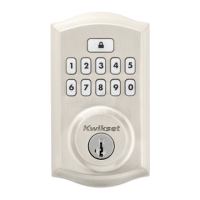
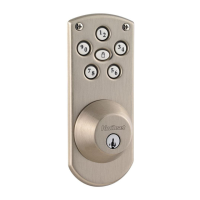
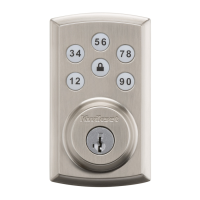
Z-Wave Reset Procedures

Related product manuals