Do you have a question about the La Crosse Technology C80765 and is the answer not in the manual?
Details on backlight intensity levels, projection intensity, and settings backup capacitor functionality when using the power cable.
Instructions on how to perform a factory reset by pressing the RESET button next to the USB Charging Port.
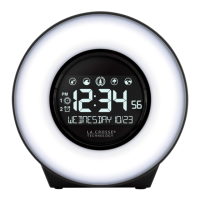
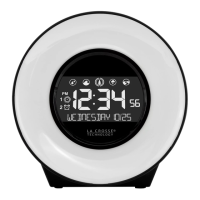
Explanation of the five backlight intensity levels, including OFF, and how to adjust them using the SNOOZE/BACKLIGHT button.
Guide on setting automatic dimming for the backlight to a low level during sleeping hours and full brightness upon waking.
Instructions for manually setting the time and adjusting for Daylight Saving Time using the program menu.
Details on navigating the program menu to set greeting scrolls, time format, hour, minutes, year, month, date, temperature unit, and beep.
Step-by-step guide to setting, activating, and deactivating the alarm, including the alarm icon indicator.
Explanation of how to use the snooze function, including snooze time selection and countdown.
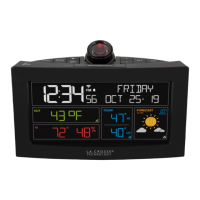
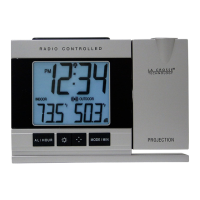
How to change projection intensity (OFF, HI, LO) and modes like time, temp, and humidity display.
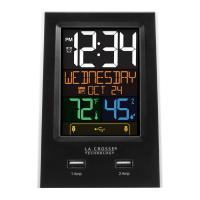
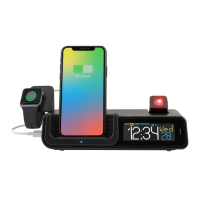
Instructions for placing mobile devices on the charging platform and understanding LED indicators for charging status.
Details on using the 1 Amp USB port for charging devices, including power output limits and compatible devices.
Information on the removable smart watch stand, its design for easy access to charging ports, and compatibility.
How to cycle through display modes for time, date, temperature, and humidity, and indicators for mode selection.
Troubleshooting steps for a dim alarm clock display, emphasizing the need for the power cord for backlight.
Procedure for adding a TX141TH-Bv3 sensor, including battery insertion and sensor search.
Guidelines for mounting the remote sensor outdoors to ensure proper reception and accurate readings, avoiding rain and sun.
Recommendations for mounting the remote sensor indoors to monitor high mold risk areas like crawl spaces or basements.
Instructions for two mounting options for the remote sensor, including using a screw and locking it into place.
| Brand | La Crosse Technology |
|---|---|
| Model | C80765 |
| Category | Alarm Clock |
| Language | English |