Page| 24
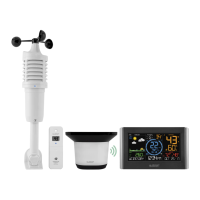
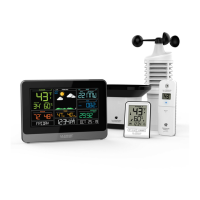
RAIN SENSOR
Mount the rain sensor on a level surface in an open area within the 200 foot wireless range of the
thermo-hygro sensor and on the same side of the house.
• Mount the rain sensor at least 6 feet off the ground and level for optimum wireless transmission.
• The rain sensor should be accessible to allow for periodic cleaning of debris or insects.
• To avoid frequent build-up of debris, do not mount the rain gauge too close to the trees or plants.
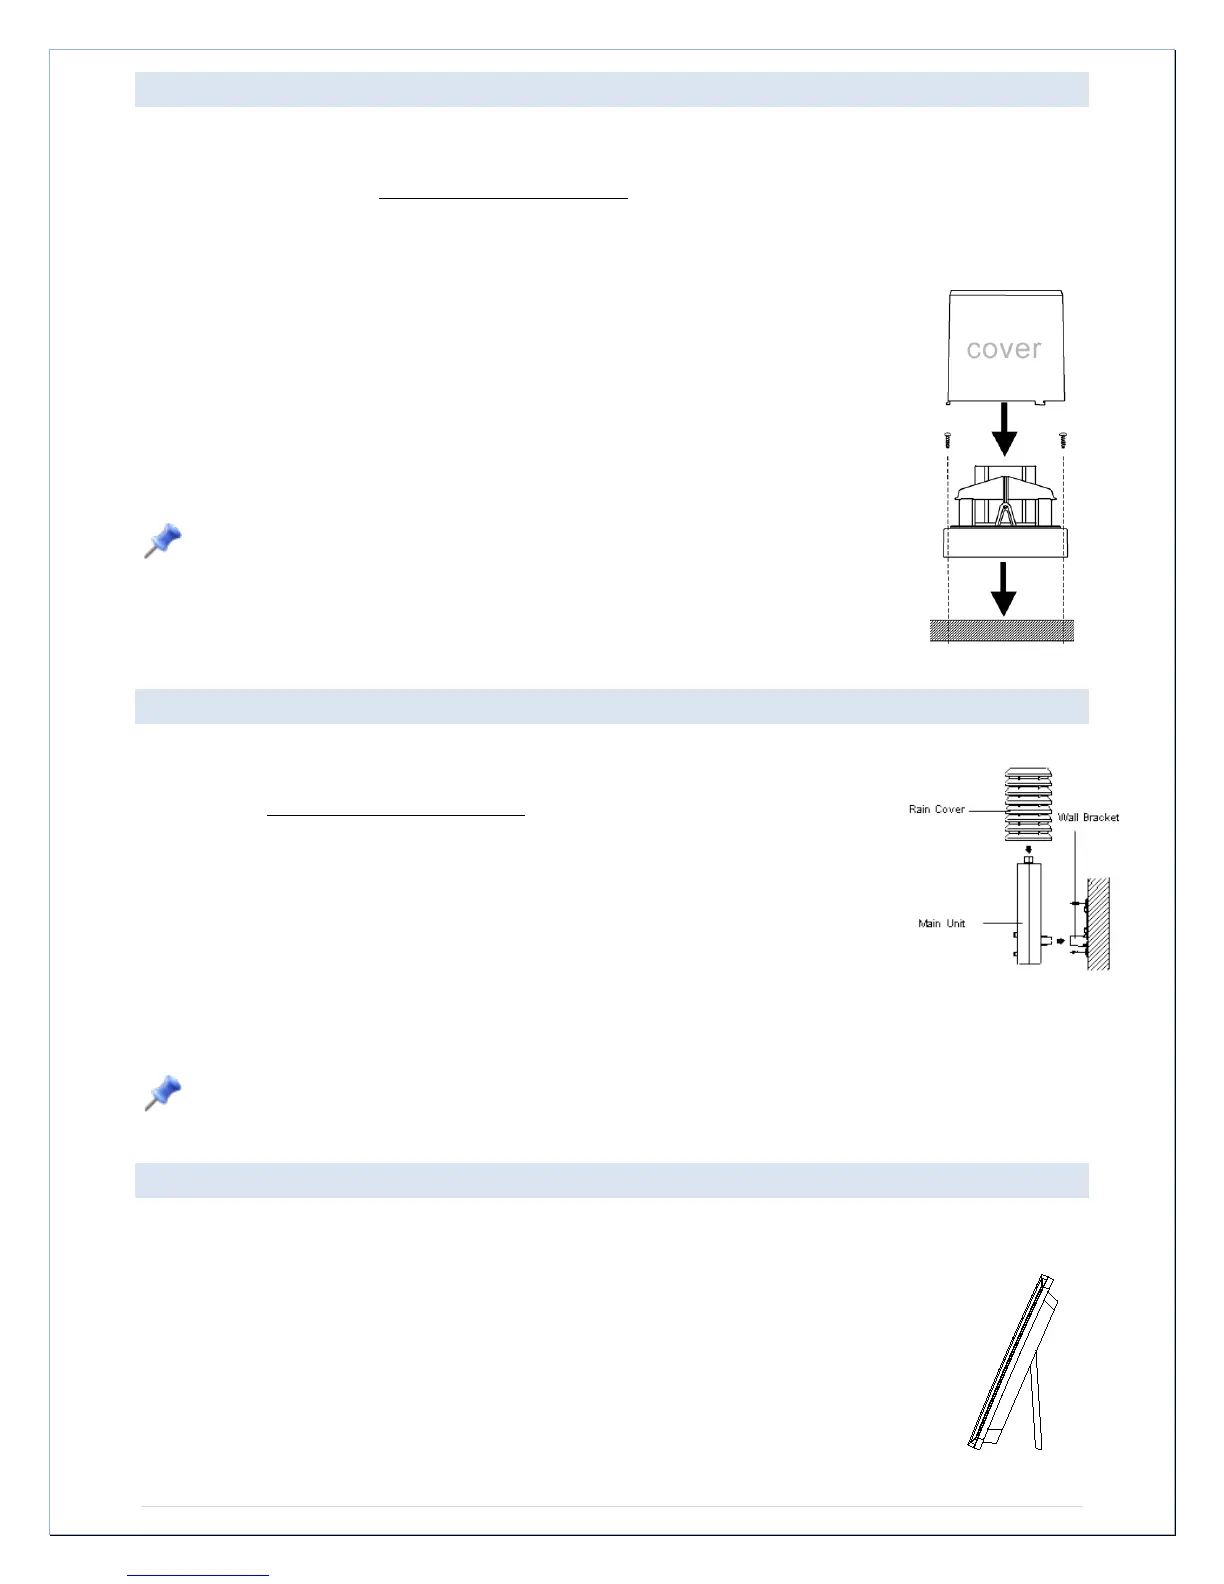
• Remove the funnel portion (cover) of the rain gauge by twisting it firmly counter clockwise.
• Hold the base of the rain gauge flat against the mounting surface then use a level
to make sure the rain gauge (as it rests on the mounting surface) is horizontally
level.
• Use a pencil to trace the inside of the mounting holes on the base of the rain
gauge to mark the screw locations.
• Drill a hole in the center of each marked location.
• Hold the rain gauge against the mounting surface so the holes on the base are
aligned with screw holes, and then thread washer head screws (not included) into
each hole and use a screwdriver to gently snug the screws.
Note: Do not over-tighten the mounting screws.
• The Rain Gauge is self-emptying and can be left out all year or stored in the
winter. If stored for the winter, remove the batteries to avoid leakage.
• Be aware of other wireless rain gauges in the area that may cause interference.
THERMO-HYGRO SENSOR
The thermo-hygro sensor is "weather resistant", but not "waterproof".
• To ensure an extended life for the sensor, mount it in a semi-covered place out of the
elements at a minimum height of 6 feet.
• An ideal location for the thermo-hygro sensor is under the eaves on the North side
of the house to avoid the effects of sunlight.
• Mount the sensor 18" down from the eaves to ensure optimum performance. This will
assure the temperature of the air coming out of the attic will not affect data collected by the
sensor.
• The cap on the sensor is for proper airflow for humidity reading and not rain protection. The
Thermohygro sensor can withstand rain, snow and temperature extremes. Standing rain
and snow may soak into the sensor and cause failure.
• To wall mount the thermo-hygro sensor, fix the wall holder onto the desired wall using the included
screws, plug the sensor firmly into the wall holder and replace the rain cover if it is not already in
place.
Note: After mounting the units, if the weather data is not received, press and hold the ▲/DATE button
for 2 seconds to synchronize the weather station to the sensors.
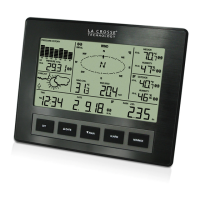
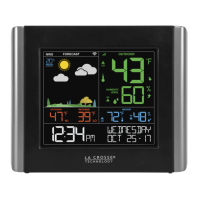
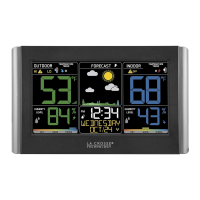
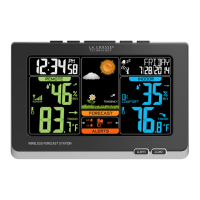
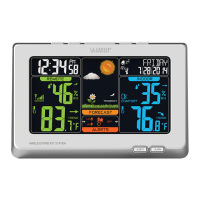
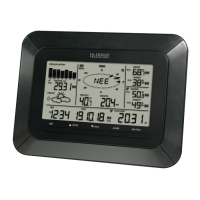
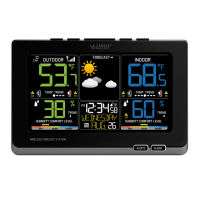
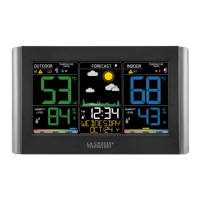
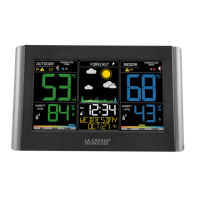
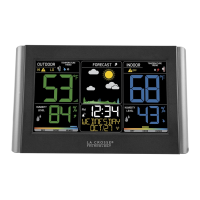
WEATHER STATION
The Professional Weather Station is free standing with the base stand or can be wall mounted.
Wall mount:
• Fix a screw (not supplied) into the desired wall, leaving the head extended out the by
about 0.2 inches (5mm).
• Hang the weather station onto the screw. Ensure that it locks into place before
releasing the professional weather station.
Free standing: Simply pull out the stand to the back of the weather station and place on
a flat surface.