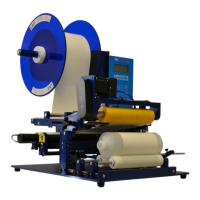
LM1012TTS Table-Top Label Applicator System
USER'S MANUAL
01/01/2022 Model LM1012TTS
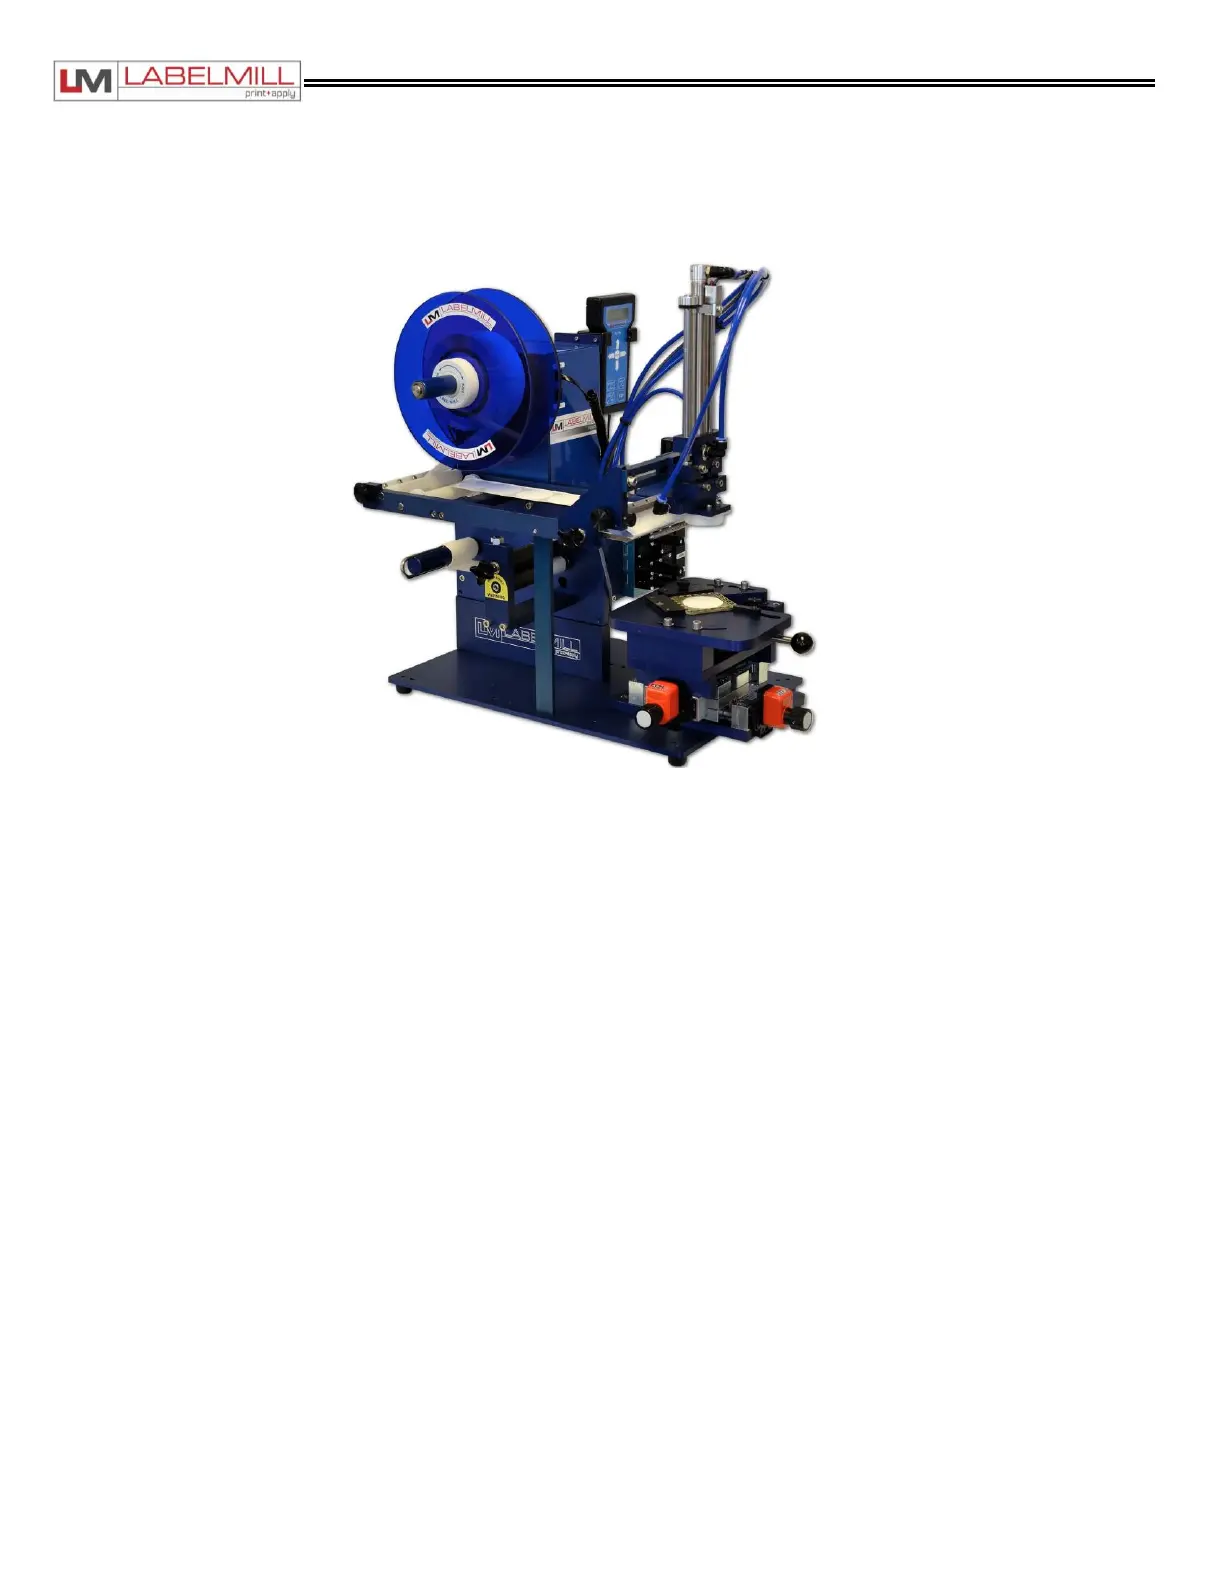
Tamp Applicator Module Installation
The Tamp Applicator Module shown below can be installed in a few minutes to the existing LM1012TTS system
dispenser unit.
ACTIONS TO INSTALL TAMP MODULE
1. Set the main power switch to the OFF position.
2. Disconnect the AC power cable from the rear of the console.
3. Remove any installed module or photoeye mounted to the guide rails.
4. Carefully slide the tamp module onto the rails until the unit is in the proper position.
5. Install and tighten the mounting knobs through the slotted holes on either side of the mounting rails.
6. Install the cable from the valve assembly into the connector on the accessory panel of the control box tagged
“SOLENOIDS”, if it is not already connected.
7. Install the cable from the tamp module head up switch into the connector on the accessory panel of the control box
tagged “HEAD UP/AUX”.
8. Install the four (4) air lines fitted with quick disconnect style fittings on the manifold plate above the solenoids. They are
marked 1, 2, 3, and 4.
9. Install the cable into the connector on the accessory panel of the control box tagged “REMOTE TRIGGER”. (Foot
Switch, Palm Button, or Trigger Switch)
10. Connect the power cable and turn the unit on.
11. Program the control Cycle Type for Tamp (Before or After Feed).
12. Program the Tamp Duration in the Tamp Setup Menu.
13. Program the Head Up Switch to N.O. in the Tamp Setup Menu.
14. Adjust the label sensor, and label speed until both are functioning properly.